All members that participate, can everyone PLEASE ensure that you read all the rules for this challenge
so that you can claim your challenge points. Thank you!
Hello everyone and a big Happy Easter to all that celebrate it!
A little while ago our Miss @faerywings mentioned in another thread about how much she had learned from some of the creative technique challenges I have written over the years and she did a search and came up with a list of them! Some of them are really outdated but some of them are still relevant now so I thought I would delve back into them and re-publish them.
So for this month I have resurrected the one on using Filters in PSE but now that I work in Photoshop I have redone the steps to reflect this. As always, if you don't have either of these programs then please read through to get the gist of what the challenge is about and then see what you can come up with in your own programs.
Filters can be used to clean up or retouch your photos, apply special art effects that give your image the appearance of a sketch or impressionistic painting, or create unique transformations using distortions and lighting effects. The filters are located under the Filter menu. There also heaps of filters that are created by third-party developers and are known as plug-ins. After downloading and installing a plug-in it is then available at the bottom of the Filter menu. But for this challenge I would like to utilise the filters that have shipped with your own particular program.
Appyling a filter is very easy in PS or PSE, you simply click on the layer and then select the filter you want to use. You can change some of the filter's default settings using a slide, and within the filter dialogue box you can also stack one filter on top of another. Once you apply the filter and click okay to exit the filter, you can not go back and tweak the filter's settings unless you have turned your photo into a Smart Object beforehand.
The whole idea of filters is to simply play and have fun with them, there is not hard and fast filter application that will give you exactly the same results on different photos! This would be the most important thing to learn about filters, every photo will turn out differently, and in some cases the desired filter effect will not work on a particular photo. Use photos that do not have a lot of detail in them, and make sure that the photo has some tonal contrasting so that some of the filters have something to work on.
Things to remember about using a Filter:
- Filters are applied to the active, visible layer or a selection.
- Once you apply a filter you cannot go back and change or tweak the filter (unless you change your layer to a Smart Object).
- You can stack one filter on top of another in the Filter Gallery but again, you can not change or tweak the individual filters unless they are applied to a Smart Object.
- Filters cannot be applied to Bitmap-mode or indexed-color images.
- Some filters work only on RGB images.
- Some filters are processed entirely in RAM. If you don’t have enough available RAM to process a filter effect, you may get an error message.
- Most of the filters will open in the Filter Gallery where you can play around with the settings, change to a different filter or even stack more than one filter on top of each other.
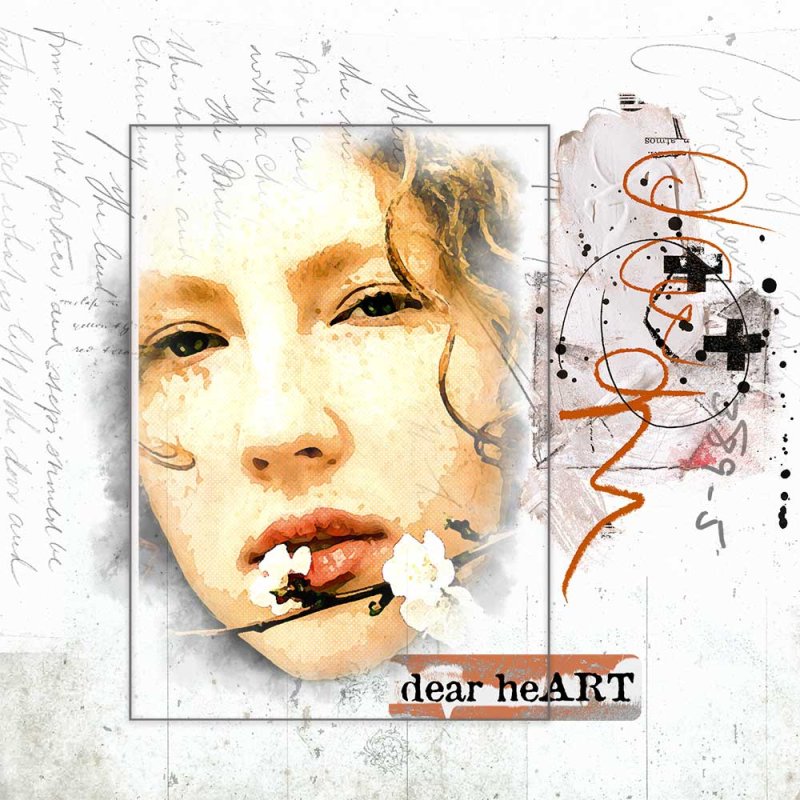
In my older tutorial I used two filters, the Cutout and Halftone, and have used that combination a few times, but not recently so I wanted to use this combo again for this tutorial, BUT I added one more, the Poster Edge filter.
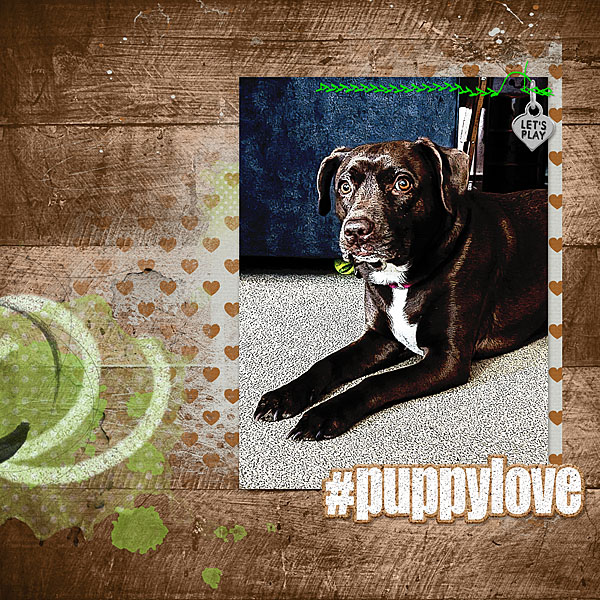
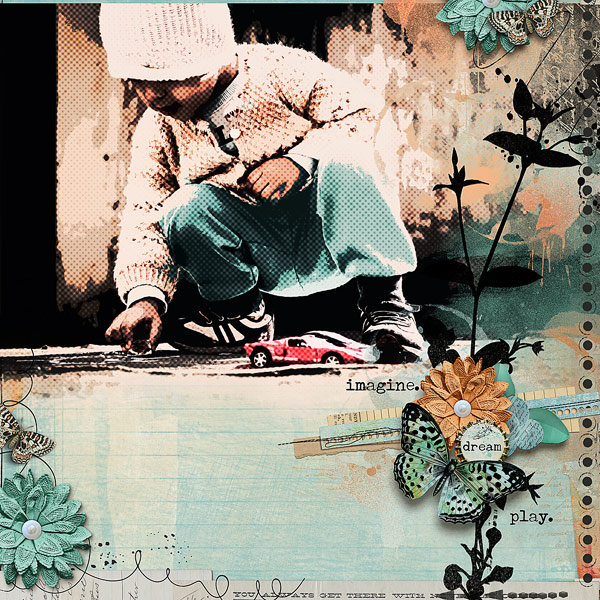
This is the older layout I created in that tutorial, using just the Cutout and Halfone filters:
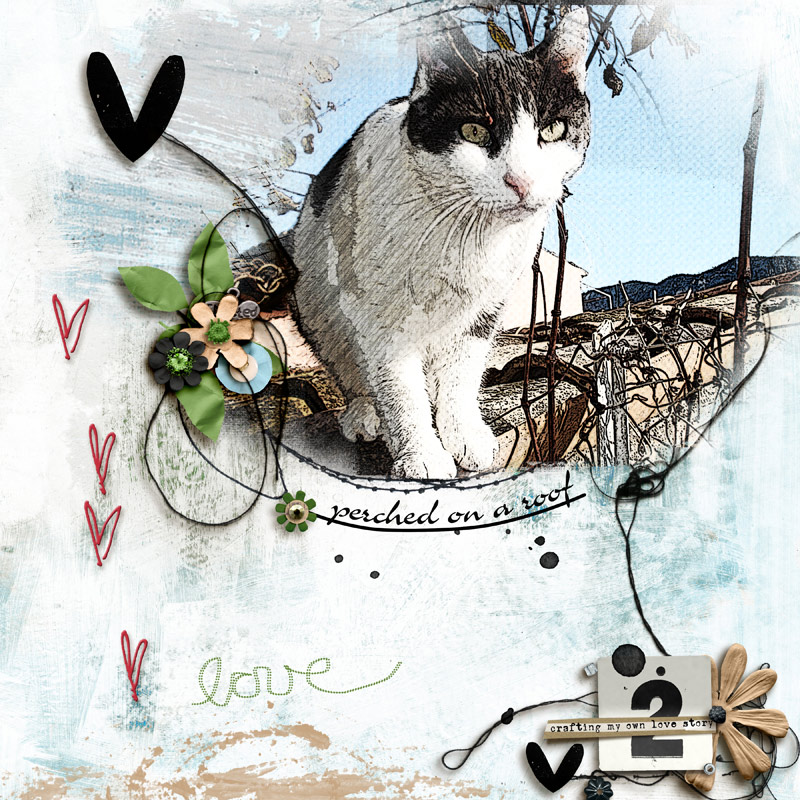
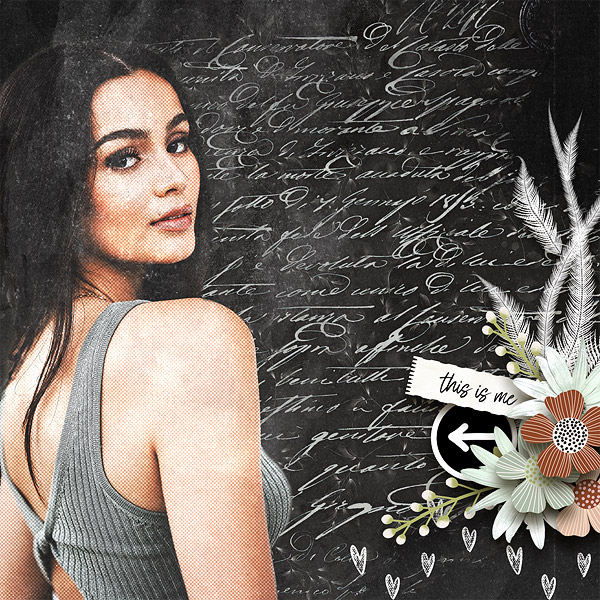
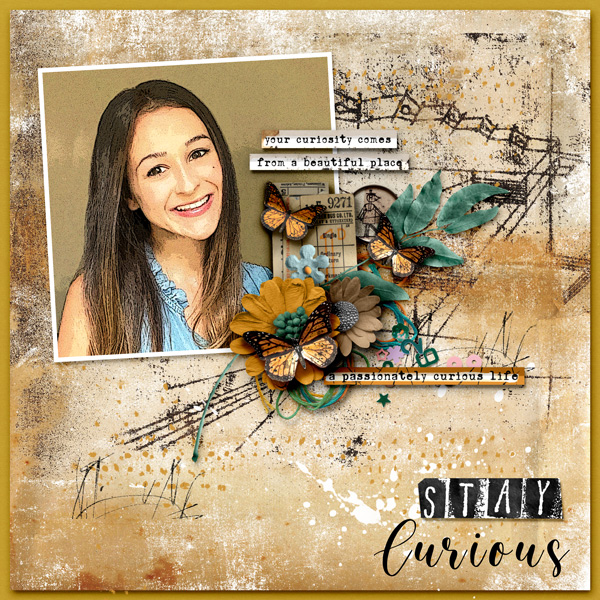
Here is my new layout, using the two filters I used previously plus one more filter, the Poster Edge filter.

Credits can be found in the gallery.
Now let's get started on the tutorial!
")
Note: I will be applying a filter to each layer and then playing around with the blending modes to create my final photo composite. You can turn your photo into a Smart Object first if you like and apply your filters that way, I prefer doing it separately as I think you can have more control over the finished piece.
Step 1. Duplicate the original photo layer three times (use CTRL+J on the photo layer) - you should have four layers, name the layers Original Photo layer; Cut Out Filter Layer; Halftone Filter Layer and Poster Edge Filter Layer (If you need to edit the photo with Levels to give it more contrast etc. then do it before you create your duplications)
Step 2. CHECK that the default Foreground (black) and Background (white) colours are active.
Step 3. Turn the layer visibility off for the Halftone and Poster Edge filter layers.
Step 4. Click on the Cutout filter layer, then from the Filters menu select the Filters Gallery command (or press CTRL+F)
Step 5. Click on the Cutout filter, located under Artistic, and apply your settings. As already mentioned there is no one setting for every photo so play around with the settings until you find something that you are happy with.
Steps 6 & 7. On each of the remaining layers, go back to the Filters Gallery and select the relevant filter (Halftone, Poster Edges) and apply your settings until you are happy with it.
Step 8: Now you need to play around with the blend modes to get a final result that you are happy with. Below you will see the blend modes and layer opacity I used for each of my photo layers. When I was happy with mine I used CTRL+SHIFT+ALT+E to merge these layers together and then move it into my PSD file, ready for scrapping.

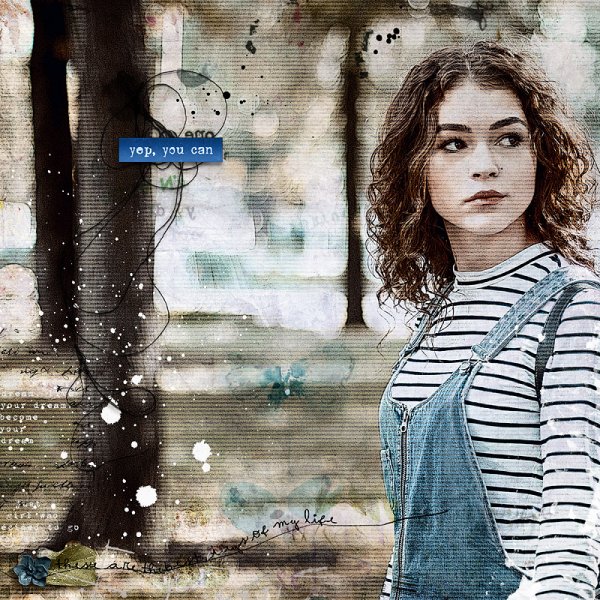
This is what my final photo composite looked like (I ended up flipping the photo horizontally on my layout as I wanted to included the brick wall beside her):

Notes:
- The Halftone doesn't appear as prominent as in my layout on the photo above because it is smaller. I did however sharpen the photo in my layout using the High Pass which gave the Halftone and bit more prominence.
- Don't forget to use your Layer masks if you needed to remove some of the filter effect for a layer.
RULES:
- Create a layout using 2-3 filters of your choice. If you do not have these filters in your program then create a page with 2-3 filters you do have and let me know in the thread post what you used.
- Please use 80% Oscraps products that are currently in the store.
- Non-Oscraps products or retired O designer products can be used whether the designer is selling elsewhere or not.
- You need to credit all the products used on your layout.
- Your layout can not be used for more than one challenge.
- Your page must be posted in the Challenge 4 gallery by midnight PST April 30 2023 and linked back to this thread (see below on how to add your linked layout).
- And do not forget to update the CURRENT MONTH'S TRACKING THREAD to be eligible for your coupon.
Adding a linked layout from the Gallery to a thread:
1. Upload your layout to the gallery first. In your forum post click the Gallery Embed icon (little camera).
2. This will open your gallery, simply click on the layout you require, then scroll down to the bottom of the screen and click the Continue button.
3. Your linked layout is now in your post, the image will appear once you have clicked the Post Reply button.
If you have any questions then please ask away and I am so looking forward to seeing what you all create!!
Last edited:

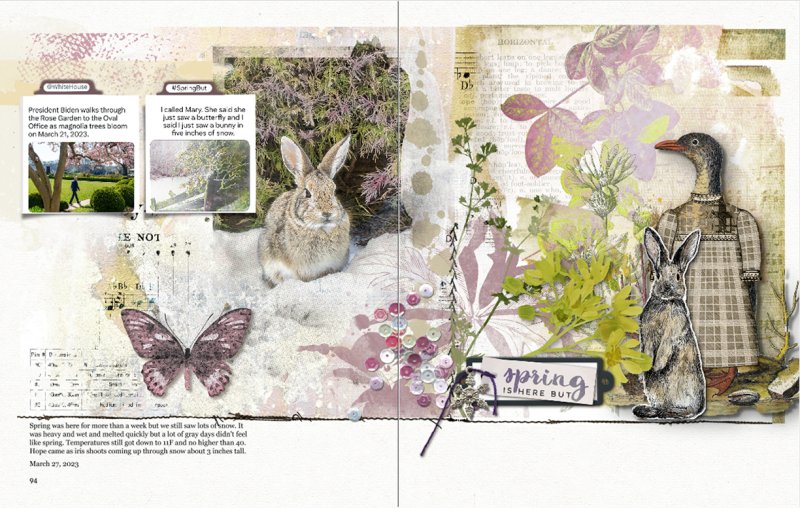
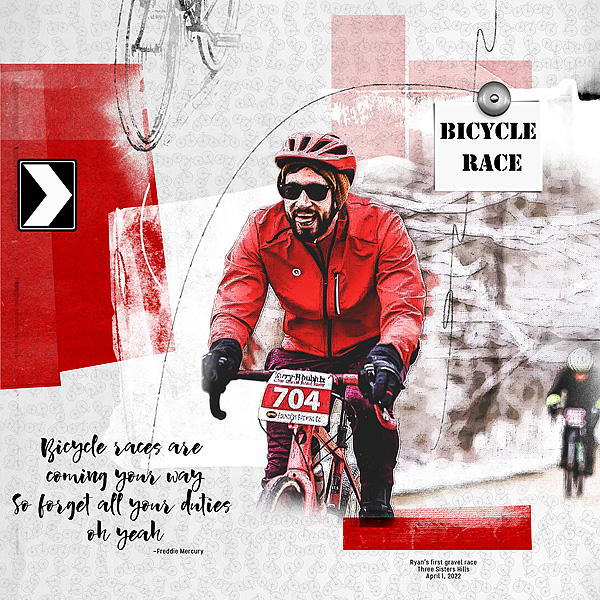
 What an amazing layout, absolutely LOVE this!! I love that you added the smaller photo as well, beautiful page design!


 LOOK at all of these AWESOME layouts that have been added!! Boy, you guys sure are CREATIVE!!!