Oscraps

WINNER announced: Tips & Tricks Challenge with Karen Schulz, January 2022

Karen Schulz Designs

Designer
Designer
Welcome to the Tips & Tricks Challenge of 2022! My name is Karen (Karen Schulz Designs), and I am your Hostess for this challenge.
  • Each month I will be presenting you with a Tips and Tricks Tutorial.
  • Your challenge will be to take what you learn and put it into practice.
tips-and-trics-chal-01.jpg

The Dodge and Burn tools are used to lighten (Dodge) or darken (Burn) areas of an image that are under or over-exposed. They are tools, however, that work in a destructive manner; that is, they permanently change (damage) the pixels in your image.

In this tutorial, you will learn how to use the Dodge and Burn tools in a non-destructive way, which will not only save your original image from damage but will also give you more control and flexibility when using these tools.

This technique works exactly the same in Photoshop and Photoshop Elements.

This Month's Tutorial: Download a PDF of this month's tutorial: How to Use the Dodge and Burn Tools, and Use Them Non-Destructively

What You Need to Know:

1. Putting the Tutorial into Practice: For this month's tutorial, you may work on a single element, a photograph, a digital scrapbook page, or any type of digital project.

2. Sharing Your Work:
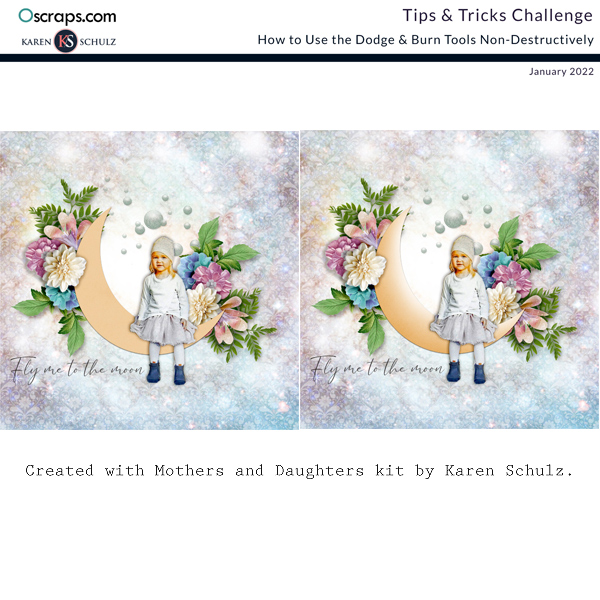
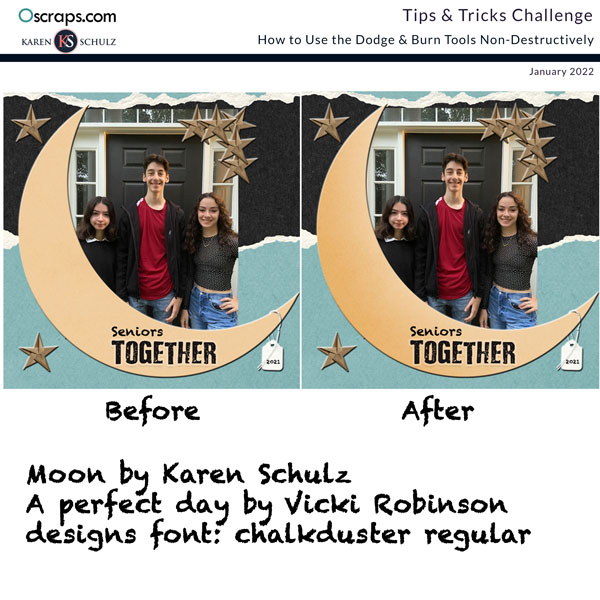
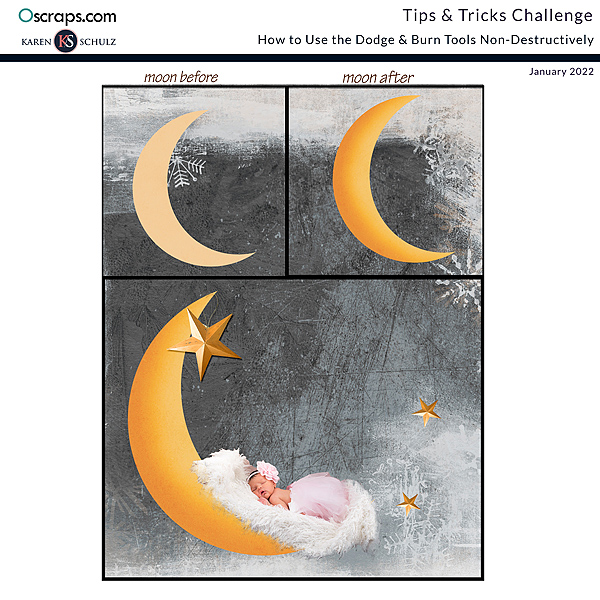
  • Place your Before/After images on the Tips & Tricks Challenge Template included in the Download, to create a Preview.
  • Post your Preview in Oscraps Gallery and add the following tags: tips & tricks challenge and also #karen schulz
  • Link your image in this thread for a chance to win a $5.00 Gift Certificate to my store. (Linking instructions below).
3. Challenge ends January 31, 2022, at midnight, PST.

4. Please credit all products in your project.

________________________________________________________________________________________________________________________________________________________
Adding a linked layout from the Gallery to a thread:

1. First, upload your image to the gallery. In your forum post, click the Gallery Embed icon (little camera).
2. This will open your gallery. Click on the image you wish to upload, then scroll down to the bottom of the screen and click the Continue button.
3. Your linked layout is now in your post, the image will appear once you have clicked the Post Reply button.
 

Attachments

  • tips-and-trics-chal-01.jpg
    tips-and-trics-chal-01.jpg
    178.2 KB · Views: 10
Last edited:

Karen Schulz Designs

Designer
Designer
I'm not sure I did this correctly but here you go I tried. I couldn't find the burn tool so I had to do some google searching but finally found it.

You did great, Laura. Good point. Next time I mention a tool, I'll direct you to it's location. Thanks for persisting and finding the tool. Thanks for participating in the challenge!
 

faerywings

The Loopy-O
CHEERY O
After I tested this on the moon, I tried this technique on photos of my dogs. I was able to bring back some of the details in Jaida's fur. I also toned down a lot of the over-exposure in the photo of Whisky.
20211225_082026.jpg Jaida.jpg

30825.jpg
whisky-jpg.364029
 

Attachments

  • whisky.jpg
    whisky.jpg
    266.8 KB · Views: 87

faerywings

The Loopy-O
CHEERY O
and here is my page
I felt that the background needed a little"something" extra so instead of searching for an overlay, I used this technique to darken some areas on the paper. I added the grey overlay layer, then used Karen's texture brushes to deepen some areas of the paper. I never would have thought to do that before I read this tutorial-- thanks so much!
 

Kythe

Well-Known Member
CHEERY O
Hi Karen
I work on PSE 21
There are 2 areas that I have difficulty with.

1. "Get the Dodge Tool. In the Tool Options Bar, set the Brush size to 500 px, the Range to Midtones, and the Exposure to 50%."
I cannot find where to look for the Range /mid tones.. does exposure mean opacity?

2. "If you want to affect the Highlights of an image, you may choose Highlights as your Range; and if you want to affect the Shadows on your image you may choose Shadows."

I find it difficult to use the tools if I can't see what is happening on the element. The moon came out okay but I can't seem to replicate the process on anything else. What am I missing?
 

Karen Schulz Designs

Designer
Designer
I don't think I did mine quite right. But it was fun! Great challenge!
NIce job! I love the gradient you used on the moon. You said you don't think you did the challenge "right." Is that because your moons looks flat in the middle, with more of a beveled edge than mine did? If that is what you are referring it, it would be related to the size of your brush. The larger your brush is, the more pixels your brush will be affecting; a larger brush will result in a larger, softer edger, while a smaller brush will affect less pixels, making the effect more concentrated, or compact. Does that make sense?
 

Karen Schulz Designs

Designer
Designer
Hi Karen
I work on PSE 21
There are 2 areas that I have difficulty with.

1. "Get the Dodge Tool. In the Tool Options Bar, set the Brush size to 500 px, the Range to Midtones, and the Exposure to 50%."
I cannot find where to look for the Range /mid tones.. does exposure mean opacity?

2. "If you want to affect the Highlights of an image, you may choose Highlights as your Range; and if you want to affect the Shadows on your image you may choose Shadows."

I find it difficult to use the tools if I can't see what is happening on the element. The moon came out okay but I can't seem to replicate the process on anything else. What am I missing?
Hi Kythe, 1. I am using PSE 2020, but I am pretty sure these options would be the same as 2021. When you click on the Dodge Tool (which is nested with the Sponge and Burn Tools) in the Tool Options Bar (at the bottom of the screen), you should see the Range: Brush, Suze and Exposure options. If you click the Dropdown arrow in the Range option, you will see that you can choose HIghlights or Shadows. This is set the default to Midtones. So you really shouldn't have to change anything. Exposure would mean the strength of the application. A 100% exposure would be using the tool at full strength, 50% less, etc.) 2. If you have changed the grayscale layer you added in the Layers Panel to Overlay, you should be able to real-time changes on the element as you are working on it. Does this help?
 

terryspear

Well-Known Member
NIce job! I love the gradient you used on the moon. You said you don't think you did the challenge "right." Is that because your moons looks flat in the middle, with more of a beveled edge than mine did? If that is what you are referring it, it would be related to the size of your brush. The larger your brush is, the more pixels your brush will be affecting; a larger brush will result in a larger, softer edger, while a smaller brush will affect less pixels, making the effect more concentrated, or compact. Does that make sense?
oh, that's what I did wrong! Thanks. I'll try it again. Re: gradients. I've never done well with gradients, so I thought I'd experiment with it on the moon and the background and it really looked cool! :)
 

Glori2

Well-Known Member
OMG, this was just the most fun challenge!! I know I sorta copied the main photo but I've had these photos from a friend that needed to be scrapped for a couple months now and well, I had to do it! :) I used the dodge and burn tools A LOT when working with photos but I need to remember to do it using a mask! I did a lot of it for these photos, too. Love that using the tools allowed the moon to also have a 3-D/beveled look!


Karen Schulz Designs

Designer
Designer
OMG, this was just the most fun challenge!! I know I sorta copied the main photo but I've had these photos from a friend that needed to be scrapped for a couple months now and well, I had to do it! :) I used the dodge and burn tools A LOT when working with photos but I need to remember to do it using a mask! I did a lot of it for these photos, too. Love that using the tools allowed the moon to also have a 3-D/beveled look!


This is beautiful, Glori! And your B/A photos.. wow! what a difference!!!! (Great extraction too!) Cami's Mom will love this page!
 
Top