How to Create a Scalloped and an Eyelet Border in Photoshop
Create a scalloped and an eyelet border to add interest to your digital scrapbook page with the use of the Brush Tool.
For this tutorial, you will need Photoshop or Photoshop Elements. The instructions are exactly the same for each version, except where noted.
Difficulty Level: Intermediate
There are a few steps to the process but creating an eyelet border to add to your digital art is easy!
Step One: Getting your document ready
- Create a new blank document.
I created a 3600 x3600px document with a white background. - Press the letter D to reset the Color Chips to the default of black over white.
- Click on the Create a New Layer icon. Double click on the title of the blank layer and rename it Eyelet.
Step Two: Create a Scalloped Border
- Adobe Photoshop: Get the Brush tool. In the Tool Options, open the Brush Picker. In the General Brushes, choose a Hard-Round Brush. (If you don’t see the General Brushes, open the flyout menu and choose Append Default Brushes). Set the size to 100px, the Mode to Normal, the Opacity to 100%, the Flow to 100%, and the Smoothing to 0%. Open the Brush Settings. (Window > Brush Settings). Click on Brush Tip Shape, and set the Spacing to 90% by dragging the slider to the right or typing in the value.
- Photoshop Elements: In the Tool Options, open the Brush Picker. Open the dropdown menu and choose Default Brushes. Choose a Hard Round brush. Set the size to 100px, the Opacity to 100%, and the Mode to Normal. In the Brush Settings panel, set the Spacing to 90% by dragging the slider to the right or typing in the value.
Note: Set the Brush size to whatever you like. I am using a 100px brush.
- The Eyelet layer should be active in the Layers Panel. If it is not, click on it to make it active.
Press and hold the Shift Key. Position your brush on the far-left edge of your document. Click and drag your brush across the width of your document. (Holding down the Shift key will ensure that you draw a straight line.) - You have now created a Scalloped Border. Trim the transparency and save the border to use over and over again. To create an Eyelet Border continue to Step Three.
Step Three: Creating the Eyelet
- In the Layers Panel, click on the Create a New Layer icon. Double-click on the title of the new layer and rename it Center.
- Press the letter X to switch the Color Chips.
- Leave all of the Brush Settings the same with these 2 exceptions:
- Reset the size of your brush to exactly half of the size that you originally used. For example, I used a brush that was 100px, so I will reduce the size of my brush to 50px.
- Reset the brush Spacing to exactly twice what you originally used. For example, I used a spacing of 90% so I will increase my spacing to 180%.
- If the Center layer is not active, click on it to make it the active layer.
- On your document, position your brush in the center of the first dot in your Eyelet. Don’t worry if it’s not centered exactly. We can adjust it later. Hold down the Shift key and drag your brush across your document to the far right.
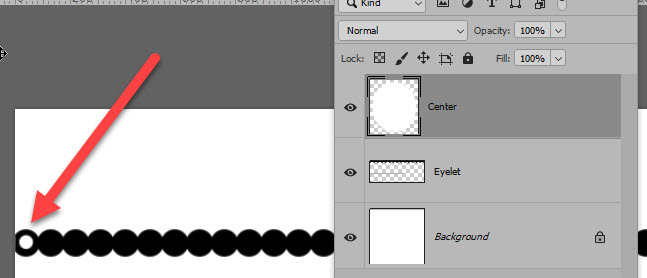
- Get the Move tool. Use the Arrow keys on your keyboard to nudge the white dots into the center of the Eyelet layer. The result should look like this.

- In the Layers panel, hold down the Ctrl key (Mac: Cmd key) and click on the thumbnail of the Center layer to get a selection outline.
- In the Layers panel, click on the Eyelet layer to make it active. Press Delete on your keyboard.
- Press Ctrl D (Mac: Cmd D) to deselect.
- In the Layers panel, click on the visibility icon of the Center layer to hide it. Click on the visibility of the Background layer to hide it. (Until you turn off the visibility of the Background layer you might think nothing has happened!).
- Trim away the excess transparency and Save your eyelet to use over and over again.
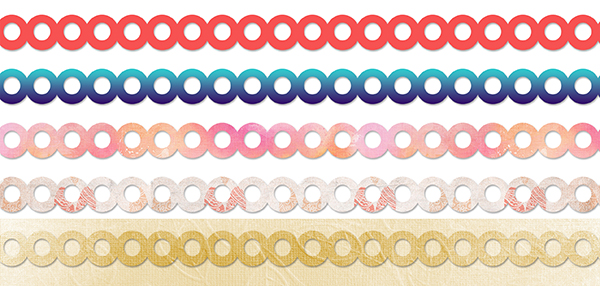
Suggestions on how to Stylize your eyelet:
- Add a solid color
- Add a Gradient
- Apply a Layer Style
- Clip a paper to the eyelet
- Use Blend Modes and blend the eyelet into your background
Adding an eyelet border to your cards
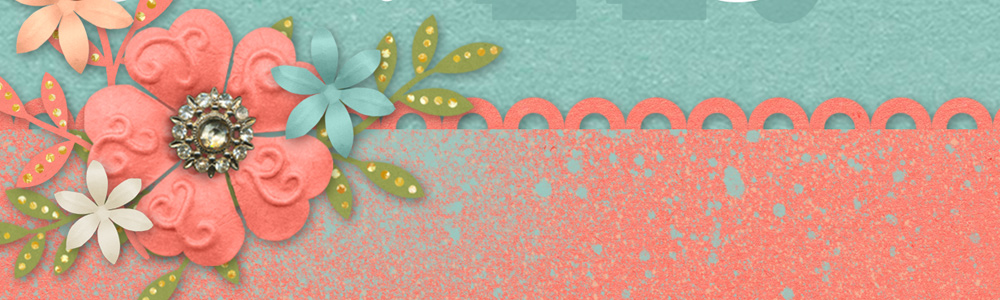
The eyelet creates a perfect divider on this Mother’s Day greeting card.
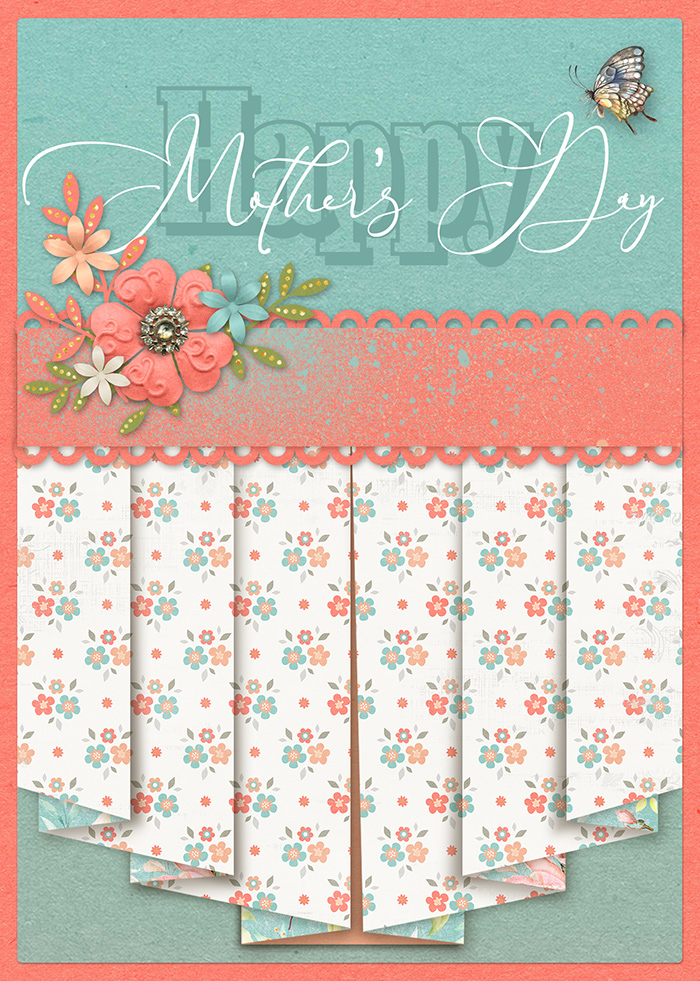
Credits:
This card was created by Renee using Greeting Card Template 01 by Karen Schulz Designs. The kit used is Celebrating Women, a Collaboration between Karen Schulz Designs, Neia Scraps, Just Because, and Prelestnaya P. Designs.