How to Add to a Clipping Mask
Learn how to use the Brush Tool to add to a Clipping Mask, making it a perfect fit for your photo.
Download a PDF of this tutorial.
So, you’ve clipped a photo to a mask but the result isn’t exactly what you envisioned. Perhaps the photo is too large for the mask, or the mask is too large for the photo.
These problems can be fixed quite easily:
- Resize the mask, making it either larger or smaller.
- Flip or rotate the mask to make it fit your photo better.
- Reshape the mask using the Transform tool.
- Choose another mask.
There is another way, though, to fix a mask and that is by adding to the mask using the Brush tool. Before we look at this method, let’s review how to clip an object (photo, paper, etc.) to a mask.
How to Create a Clipping Mask:
(This works the same way in Photoshop and Photoshop Elements.)
- Open a clipping mask. Duplicate the mask and close the original (This will keep you from accidentally overwriting the original.)
- In the Menu Bar:
- Photoshop Elements: Image > Resize > Canvas Size.
- Photoshop: Image > Canvas Size.
- In both: Set the parameters to the size document you would like. I am using a 12 x 12″ canvas.
- Open and place a photo on your document. In the Layers panel, the photo should fall on the layer above the mask.
- Clip the photo to the mask by doing one of the following:
- In the Layers Panel, right-click on the photo and choose Create a Clipping Mask, or
- In the Menu Bar, choose Layer > Create a Clipping Mask, or
- With the photo layer active, hover your mouse between the photo layer and the mask layer (you will see a square box with a downward-facing arrow), press and hold the Alt key (Opt on a Mac), and left-click.
Any of these actions will clip your photo to your mask, allowing the photo to take on the shape of the mask.
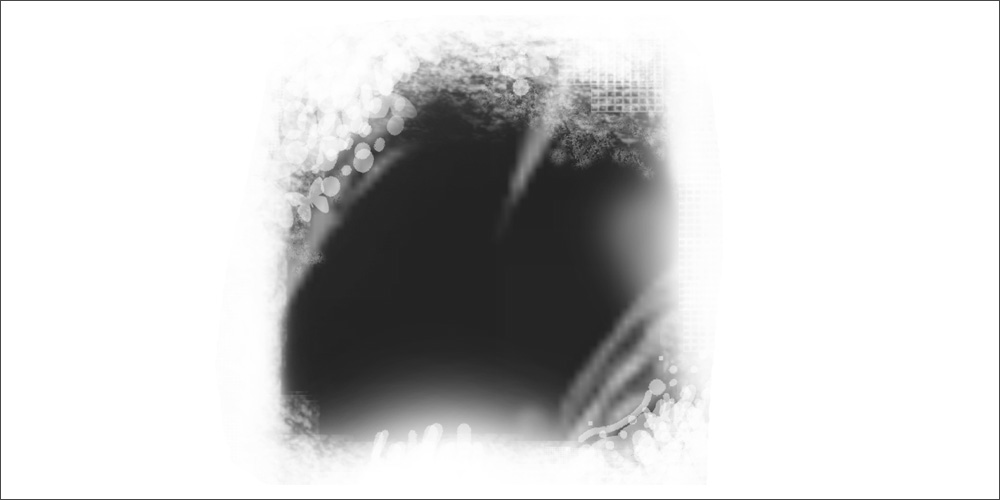
This is the clipping mask I will be using in this tutorial.
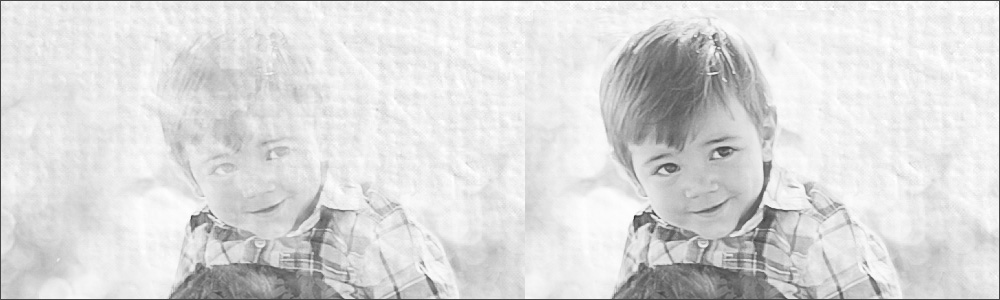
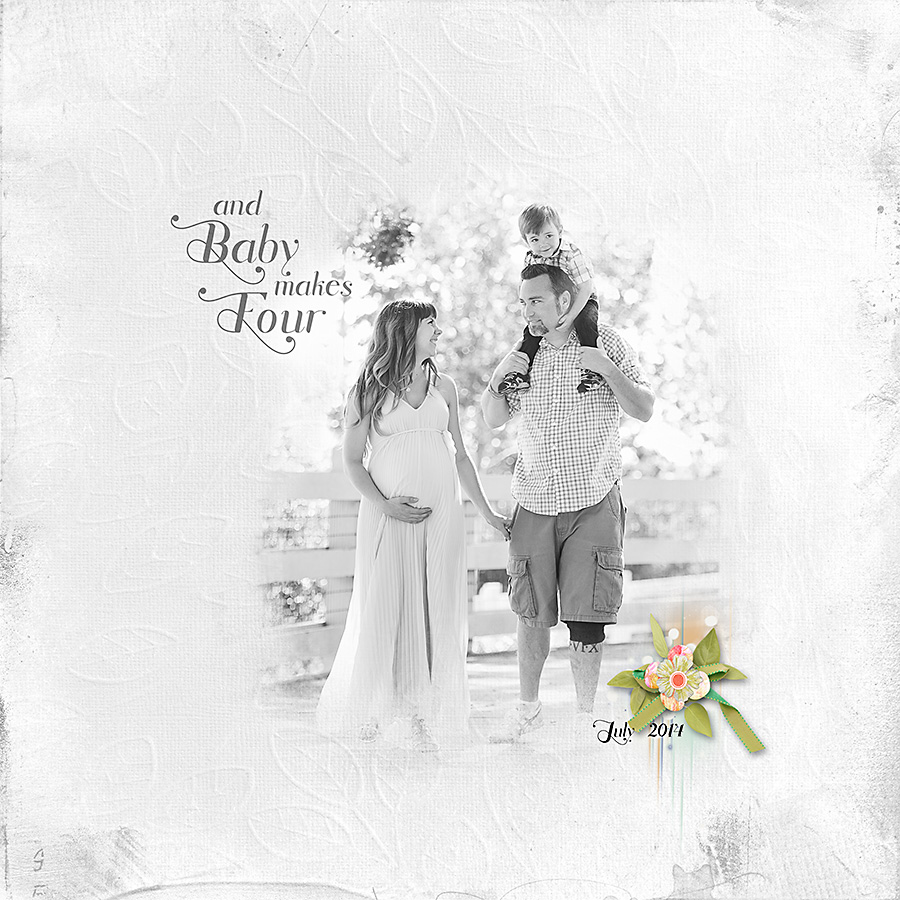
This is the result I got when I clipped my photo to the mask:
I noticed that the right side of the mask extended past the right side of the photo, and there were some problems with the background texture showing through the mask on the little boy’s face and the Mom’s hair and face.
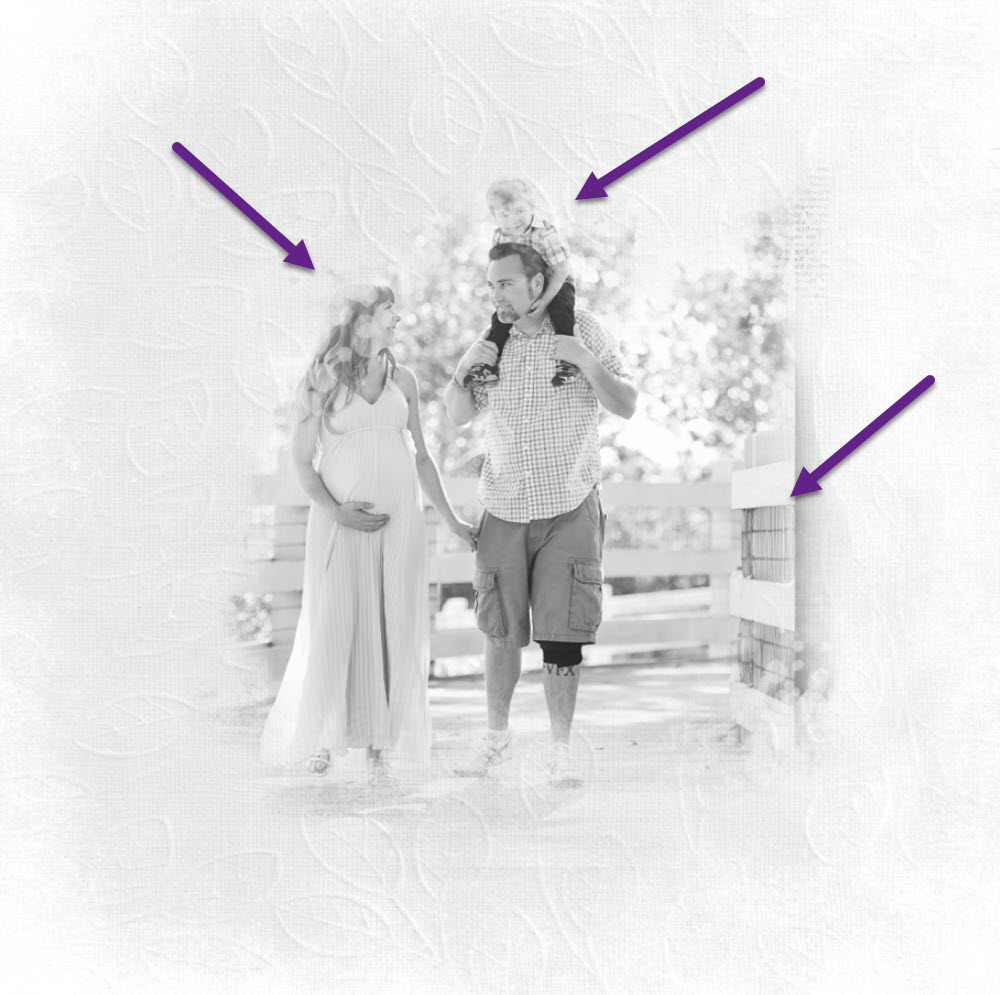
I decided to tackle the right-edge problem first by dragging the right edge of the mask inward.
- With the Mask layer being the active layer, Ctrl T (Cmd T on a Mac) to bring up the Transform tool.
- Press and hold Shift. On the document, click on the middle handle of the Transform Bounding Box, and drag it toward the center of the mask until the edge of the photo is no longer visible. (By holding Shift, we will only be moving the right edge of the mask, which is what we want.)
Next, I needed to address the background texture showing through the mask on the faces of the boy and mom. To do this, I will add to the mask itself using the Brush tool.
How to Add to a Mask:
- Press the letter D to set the Color Chips to the default of black over white.
- Choose a soft-edged round brush about the size of the area with which you are concerned. In my photo, I want to address the texture on the little boy’s face so chose a brush the size of his face. Using a soft-edged brush will keep any harsh edges of the brush showing on the document.
- With the Mask layer as the active layer, stamp down once in the document over the boy’s face. Because you are on the mask layer, your brush stamp will add more black to the mask. Adding to the density of the mask will keep the texture from showing through, which is what we want to accomplish.
- I liked the Bokeh on the mom’s hair but thought the effect was too strong. I reduced the brush opacity to 50% and stamped on the mask layer over her hair. With the opacity at 50%, the brush reduced the strong look of the Bokeh in her hair, but didn’t remove it entirely, which was my goal.
- I reset the brush opacity to 100% and brushed over Mom’s face to remove the Bokeh that was on her cheek.
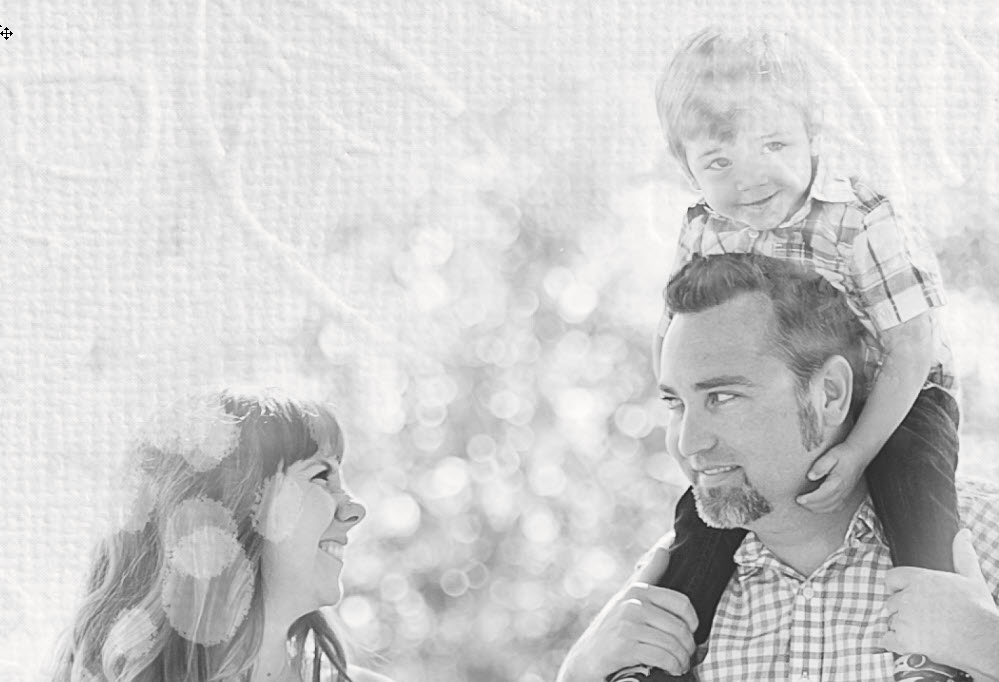
And that’s it. That’s how you add to a mask using the Brush tool to make it absolutely perfect for the photo you are using.
Note: Don’t be afraid to make a mistake. Use the keyboard shortcut Ctrl Z to Undo anything you don’t like, or simply start over, if needed, with your original mask (just be sure to duplicate it again).
Credits:
Paper: Celebrating Women, a collaboration by Karen Schulz Designs, Neia Scraps, Just Because, PrelestnayaP
Edge: Textured Overlays No. 8 by Anna Aspnes Designs
Cluster: Memory Photo Collage Art Pack May
Font: Rhonde
Photograph: Angela Chandler Photography