Tip: Photo too big for a frame? One simple way to solve that problem!
One of our team members, Clara, asked me to make some tutorials with some simple tricks for starters. I almost forgot about this group! I found out about this hobby in 2007 already, but I didn’t realize there still start people with this fun hobby every day who are looking for tips and tricks like I did when I started!
So here’s my first tutorial for the starters amongst us. What to do when a photo is too big for a frame?!
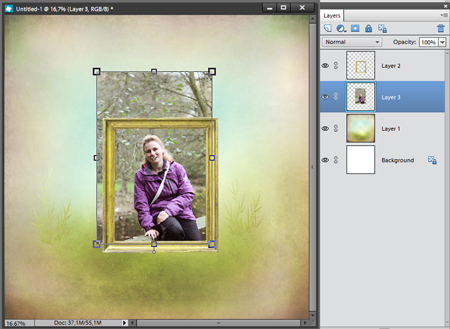
Ok, so I started with a simple layout with a background, a photo and a frame. Make sure your frame is on top of the photo.
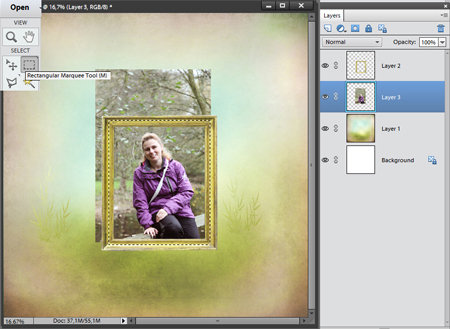
Now select the Rectangular Marque Tool. If it isn’t rectangular, but oval, you can switch it. It depends on the version of Photoshop (Elements) you are using how to do that. In PS and PSE until version 10 you can rightclick on the little tool button and the other options will be visible. In version PSE 11 and 12 you can select the right shape at the bottom of the program.
Now you can move the mouse to one of the corners of the frame (I always place it in the ‘middle’ of the wood/paper border) and with the left mouse button active drag the shape of the frame.
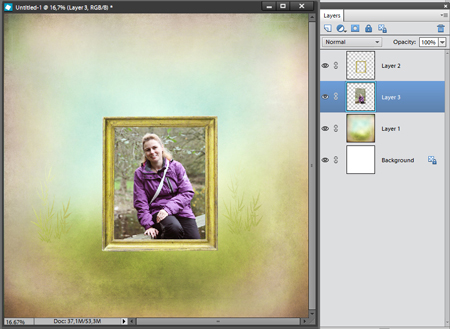
Make sure that your photo layer is active in the layer palette (black or blue, depending your version of PS/PSE). Now right click in the middle of the selection and choose Select Inverse. Now everything outside the frame is selected. Hit the delete button and the part of the photo outside the frame will be deleted. With Ctrl+D the selection line will be removed.
There are more ways to do this. You can also use the Magic Wand Tool to make the selection within the frame. When you use this tool you can left click outside the frame and hit the delete button. This is easier than what I descriped above, but…. sometimes a small stroke of the photo will not be cut off and will be visible. It depends on the frame. You can also not use the Magic Wand Tool if the frame has already a shadow.


