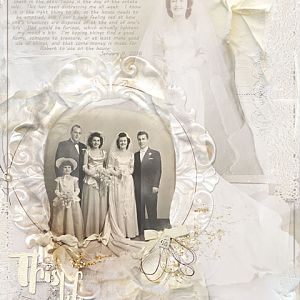
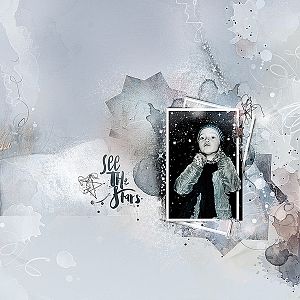
new life for a very poor photo.
Credits
Anna Aspnes
**new**
ArtPlay Palette Aspera
http://www.oscraps.com/shop/ArtPlay-Palette-Aspera.html
Looped UrbanThreadz No.1
http://www.oscraps.com/shop/Looped-UrbanThreadz-No.1.html
MultiMedia Stars No.2
http://www.oscraps.com/shop/MultiMedia-Stars-No.-2.html
Life WordART Mix No.1
http://www.oscraps.com/shop/Life-WordART-Mix-No.-1.html
also
FotoGlow Mix No.1
http://www.oscraps.com/shop/FotoGlow-Mix-No.-1.html
Taped Textures No.1
http://www.oscraps.com/shop/TapedTextures-No.-1.html
Taped Textures No.5
http://www.oscraps.com/shop/TapedTextures-No.-5.html
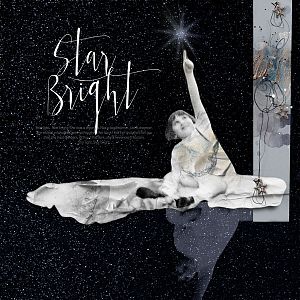
For starry background:
1. Add a new layer above your photo layer.
2. Fill your new layer with black. Your photo wont be visible for a little while.
3. If your program allows, convert the newly filled layer to a smart object. Note: This is not a crucial step. Converting to a smart object allows you to modify your filter layers (see below) at any time in the process. If you cant convert to a smart object, you may have to play a bit more until you get a result that you like.
4. Go to the Filter menu and choose Noise, then Add Noise. I set the amount to 30%. Check Gaussian and Monochromatic, then click ok to close the dialog box. You should see a black layer with random white dots.
5. Go back to the Filter menu and choose Blur, then Gaussian Blur. I chose a radius of 3.0 Pixels.
6. Add a Level Adjustment layer above your new black star layer. Clip the adjustment layer to the black star layer. Now, drag the white slider over to the far left until your numbers look something like 24 1.00 40. Basically, all three sliders (black, gray, and white) will be very close together on the left side of the dialog box.
7. Add a layer mask to your black star layer. Then turn the layer visibility off.
8. Click on your photo layer. Using either the magic wand tool, quick selection tool, or lasso tool (whichever works best for you and your photo) outline the area of your photo where you DONT want the stars. Go back to your star layer, and with the layer mask selected click delete.
9. Turn the star layer back on and change the blend mode to Screen.
10. You can play with your stars by adding different colors (hue saturation layer or maybe a light leak) to change the look.
Thanks for looking :-)