Tip: Warping shadows in Photoshop CS
One thing I really love about Photoshop CS is the possibility to warp things. It’s a function I really miss in Photoshop Elements. For the ones of you who are working with CS I want to show how you can warp a shadow.
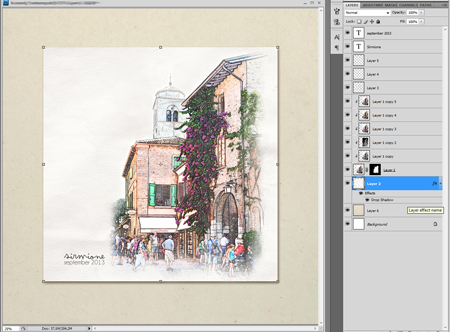
I will show it on a smaller piece of paper behind my photo. I started with giving it a standard shadow.
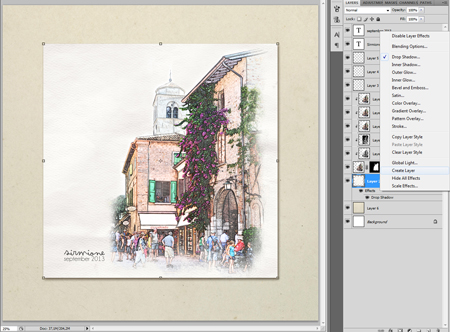
Now we have to create a seperate layer from this shadow. Right click on Effects and choose Create layer.
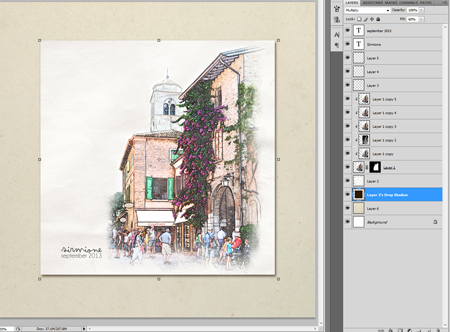
When you’ve done that you will see that the shadow is a seperate layer now.
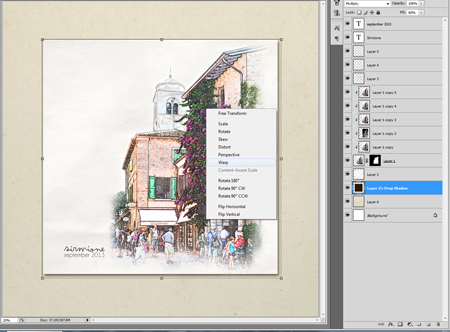
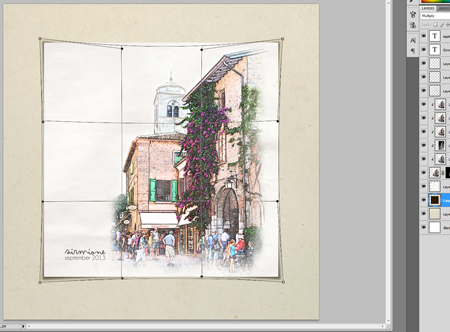
Now comes the fun part! Hit Ctrl+T and then right click. Choose Warp.
A square will be visible now, it’s defided in equal smaller squares. Now you can start pulling parts of the shadow in and out. I made the corners a bit longer but the middle part of the sides are pulled in a bit. Hit enter when you are done.
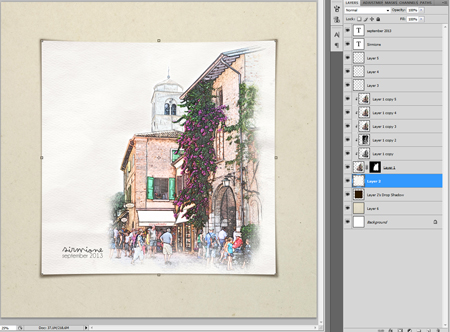
Now you can go a little bit further by also warping the piece of paper.
You see how easy it is to get more depth and realism on your layout with this technique!
thanks for your tutorial! I’ll try this week.