OVERVIEW | Changing your Profiles, Preferences and other options:
Your Membership Details:
Changing anything to do with your profile, account or preferences is very simple and easy to do.
At the top of the forum you will see your own Oscraps member’s account/username, so no matter what forum you are in, your details, together with the main navigational toolbars, will always be visible.

Accessing your Profile, Preferences and more:
Simply click on your Username at the top of the screen:

Then select the area you want to go to. (Please remember that some of these areas may be tweaked as we move forward, but the main one, concerning your details, will remain the same.)
Here is a summary of some of things you can do in this area:
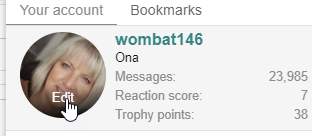
Adding your Avatar:
Click on your name, then hover over the actual avatar image. When the Edit button appears simply click it. In the Avatar screen, upload your new avatar image, keeping it at 400px x 400px. Select the Okay button and you are done!
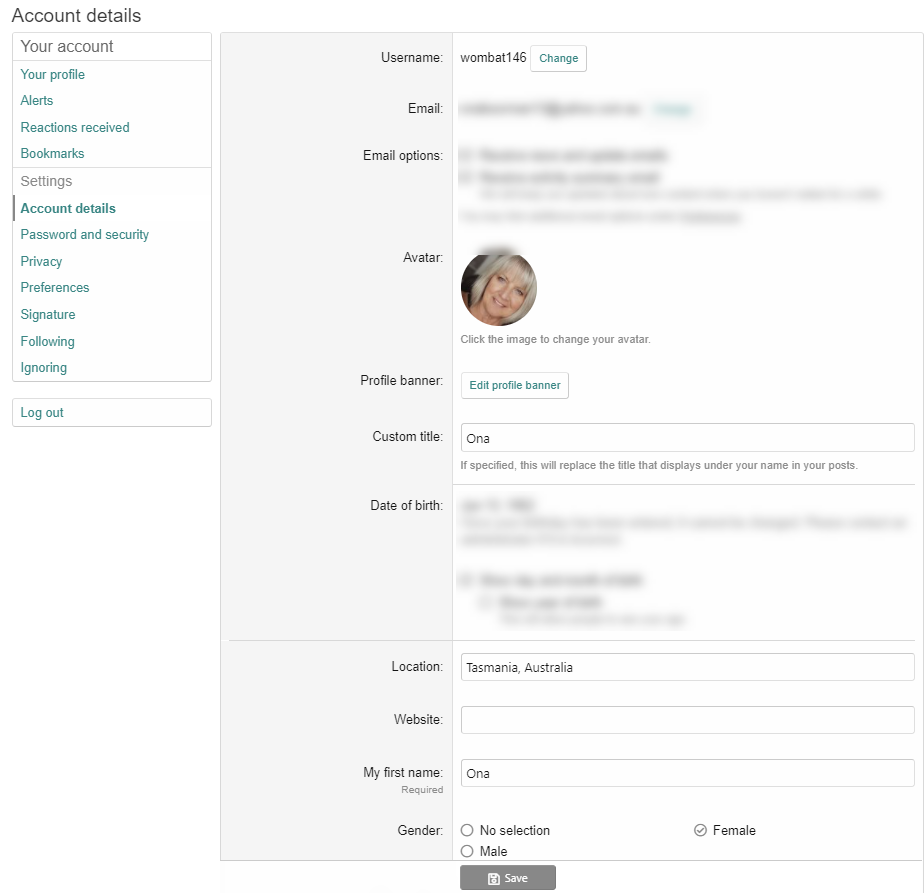
Account details:
This part contains your personal information like your email address, date of birth etc etc. If you Edit any information make sure to click the Save button down the bottom of the screen.
Password/Security:
You can pop in here to change your password at any time.
Privacy:
Use this area to check your privacy options.
Preferences:
Use this to check or uncheck what alerts/notifications/emails you wish to either receive or not receive. More detailed information for Preferences can be found in the CONVERSATIONS | ALERTS GUIDE.
Adding a signature:
You can *create your signature in your preferred program, the finished size should be a maximum of 200px high x 600px wide. (*In Photoshop I started with a 300dpi (H)1200px x (W)3600px psd document and created my signature in it. I then saved it as a jpg file, and then changed the Image size to 72dpi, (H)200px x (W)600px before using the Export (Save to Web) option to keep the file size down as much as possible - try to keep it under 50kb to be on the safe side. )
Want to Link your Signature to your Gallery?
Following:
This will display a list of the members you may be following for one reason or another. You might like to follow a particular artist so you never miss out on their latest pages in the gallery for instance.
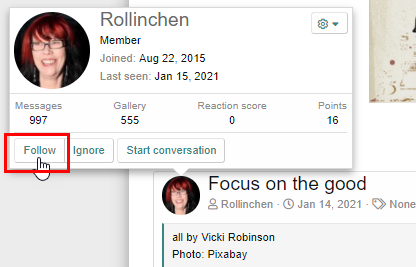
To follow someone, simply hover on their Avatar picture (in the forum or gallery) and select the Follow button.
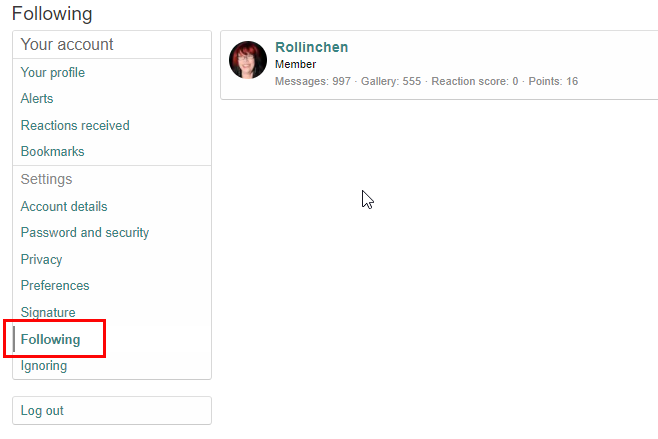
In turn, when you click on Following in your member’s account area, you will now see your list:
Ignoring:
As the name implies, you can also Ignore other members by clicking the Ignore link when you hover over a member’s avatar.
Bookmarks:
You can Bookmark a post in the forum or a layout in the gallery.
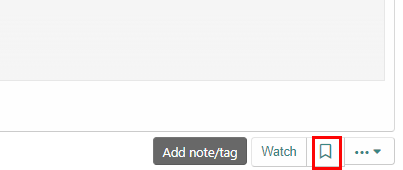
Forum: The Bookmark icon can be found just before the post # in the top right hand corner of the post:

Gallery: The Bookmark icon appears underneath the layout, over the right hand side.
Whenever you create a Bookmark, you are given the option to describe what your bookmark is about, as well as giving it a label/name. The description is not shown anywhere and is totally for your own benefit so it is optional. Giving it a label/name could be helpful if you want to find specific Bookmarks at any time. (See next section.)
Accessing your Bookmarks
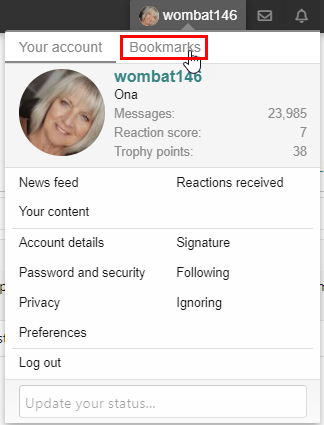
After you have Bookmarked some posts or layouts, you can view them by clicking on your Avatar/Member link at the top of the forum, and clicking on the Bookmark tab, next to the Your Account tab.
The following box will appear:
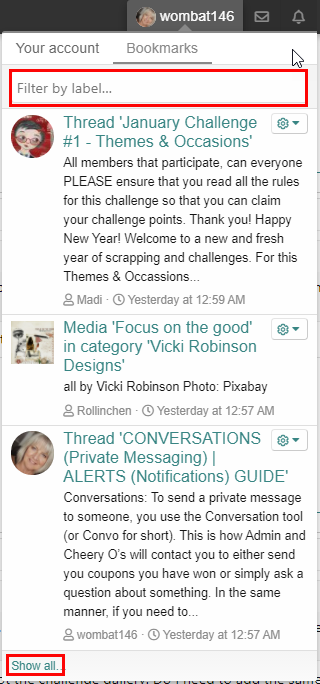
This is where the label/name is useful if you named your Bookmark when you first created it.
For instance, if you wanted to create a listing of all of your favorite layouts in the gallery, you could label the bookmark something like: Fave: by *insert username*. When you then go to find that bookmark you could then filter your Bookmarks to just see your “Fave:” bookmarks by typing that into the Filter by label area at the top.
On the other hand, if you don’t label the Bookmark, then it will show up as just a listing (like my example above) and you would then need to scroll through to find a specific one.
As always, if you have any questions on anything in this post then please ask below.
Your Membership Details:
Changing anything to do with your profile, account or preferences is very simple and easy to do.
At the top of the forum you will see your own Oscraps member’s account/username, so no matter what forum you are in, your details, together with the main navigational toolbars, will always be visible.
Accessing your Profile, Preferences and more:
Simply click on your Username at the top of the screen:
Then select the area you want to go to. (Please remember that some of these areas may be tweaked as we move forward, but the main one, concerning your details, will remain the same.)
Here is a summary of some of things you can do in this area:
Adding your Avatar:
Click on your name, then hover over the actual avatar image. When the Edit button appears simply click it. In the Avatar screen, upload your new avatar image, keeping it at 400px x 400px. Select the Okay button and you are done!
Account details:
This part contains your personal information like your email address, date of birth etc etc. If you Edit any information make sure to click the Save button down the bottom of the screen.
Password/Security:
You can pop in here to change your password at any time.
Privacy:
Use this area to check your privacy options.
Preferences:
Use this to check or uncheck what alerts/notifications/emails you wish to either receive or not receive. More detailed information for Preferences can be found in the CONVERSATIONS | ALERTS GUIDE.
Adding a signature:
You can *create your signature in your preferred program, the finished size should be a maximum of 200px high x 600px wide. (*In Photoshop I started with a 300dpi (H)1200px x (W)3600px psd document and created my signature in it. I then saved it as a jpg file, and then changed the Image size to 72dpi, (H)200px x (W)600px before using the Export (Save to Web) option to keep the file size down as much as possible - try to keep it under 50kb to be on the safe side. )
- Upload your siggie to your gallery or to an offsite platform you already use.
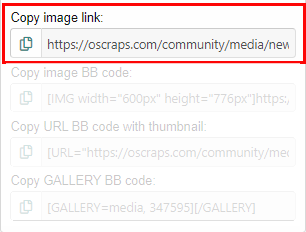
- In your gallery select the Copy Image link: (found under the layout on the right hand side). Just click on it once to highlight it and then use CTRL + C to copy.
- Click on your Username (top of screen) and select Signature
- In the Signature edit box, enter some text if you wish to and centre it if needed.
- Click the Insert Image icon and paste the link you copied in Step 1 above (or paste the link you copied from your off-site hosting platform).
- Click the Save button.
Want to Link your Signature to your Gallery?
- Go to your Gallery
- Select the URL link in your browser (right at the top of your screen) and copy it
- Go back to your signature and highlight the text (if used) and/or the image you inserted. Once highlighted an outline will appear around it, click the Insert Link icon(linked chain) and paste your copied link from the Step above.
- Click the Save button.
Following:
This will display a list of the members you may be following for one reason or another. You might like to follow a particular artist so you never miss out on their latest pages in the gallery for instance.
To follow someone, simply hover on their Avatar picture (in the forum or gallery) and select the Follow button.
In turn, when you click on Following in your member’s account area, you will now see your list:
Ignoring:
As the name implies, you can also Ignore other members by clicking the Ignore link when you hover over a member’s avatar.
Bookmarks:
You can Bookmark a post in the forum or a layout in the gallery.
Forum: The Bookmark icon can be found just before the post # in the top right hand corner of the post:
Gallery: The Bookmark icon appears underneath the layout, over the right hand side.
Whenever you create a Bookmark, you are given the option to describe what your bookmark is about, as well as giving it a label/name. The description is not shown anywhere and is totally for your own benefit so it is optional. Giving it a label/name could be helpful if you want to find specific Bookmarks at any time. (See next section.)
Accessing your Bookmarks
After you have Bookmarked some posts or layouts, you can view them by clicking on your Avatar/Member link at the top of the forum, and clicking on the Bookmark tab, next to the Your Account tab.
The following box will appear:
This is where the label/name is useful if you named your Bookmark when you first created it.
For instance, if you wanted to create a listing of all of your favorite layouts in the gallery, you could label the bookmark something like: Fave: by *insert username*. When you then go to find that bookmark you could then filter your Bookmarks to just see your “Fave:” bookmarks by typing that into the Filter by label area at the top.
On the other hand, if you don’t label the Bookmark, then it will show up as just a listing (like my example above) and you would then need to scroll through to find a specific one.
As always, if you have any questions on anything in this post then please ask below.
Last edited:
")
")
