All members that participate, please remember to read and follow all the rules for this challenge
so that you can claim your challenge points. Thank you!
")
Hi everyone I am Margje and you are welcome to the Creative Photo Editing Challenge for November!
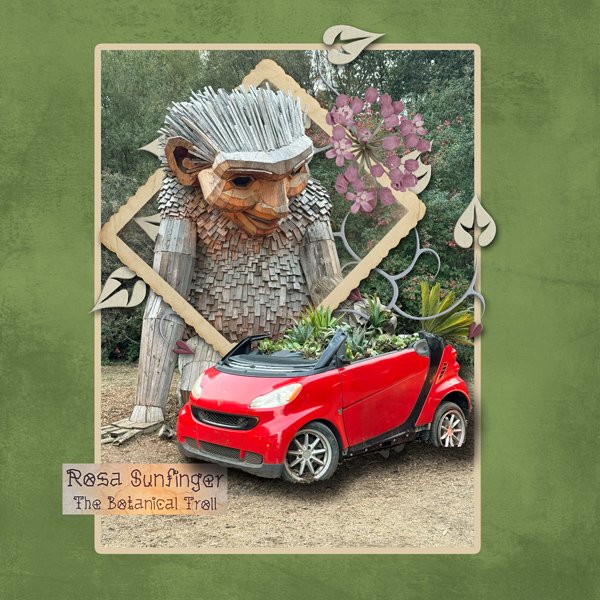
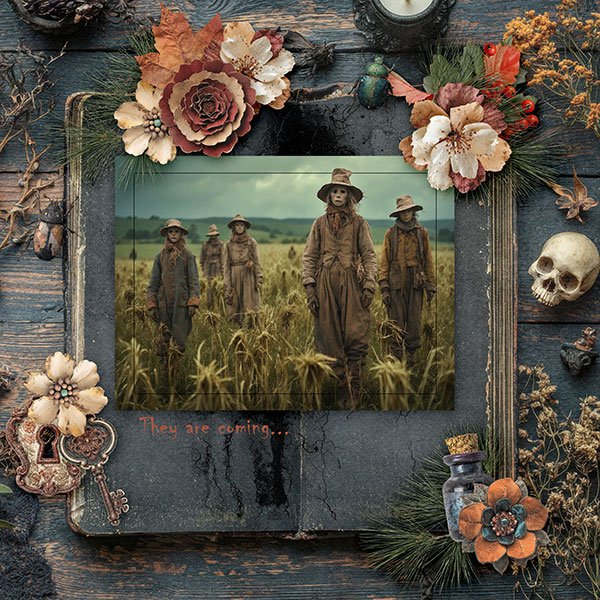
As scrapbookers and digital artists we love to layer and stack things on our layouts. Sometimes it's so fun to start with the layering and stacking on our photo! To give it some 3D effect and make the subject really stand out. There are many ways to do this and I will give some tips later! Lets take a look on the image I started with:

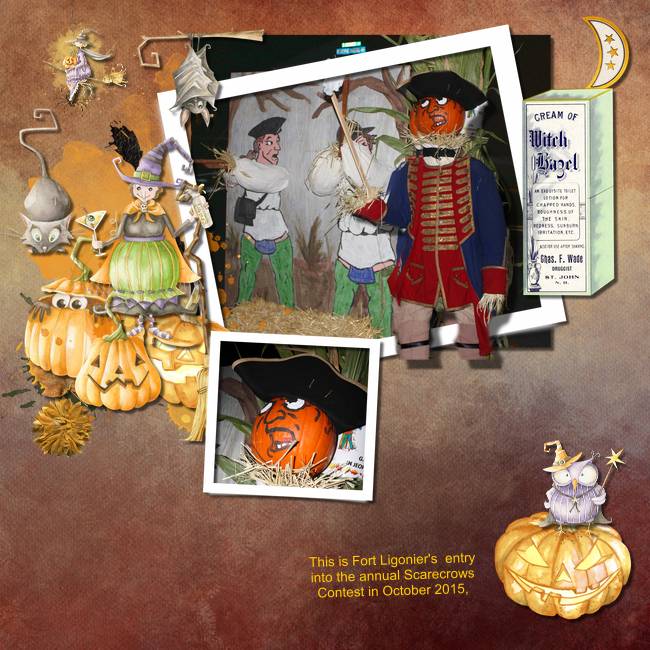
I think you can guess it. Divide the photo to a subject layer and a background layer. Make an extraction of the scarecrow. Select him (Select subject) from the taskbar or the tools panel and (copy the selection to a new layer) CTRL or CMD J above the first photo layer. (When you keep the original layer behind him, you can afford to be a bit less precise) I made the background layer a bit lighter to start to give the image more dept. You also have the option to stroke your extracted subject at this point if you need more accent to the subject. Then give the subject a shadow to make it come loose from the background! At this point you could stop, but as you know me, there is more! A frame behind the subject can also give the photo a depth boost. I made mine from a square selection on a new layer and with a stroke of 30 white pixels. (Rectangular Marquee Tool) Color white Edit- Stroke 30 px. Place the frame under the photo. You can use a frame element from your stash too as you wish! You can rotate if you want to make it more interesting. At this point I found another item I wanted to extract from the subject, and that were the two sunflowers on the side of his hat. I copied them to a new layer as well and gave them a shadow.. So another layer was added to the photo. You could even use a mask on the background layer for some more texture. But this photo didn't needed that so I kept it like this.
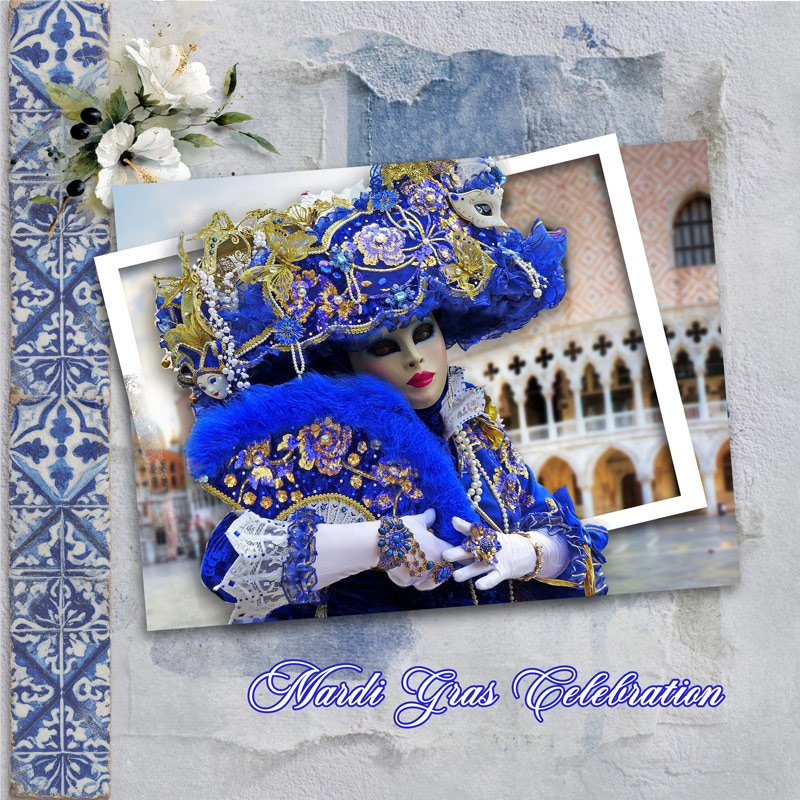
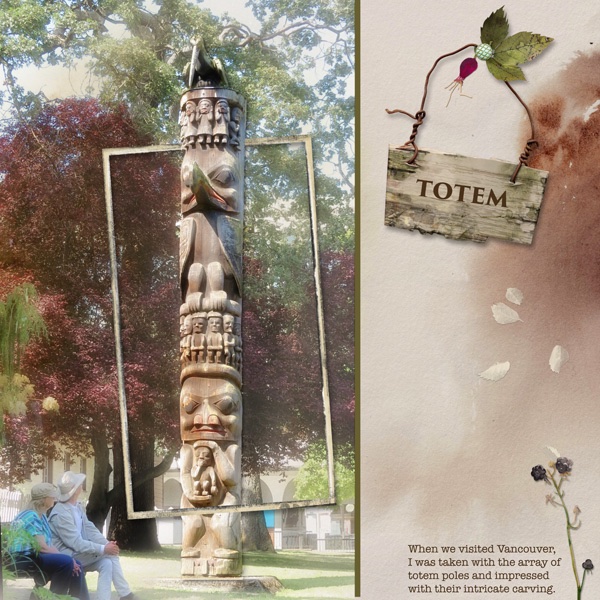
From there I started my layout and layered lots of stuff over and under my photo to give it all a 3D effect! I finished with this page!

Best Witches-Collection by CarolW Designs
Font: Creepy
Here you go! Have lots of fun!
RULES:
- Use only one photo. Make your photo more 3D by making an extraction (or 2) of the subject and placing a frame under your subject. Be as creative as you can in some layering work in under and over your photo. Make a beautiful layout with it! Work with shadows.
- Please use 80% Oscraps products that are currently in the store.
- Non-Oscraps products or retired O designer products can be used whether the designer is selling elsewhere or not.
- You need to credit all the products used on your layout.
- You need to credit the source of any photo(s) as per the Gallery Guidelines.
- Your layout can not be used for more than one challenge.
- Your page must be posted in the Challenge 5 gallery by midnight PST November 30 2025 and linked back to this thread (see below on how to add your linked layout).
- And do not forget to update the CURRENT MONTH'S TRACKING THREAD to be eligible for your coupon.
Adding a linked layout from the Gallery to a thread:
1. Upload your layout to the gallery first. In your forum post click the Gallery Embed icon (little camera).
2. This will open your gallery, simply click on the layout you require, then scroll down to the bottom of the screen and click the Continue button.
3. Your linked layout is now in your post, the image will appear once you have clicked the Post Reply button.
Last edited: