TrishD
TrishD
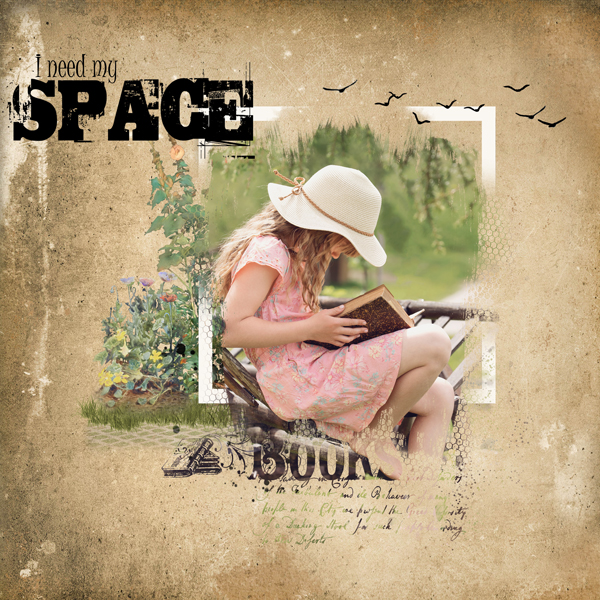
The winner of a $5 coupon has been awarded to PIA/PIPPIN, congratulations on your layout using your new mask. Check your Oscraps PM for the code to claim your prize. On behalf of Lynne I would like to say your layouts and your efforts to create the mask have been extremely inspiring and creative and I hope you have enjoyed joining this challenge
Hi everyone. I'm so excited to host the Designer Challenge for July 2021. This challenge is to make a mask using a brush you can call your own by using four elements supplied for you by Lynne Anzelc Design
HERE is the link to the elements required to try this challenge along with a PDF step-by-step tutorial included in the free download. You must Log-in to Oscraps to download the elements.
This PDF Tutorial will guide through the steps to create the brush to use as a clipping mask. You can then create a page using any of Lynne’s kits and post them on Lynne Anzelc's Oscraps Gallery. To post your layout from the gallery to the challenge thread just follow the instructions below.
Adding a linked layout from the Gallery to a thread:
1. Upload your layout to the gallery first.
2. In your challenge forum, click the Gallery Embed icon (little camera).
3. This will open your gallery, simply click on the layout you require, then scroll down to the bottom of the screen and click the Continue button.
4. Your linked layout is now in your challenge post, the image will appear once you have clicked the Post Reply button
RULES
- Please use 80% Lynne Anzelc products that are currently in the store.
- You need to credit all the products used on your layout.
- Your layout can not be used for more than one challenge.
- Your page must be posted in the Lynne Anzelc's Gallery by midnight PST July 31, 2021 and linked back to this thread for your chance to win a $5.00 Gift Voucher.
Here are the steps as shown in the PDF without the screen images
STEP 1. In Photoshop, start with an 8in x 5.5in 300 dpi Transparent document
STEP 2. Go to “File>Place” or Place Embedded if you have the latest PS version. Then place the element supplied by Lynne called “LA_FoliageF clip mask”. Decrease the size of this element leaving some room around the sides.
STEP 3. Add a new “Blank” layer and “Place” the element called ”LA-book-stamp” and drag that layer to the bottom of the stack
Step 4. Now “Place” “LA-script.png” then move it to wherever you think suitable but keep it close to the main “Black Area”
STEP 5. There is one more element to PLACE called “LA_GildedCage_splatter”. Again, place it close to the main cluster.
Before we create a brush with this stack of elements, you can save the layers as a PSD or TIF so that you can use later if you would like to add more elements, but at the moment these four elements will be enough for our challenge. We will now make a brush from our layer stack.
STEP 6. Click on “Select>All Layers” to select all four layers, then CTRL+E to “Merge all layers
You should have only one layer now made up of all four elements.
STEP 7. Go to “Edit>Define Brush Preset” and name the new brush “Challenge Brush”
You will see the new brush already selected.
STEP 8. Save as a PNG and name it Challenge.png If PS asks if you would like to save the PSD, say NO as we have already saved it. Now we can use the brush as a Clipping Mask.
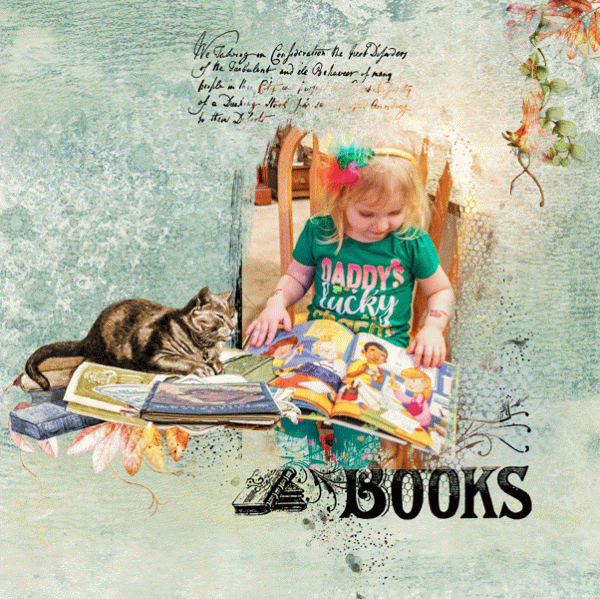
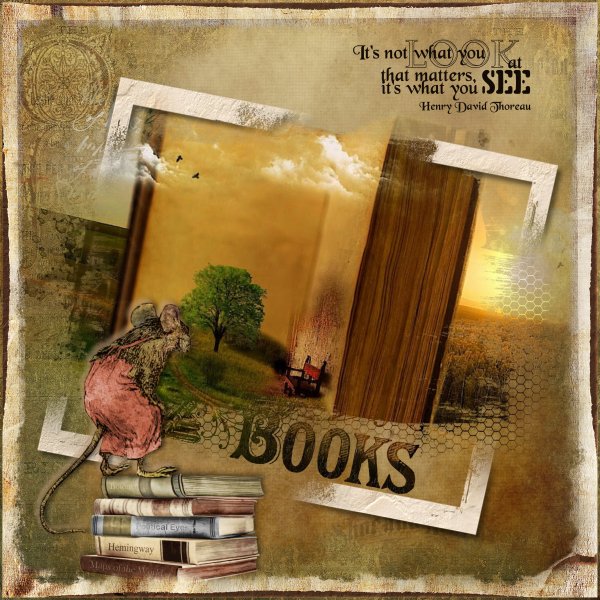
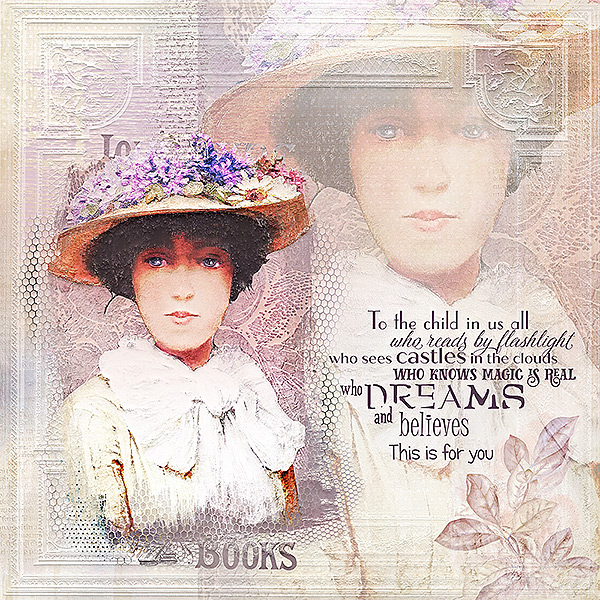
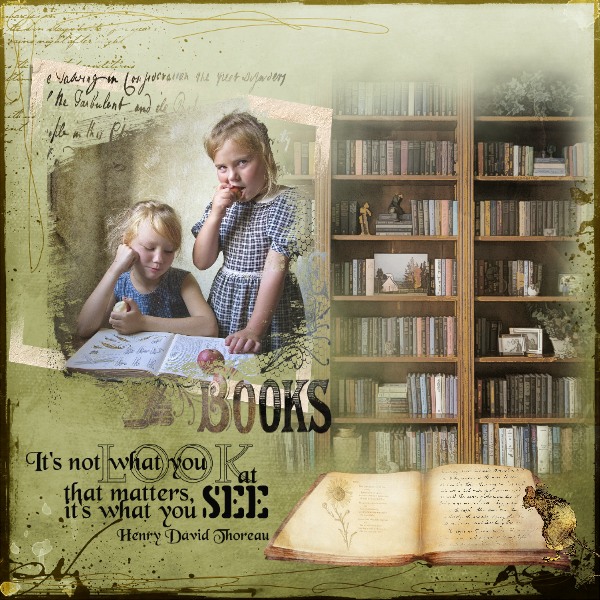
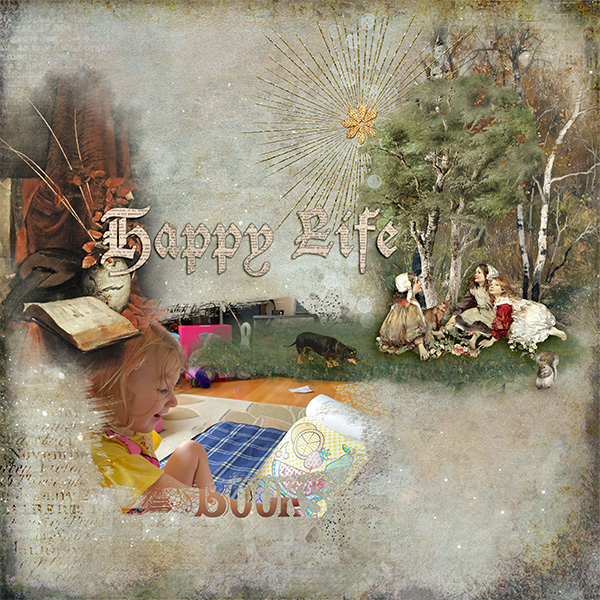
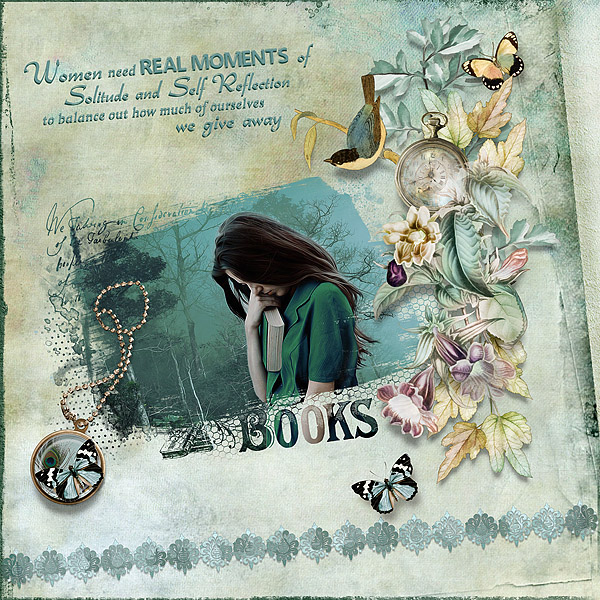
In my layout I have used Elements from Lynne’s Writers Muse and an image from Unsplash and clipped the image to my new mask

Hi everyone. I'm so excited to host the Designer Challenge for July 2021. This challenge is to make a mask using a brush you can call your own by using four elements supplied for you by Lynne Anzelc Design
HERE is the link to the elements required to try this challenge along with a PDF step-by-step tutorial included in the free download. You must Log-in to Oscraps to download the elements.
This PDF Tutorial will guide through the steps to create the brush to use as a clipping mask. You can then create a page using any of Lynne’s kits and post them on Lynne Anzelc's Oscraps Gallery. To post your layout from the gallery to the challenge thread just follow the instructions below.
Adding a linked layout from the Gallery to a thread:
1. Upload your layout to the gallery first.
2. In your challenge forum, click the Gallery Embed icon (little camera).
3. This will open your gallery, simply click on the layout you require, then scroll down to the bottom of the screen and click the Continue button.
4. Your linked layout is now in your challenge post, the image will appear once you have clicked the Post Reply button
RULES
- Please use 80% Lynne Anzelc products that are currently in the store.
- You need to credit all the products used on your layout.
- Your layout can not be used for more than one challenge.
- Your page must be posted in the Lynne Anzelc's Gallery by midnight PST July 31, 2021 and linked back to this thread for your chance to win a $5.00 Gift Voucher.
Here are the steps as shown in the PDF without the screen images
STEP 1. In Photoshop, start with an 8in x 5.5in 300 dpi Transparent document
STEP 2. Go to “File>Place” or Place Embedded if you have the latest PS version. Then place the element supplied by Lynne called “LA_FoliageF clip mask”. Decrease the size of this element leaving some room around the sides.
STEP 3. Add a new “Blank” layer and “Place” the element called ”LA-book-stamp” and drag that layer to the bottom of the stack
Step 4. Now “Place” “LA-script.png” then move it to wherever you think suitable but keep it close to the main “Black Area”
STEP 5. There is one more element to PLACE called “LA_GildedCage_splatter”. Again, place it close to the main cluster.
Before we create a brush with this stack of elements, you can save the layers as a PSD or TIF so that you can use later if you would like to add more elements, but at the moment these four elements will be enough for our challenge. We will now make a brush from our layer stack.
STEP 6. Click on “Select>All Layers” to select all four layers, then CTRL+E to “Merge all layers
You should have only one layer now made up of all four elements.
STEP 7. Go to “Edit>Define Brush Preset” and name the new brush “Challenge Brush”
You will see the new brush already selected.
STEP 8. Save as a PNG and name it Challenge.png If PS asks if you would like to save the PSD, say NO as we have already saved it. Now we can use the brush as a Clipping Mask.
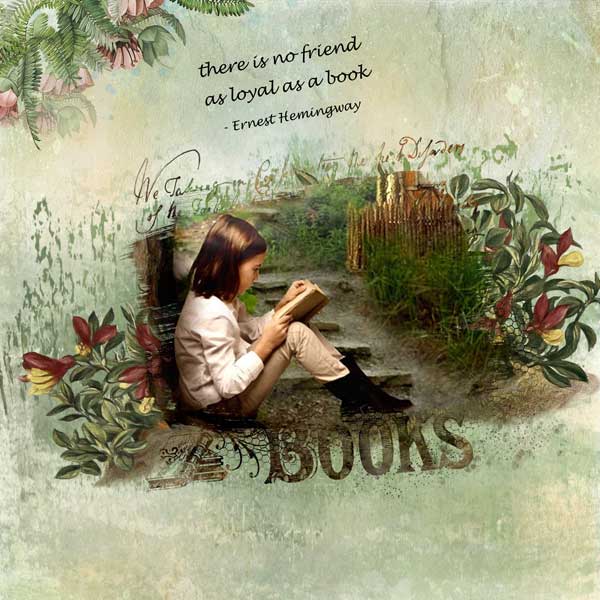
In my layout I have used Elements from Lynne’s Writers Muse and an image from Unsplash and clipped the image to my new mask
Last edited:
.jpg")