Joansmor
Well-Known Member
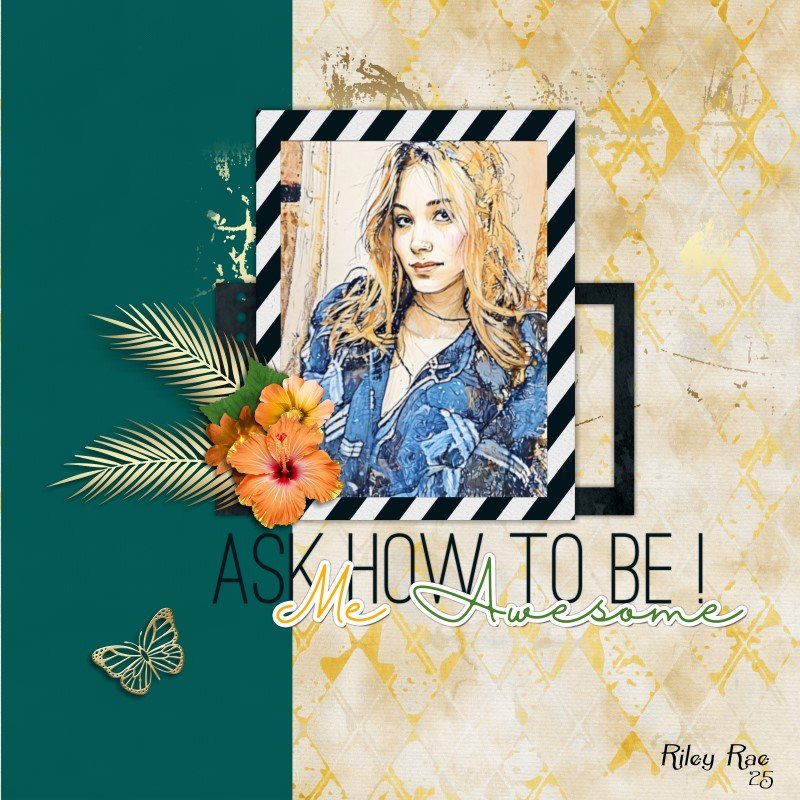
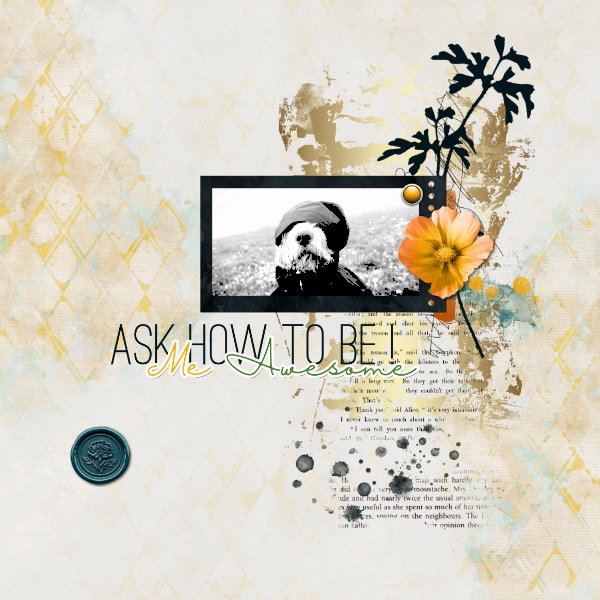
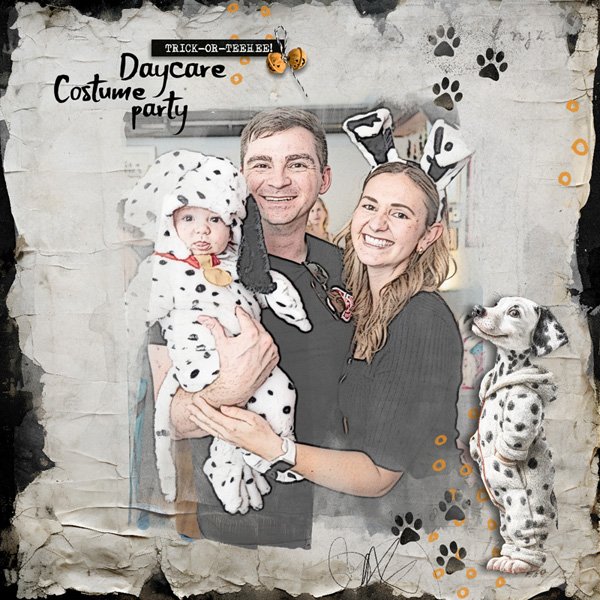
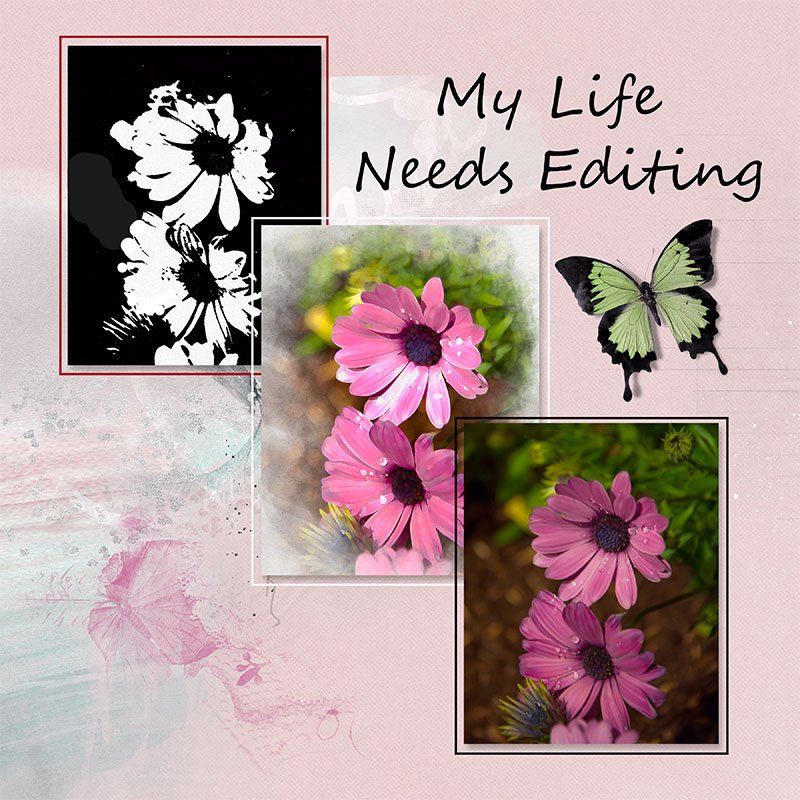
I used the Chalk & Charcoal plus the Note Paper filters on the black copy
Edditing.jpg
- Joansmor
- 4
Used the sketch on the Black and white copy. The other two copies are edited but a long time...