Oscraps

Part photo part sketch tutorial

weaselwatchr

Well-Known Member
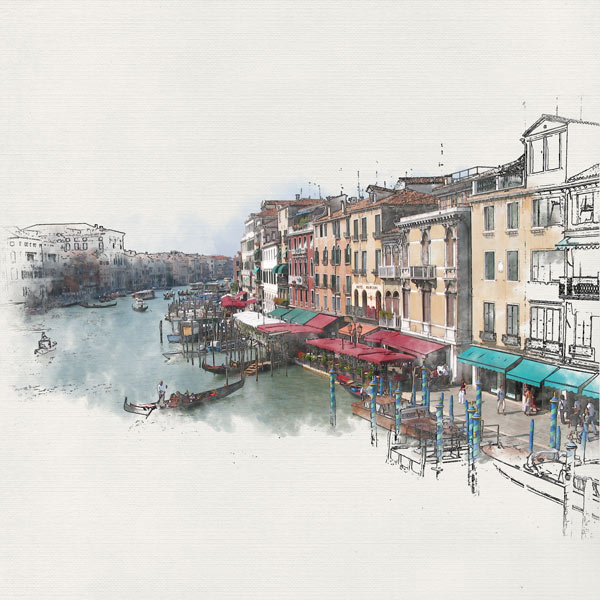
I was wondering if someone may have these instructions. Many years ago scrappy Irene posted a layout of the Grand Canal that was featured on the blog called part photo part sketch with instructions on how to create said look. I had it pinned on Pinterest. Since the blog has updated servers I can no longer access the instructions. Does anyone have them still? Thanks
 

marijke

I love the O!
CHEERY O
I think you are looking for this tutorial
 
Last edited:

AZK

Queen of the Universe
CHEERY O
I've used this technique so often I pretty much have the steps memorized but didn't realize the original link was no longer functional. I would have been upset if I did need to refer to it, so thanks for the new link, @marijke!
 

wombat146

ONA - Administrator
CHEERY O
@weaselwatchr @janedee Danica and Jane, if you open the blog, click on any of the daily entries to open it, you will then see a list on the right hand side from where you can select the Tutorials section.
1663122645527.png

Of course they are the older ones and some of the images may not appear but the hopefully the main steps will be there for people to follow. :)
 

Jam-on-toast

Well-Known Member
CHEERY O
@weaselwatchr I saw this too and was wondering how that can be done... I figured, the easiest way would be to

1. Take your photo and turn it into a sketch (black and white or colored) - use one of the YouTube tutorials
2. Place your original photo on top of the sketch (make sure the photos are the SAME size)
3. Use transparency tool to fade out a part of your untreated photo... play with it unitl you are happy with the result.

Here's what I did a while back (there is a link to my original photo in the description).

 
Top