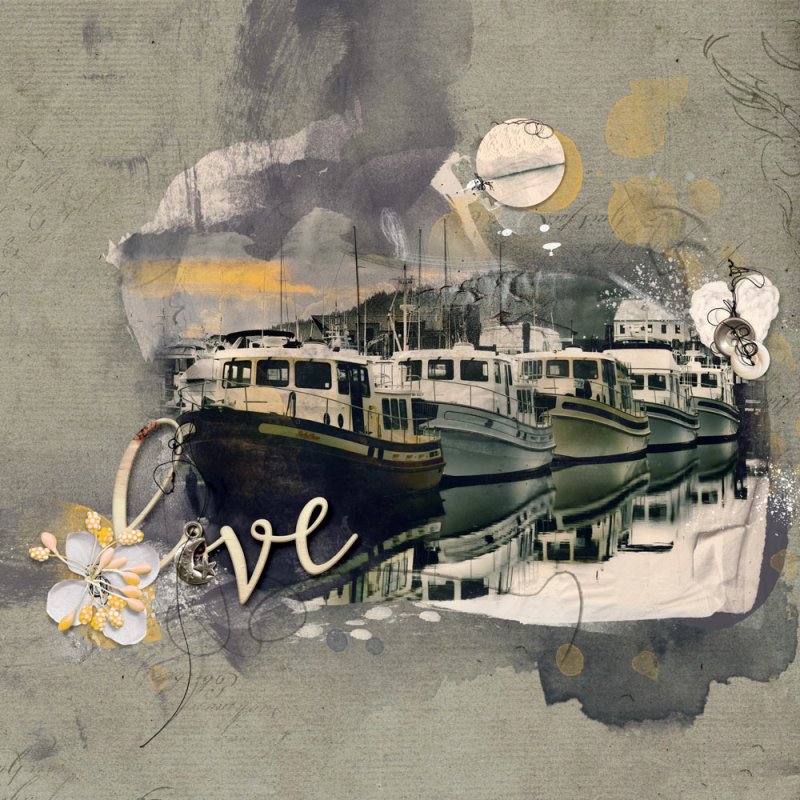
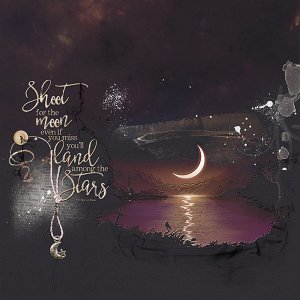
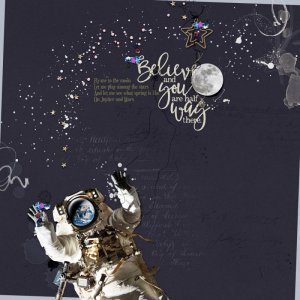
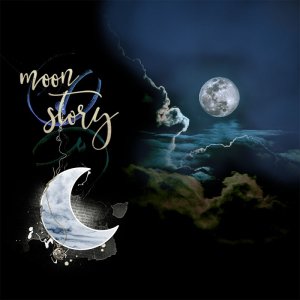
In this layout, I was practicing using adjustment layers on my photo and to match the photo. Adjustment layers used: Solid Color, Levels, Vibrance, Hue/Saturation, Black & White, Channel Mixer, Color Lookup, Posterize and Selective Color.
Construction: I started with ArtsyTransfers To The Moon #1 and clipped my revised color photo (revised with adjustments Color Mixer, Color Lookup, Vibrance, Black & White with a layer mask to brush some colors back) to a cream paint layer and a transfer layer. I then added parts of ArtsyTransfers #4 and #5 for textures.
I used ArtPlay Palette To The Moon elements plus the UrbanThreadz No 10 to make the left and right clusters. I added the MultiMedia Moons No. 1 #1 with a Color Lookup “tealOrangePlusContrast.3DL” to the sky.
The background paper was added last as I was playing with the coloring and finally decided to mimic the greenish gray on the last 2 boats. I used ArtPlay Palette Impressario Solid Paper #5, rotated with a Solid Color Fill and Posterize (enhanced the texture of the paper slightly).
