[B][I]Page 10[/I][/B]
[URL='
https://www.oscraps.com/shop/ArtPlay-Palette-Ambages.html']Artplay Palette Ambages[/URL] (solid paper 3)
[URL='
https://www.oscraps.com/shop/ArtPlay-Palette-Beach.html']Artplay Palette Beach[/URL] (transfer 7, brush 1, starfish)
[URL='
https://www.oscraps.com/shop/Travel-Valuepack-No.-1.html']Travel Valuepack No. 1[/URL] (road quote)
[URL='
https://www.oscraps.com/shop/Project-Template-Album-No.-5.html']Project Template Album No. 5[/URL] (10)
Project 2021 –Wordart10
[B][I]Page 11[/I][/B]
[URL='
https://www.oscraps.com/shop/ArtPlay-Palette-Ambages.html']Artplay Palette Ambages[/URL] (solid paper 3)
[URL='
https://www.oscraps.com/shop/ArtPlay-Palette-Beach.html']Artplay Palette Beach[/URL] (transfer 5, brush 1, sunglasses)
[URL='
https://www.oscraps.com/shop/Project-Template-Album-No.-5.html']Project Template Album No. 5[/URL] (11)
Project 2021 –Wordart11
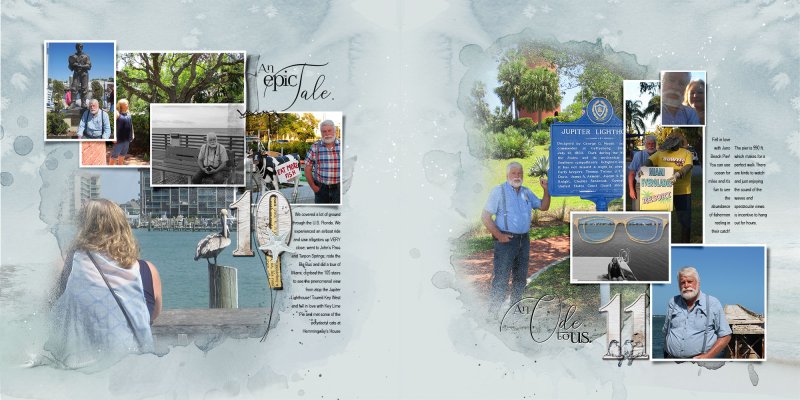
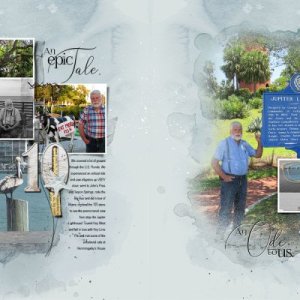
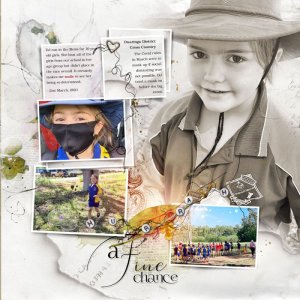
When working on pages that are going to be side-by-side in a photobook, I work in double-page format, so I create a new document that is 24”W x 12”H
I bring in the appropriate page templates (as listed above) and then turn off the layers that I don’t want in my design
I typically follow the steps below, working on both pages at a time, to ensure the final look is balanced and cohesive
I added my photos in, and clipped them to each of the fotoblendz masks and frame masks
Once the photos were positioned, I adjusted the colours of the stains (Edit, Fill, Color then chose an appropriate colour from my layout)
I played with a layer mask to achieve the effect with the sunglasses
I then added my wordart and elements and adjust colours if needed (Image, Adjust, Hue Saturation)
Finally, I added splatters and recoloured as needed