Tip: Coloring wordart with a fill layer
Hi all, Irene here, again with a tip how to color your wordart!
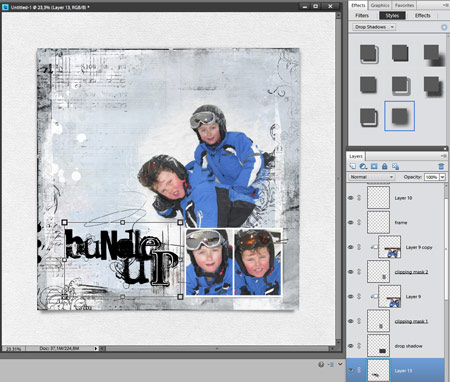
Let’s start with placing a wordart elements on your layout:
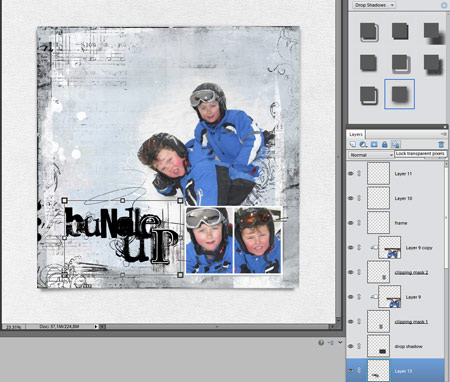
Have you ever wondered what the buttons on top (PSE11) or at the bottom (PSE10) of the layer palette are for? Well, I am going to show you what you can do with one of them! Make sure your wordart layer is active. Then choose the button with the transparent square with the lock: Lock Transparent Pixels. It is not visible on the layout, but only the not-transparent part of your layer is now selected.
Then go to Edit and choose Fill Layer:
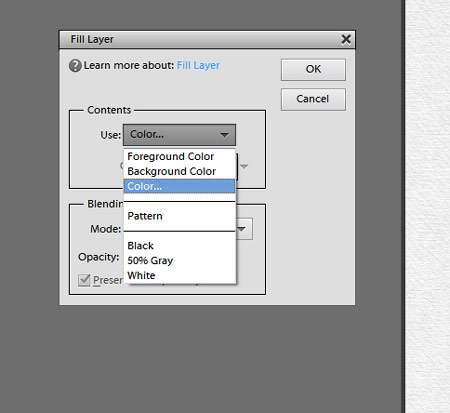
You will get another screen. You can choose to use the foreground or background color (the 2 colors at the bottom of the tools) and some other options. I choose Color.
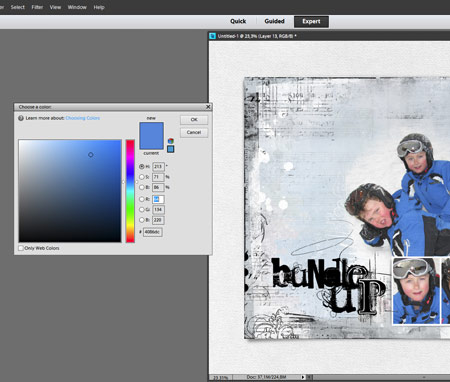
After choosing Color you will get another screen. You can pick a color from it, but if you move your mouse outside the screen you get the Color Picker Tool. You can choose any color from your layout. I chose blue from the jackets.
When you click OK, the wordart now has the selected color:
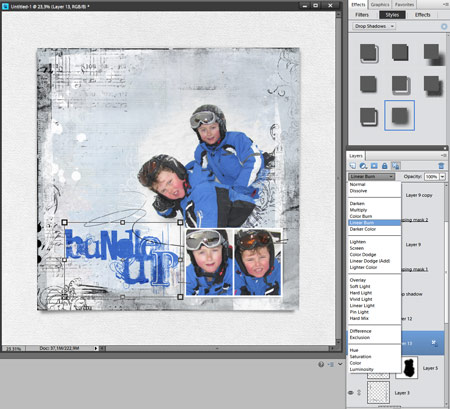
You can stop now, but I like to go further a bit. It still looks a bit to solid. I tried some blending options and ended up with Linear Burn. Now the results really depend on the chosen color of the wordart and the color of the background. But here Linear Burn worked great. You can see there is a little bit more color variation in the wordart, because of the colors in the background.
I really hope you enjoyed this little tutorial.
Great tip, but I always do Color Overlay when I recolour wordart, which is really really simple!