Hybrid: Laminated Mini Album
For my mother-in-law’s birthday present, I presented her with a laminated mini-album of my boys. She wanted some photos which she could show them to her friends and I immediately thought of a mini album. I laminated it as well, just so it could last longer.
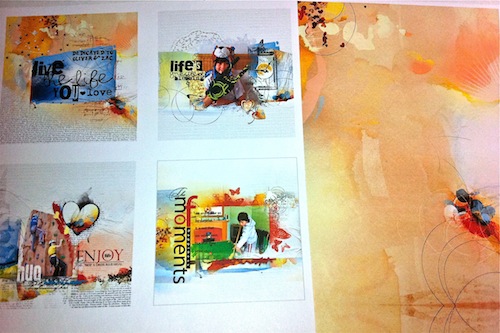
The pages in the album were completely done digitally. Then, on a sheet of A4 (letter size for those in the US), I inserted the pages for printing out. I wanted the pages to be in size 3.5×3.5″. After they were printed out, on the back side of the sheet, I applied a piece of patterned paper and printed it out.
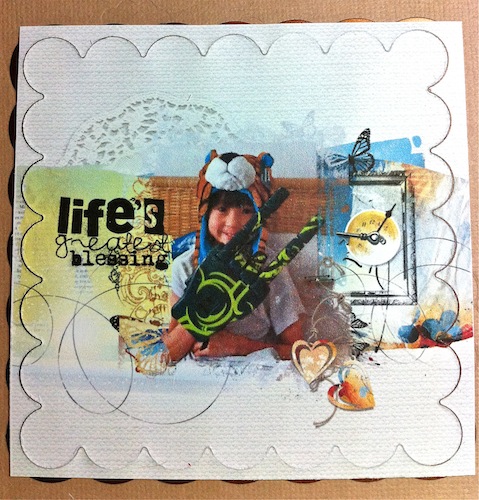
The pages could be left as squares but I wanted them in different shapes. My Spellbinders nestabilities and Cuttlebug came in handy and each page was cut using various die templates.
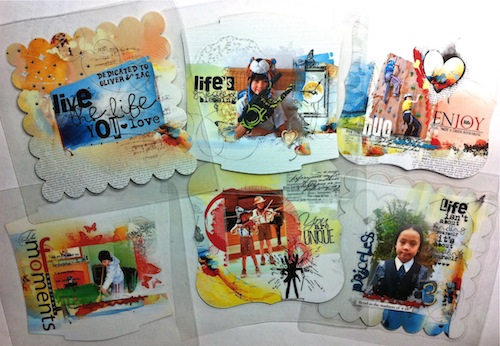
Before laminating them, I decorated the back side of the page using washi tapes and word stickers, just so they wouldn’t look so plain. Here are the laminated pages:
The laminated pages were then cut using the Spellbinder die templates, this time half an inch bigger. Once done, they were assembled as a mini album and bind together. Here’s the finished album:
A quick tip, if you have digital pages done already, they can quickly be used to assemble into a mini album. Just shrink them down and print them out according to your desired mini album size. If you don’t have a laminator, skip the laminated process and just bind the album. They make great gifts for relatives!


Fantastic idea and fantastic album. Thanks for sharing…..
This is so cute! I am sure she will love it. What a great idea!
I love the way you’ve done different shaped edges for each page, Audrey … great idea!!!
Beautiful. I was going to do one for mothers day this year, thanks for sharing your ideas.
Love how you did this! I’ve never thought about doing one this way and I love it! And I even have a laminating machine! Thank you for the inspiration!!