4 Ways to use Colorizers
Colorizers. What are they and what do you do with them?
Colorizers, by Snickerdoodle Designs, are a new product here at Oscraps. That’s me. And I’m here today to show you 4 ways to use them. They were designed to help you colorize items easily and quickly. Here’s how:
Coloring Graffiti
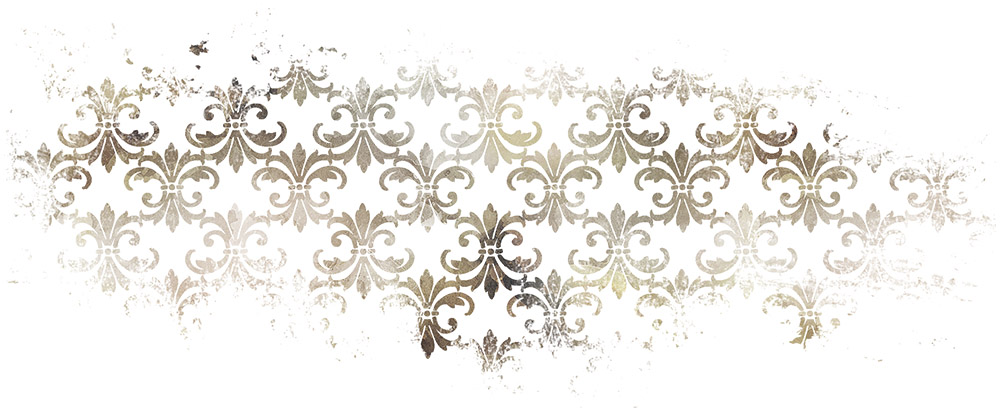
Many designers include graffiti in their digital scrapbooking kits. These fun elements can include text, doodles, or different shapes, for example. They are usually provided in papers or colors that coordinate with the designers kit, but are often generic enough to be used in other ways as well.
Here is a piece of graffiti from This is Me November Graffiti. While it coordinates beautifully with that kit, it is also a piece that could easily be used on any scrapbook page with a simple recolor.
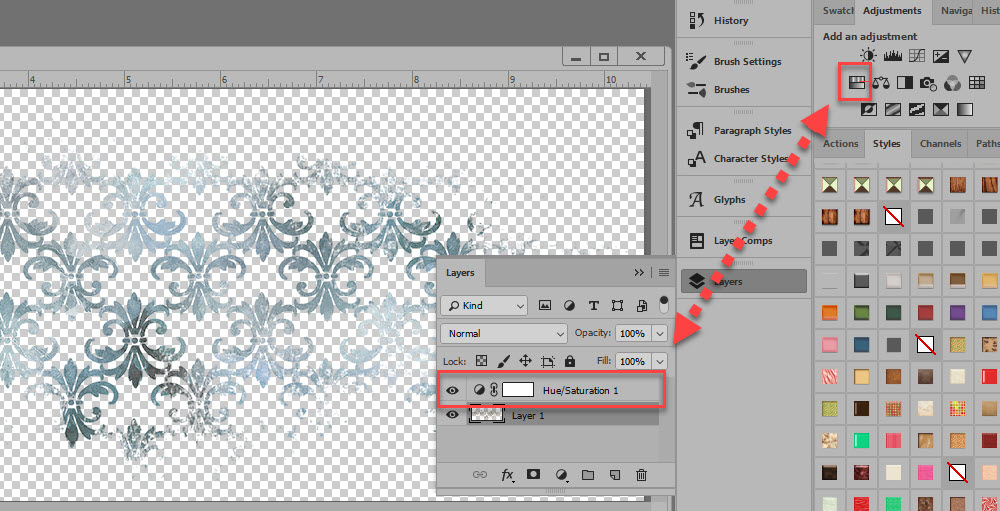
We could add a Hue/Saturation Adjustment Layer, to change the color, from brown to blue in this example.
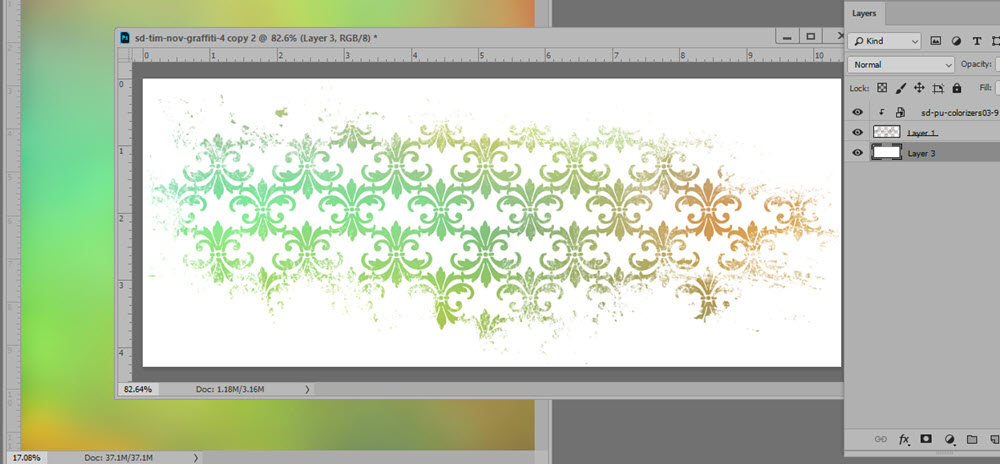
But if we wanted to add multiple colors to the design element, using a Colorizer is a quick method. Place a Colorizer above the graffiti and clip the Colorizer to the mask, and you’re done!
Coloring Black Stamps
Stamps can add great interest to our pages. We can blend them into our backgrounds, colorize them, and apply Styles to them. We can also use a Colorizer to achieve different results, using Blend Modes.
This is a Stamp from Metamorphosis Stamps.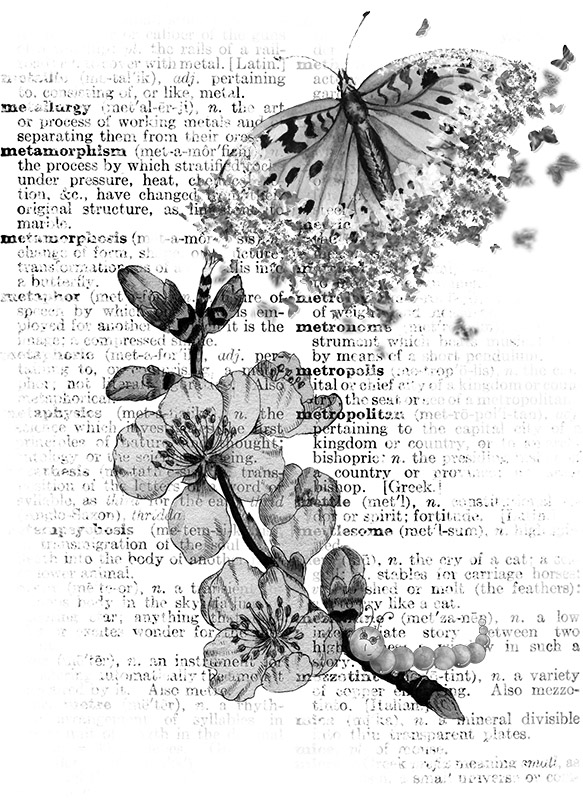
By placing a Colorizer on the layer above the Stamp and creating a Clipping Mask, then experimenting with Blend Modes of the Colorizer, we can achieve a variety of results.
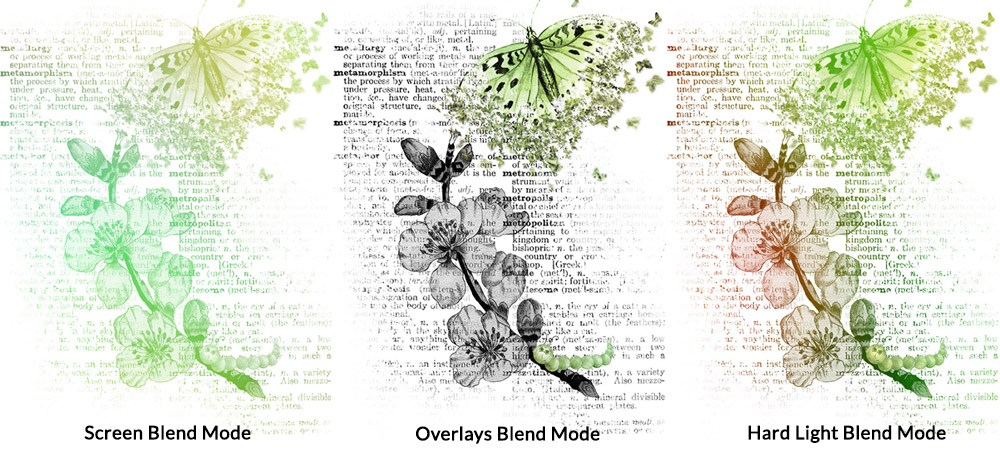
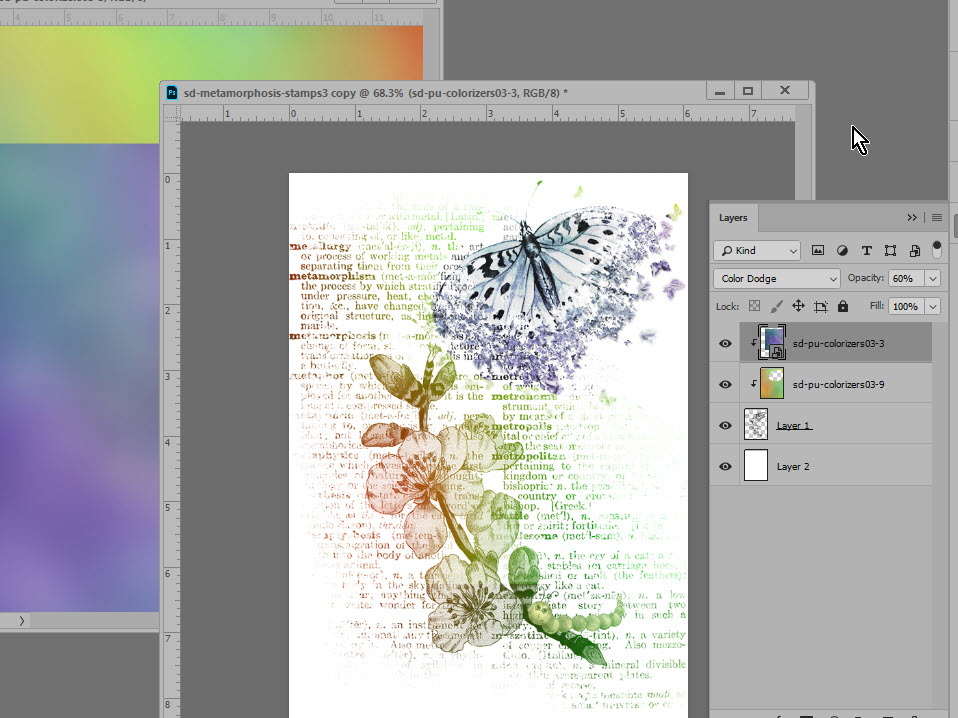
If you really want to have fun, try adding 2 Colorizers to your image. In the example below, I added a 2nd colorizer (blue/purple) and positioned it on top of the butterfly. I erased the part of the first Colorizer (green/orange one) where the butterfly was so that only the purple was visible. (If you know how to Mask, that is a better option than using the eraser, since it’s non-destructive.)
A beautiful result with just a few clicks of your mouse!
Coloring Grayscale Backgrounds, Basic
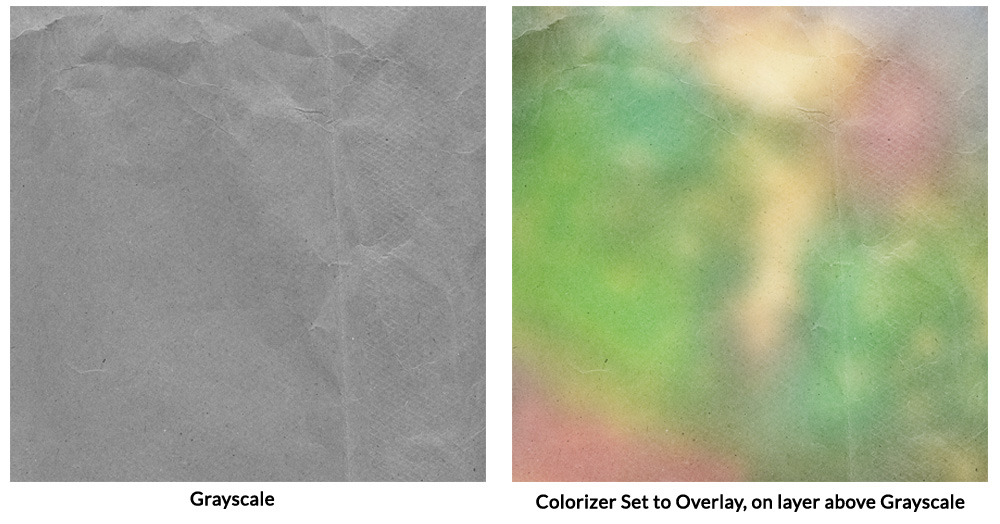
No matter what type of grayscale background you have handy, whether it is plain or patterned, using a Colorizer is a quick way to create a lovely background paper. Place a Colorizer on the layer above your grayscale background and experiment with Blend Modes of the Colorizer. (Grayscale paper is from Crumpled Papers 01).
Coloring Grayscale Backgrounds, Advanced
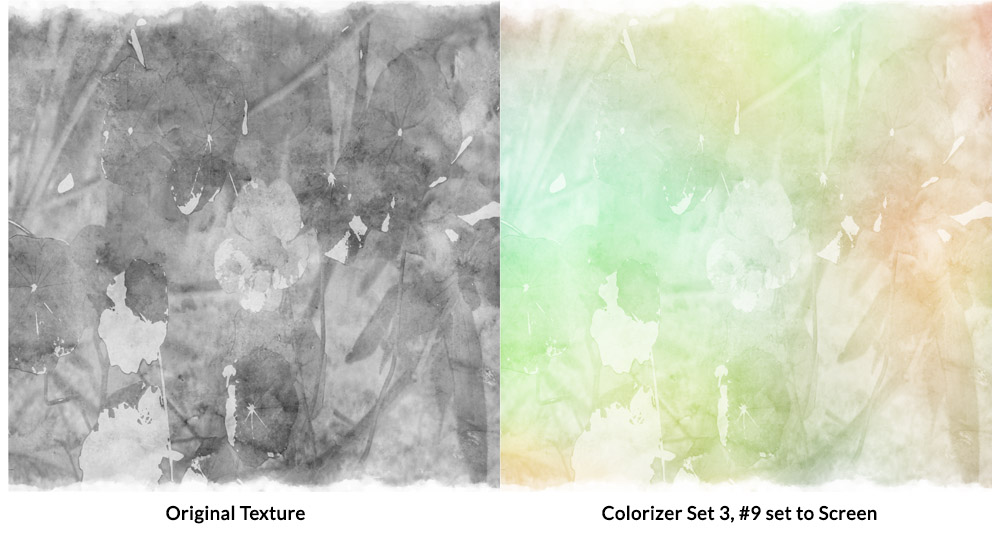
If you want a little more fun with the Colorizers, start with an artsy, mixed media background. We have so many to choose from here at Oscraps! The texture I am using for this example is from my Artsy Textures 01, #6. I placed the Colorizer on a layer above the grayscale texture and change the Blend Mode of the Colorizer to Screen.
Next, I merged the grayscale texture and the Colorizer to create one layer. I placed the merged layer above a crumpled texture and changed the Blend Mode of the merged paper to Difference. 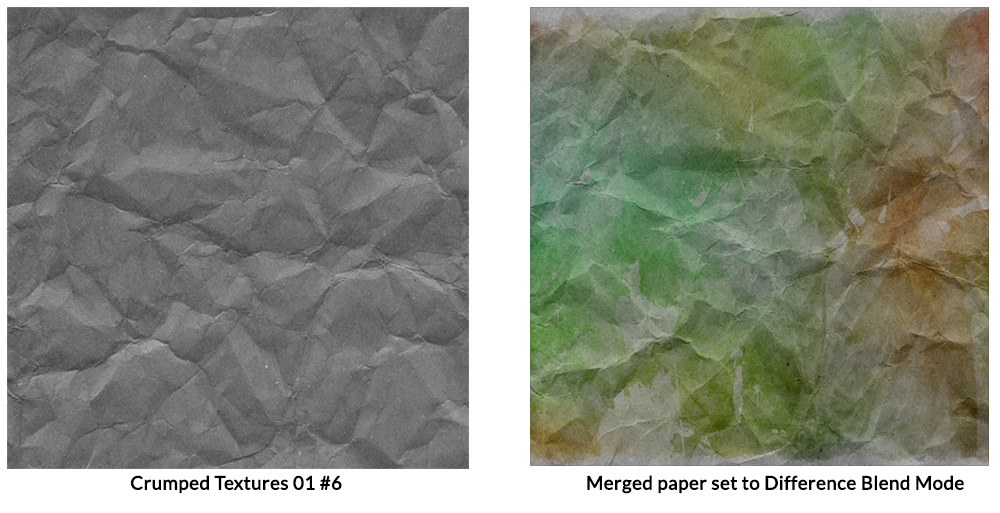
It was way too dark for my taste, so I added a Levels Adjustment, followed that with a slight Curves Adjustment to tone it down a bit. I was happy with that result.
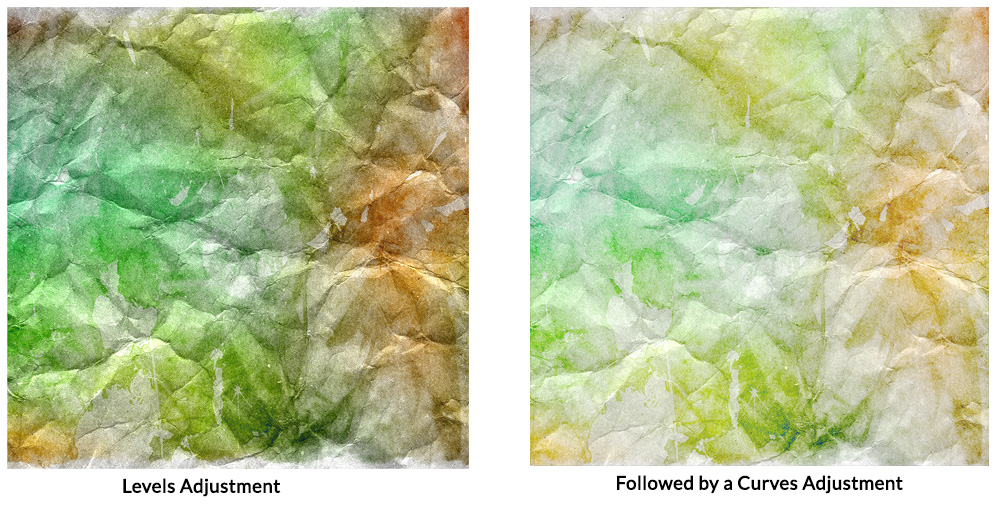
The key to using Colorizers is to play, experiment, and just have fun!
If you are a 52 Inspirations Member, your gift this week is my Colorizers, Set 3. If you are not a member, the set is available in my shop here.
If you are not a member of 52 Inspiration yet, you can find out all about it HERE. 52 Full-sized products for one low price!
If you would like to download a PDF of this tutorial, you may do so here: 4 Ways to Use Colorizers
Wonderful product and tut! Thank you so much, Karen!
Thanks for letting me know this was helpful, Danesa!