Oscraps

September Challenge #5 - Creative Techniques

wombat146

ONA - Administrator
CHEERY O
1724905469222.png
All members that participate, can everyone PLEASE ensure that you read all the rules for this challenge
so that you can claim your challenge points. Thank you!
:)


Hi everyone. Ona here to welcome you all to the September Creative Techniques challenge. Hope you are all going okay in your part of the world! :loveyeyes:

This month I wanted to share a quick and easy technique that you might fine useful in your day to day scrapping. I often want to add a plain white photo frame to a photo and find the Stroke tool an exellent choice for this. You can also use this same tool to create white border around an element to make it look like a sticker.

Note: If you do not use Photoshop or Elements, please take a look at your program and see if you can find something similar to this technique, and please tell me what you used when you post your layout in this thread. :)

In both Photoshop and Elements there are two ways of applying a stroke. You have a choice of either using the stand alone Stroke tool (under the Image menu) or using a Layer Style. I will cover both of these but the main thing to remember is that the difference between these two methods is this: the Stroke tool is non-editable, a Layer Style is editable.

So it depends on what you want to achieve. For instance, if I want to create a standard white border frame around a photo then I quickly click on the Stroke tool (under the Image menu), enter the pixel width I want, select the colour and I am done. On the other hand, if I want to create a thin border around a flower element to create a sticker then I will use a Layer Style so that I can go back and make the border larger or smaller if I need to at a later date.

Each method of applying the stroke gives you virtually the same results, here are some examples.

Using the Stroke Tool Examples: Use this method if you are certain of the border size you want to use.

STROKE-TOOL-FINAL-800W.jpg


Using the Layer Style Stroke Examples: Use this method if you want to be able edit your borders later on.
When using the stroke layer style, enter the size of your border, choose the colour and the position of where you want the border to be located ie, Inside, Center or Outside. The outer corners will be similar to those shown in the Stroke Tool above.
Layer-style-final-750x.jpg

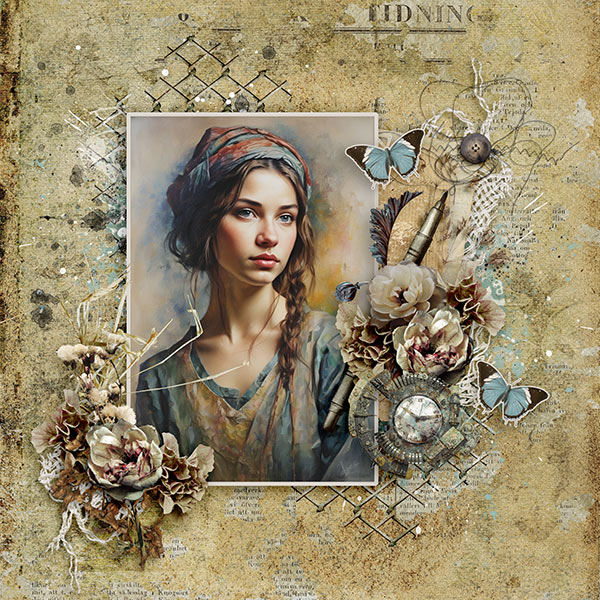
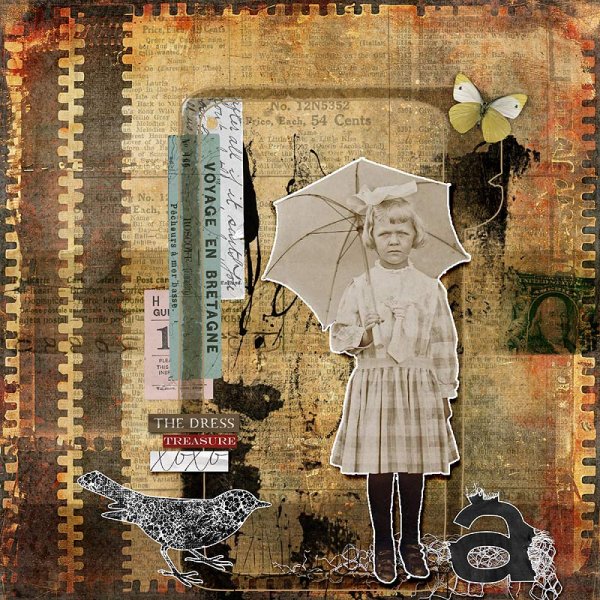
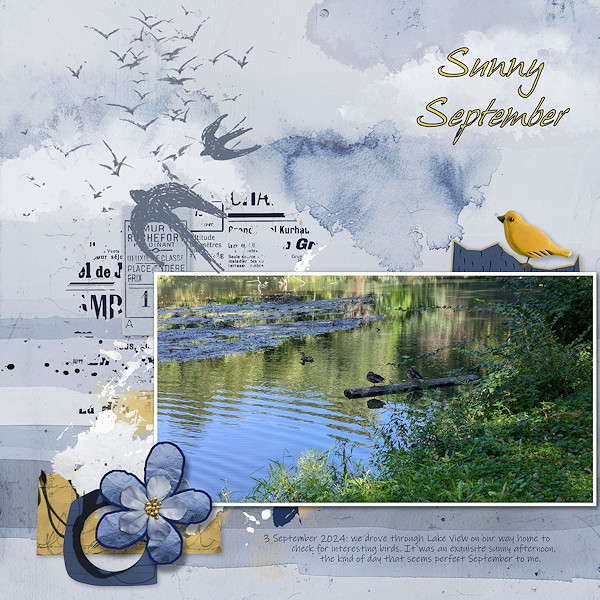
Here are some examples of using both methods for various items, just to give you an idea of how it can be used.
Examples-900w.jpg

As you can see, the stroke technique can be used in lots of ways and of course you don't need to just stick with the color white! Experiments and try some different colors or have a go at playing around with the blend modes as well, just play around and have some fun! :)


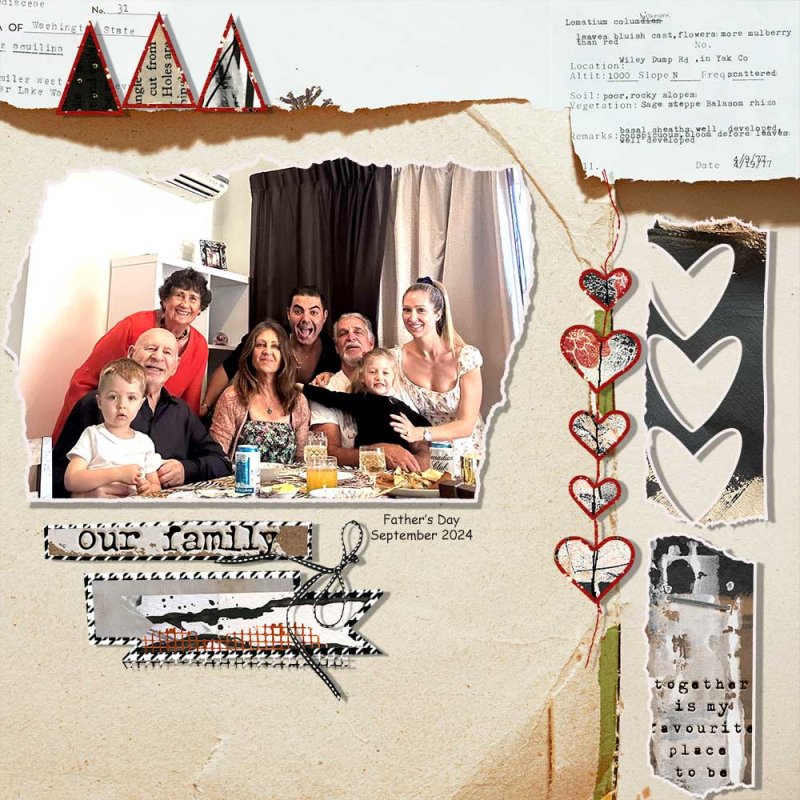
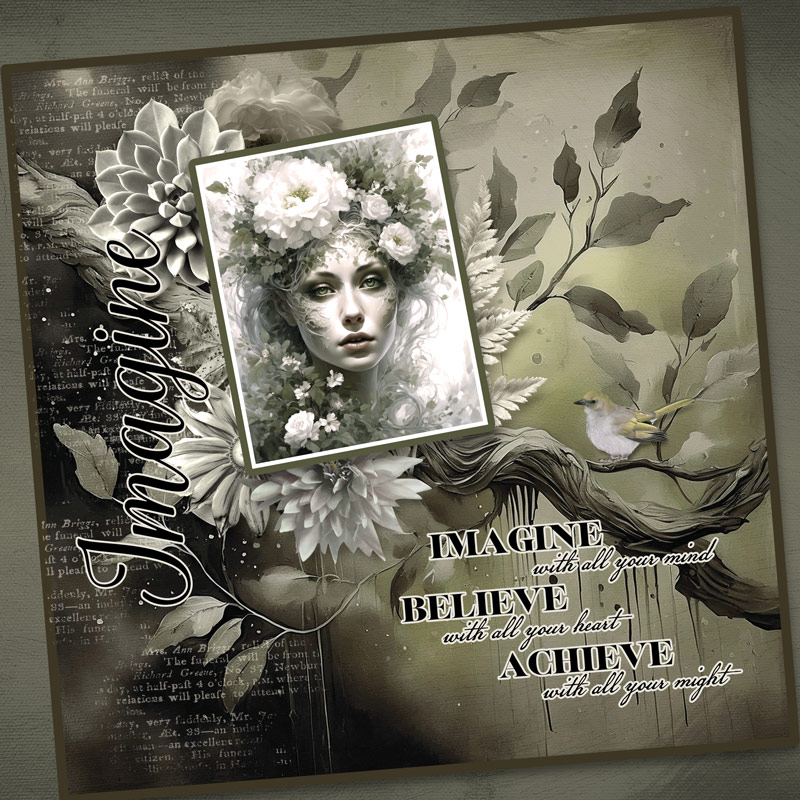
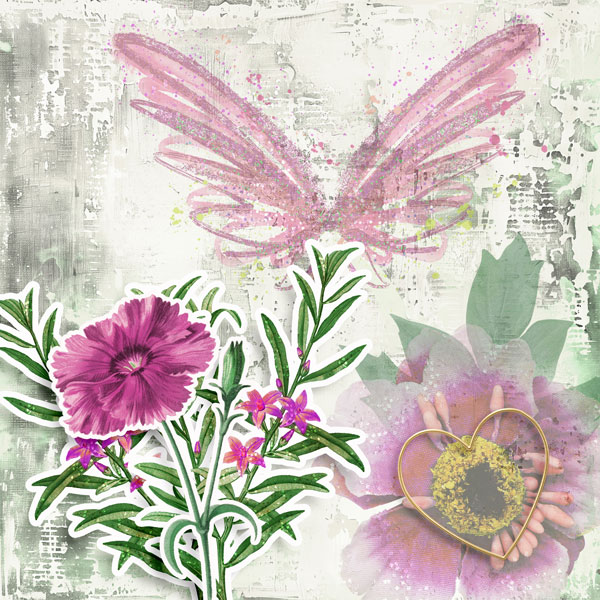
My layout: I used Oscraps Color Burst Mega Collab kit for the samples above and for my page. It has been a few days of dreary, cold and rainy weather in my part of the world so I was after some color!!!! :)


12X12---LIVE-LIFE-WITH-GUSTO.jpg

The three (3) things I used a stroke on are the wordart, the flower and crazy lady image. :)


RULES:
- Create a layout about any theme, and add a stroke to three (3) different things on your layout.
- If you do not have this tool in your program, please find similar type of technique to use and let me know what it is when you post your layout here in the thread.

- Please use 80% Oscraps products that are currently in the store.
- Non-Oscraps products or retired O designer products can be used whether the designer is selling elsewhere or not.
- You need to credit all the products used on your layout.
- Your layout can not be used for more than one challenge.
- Your page must be posted in the Challenge 5 gallery by midnight PST September 30 2024 and linked back to this thread (see below on how to add your linked layout).
- And do not forget to update the CURRENT MONTH'S TRACKING THREAD to be eligible for your coupon.

Adding a linked layout from the Gallery to a thread:
1. Upload your layout to the gallery first. In your forum post click the Gallery Embed icon (little camera).
2. This will open your gallery, simply click on the layout you require, then scroll down to the bottom of the screen and click the Continue button.
3. Your linked layout is now in your post, the image will appear once you have clicked the Post Reply button.
 
Last edited:

JeanneMN

GrOwing Old is mandatOry grOwing up is OptiOnal
CHEERY O
Now, the stroke is something in my comfort zone, I love playing around with it. Awesome challenge!
 

BoatLady

Well-Known Member
This is interesting. I use layer strokes all the time.
I never knew about the style strokes so went to check it out. I use PSE2021. In the Image I do not find anything saying stroke. When I open the styles I am not finding a white stroke there are 6 black ones and 6 colored variations. I do not get anything that lets me change color or size like you are showing. Am I missing something?
 

AZK

Queen of the Universe
CHEERY O
This is interesting. I use layer strokes all the time.
I never knew about the style strokes so went to check it out. I use PSE2021. In the Image I do not find anything saying stroke. When I open the styles I am not finding a white stroke there are 6 black ones and 6 colored variations. I do not get anything that lets me change color or size like you are showing. Am I missing something?
@BoatLady Debby-what you can do is just apply any one of those stroke styles and then double-click on the fx icon for that layer. That opens up a window where you can change the width, color, etc.

Screenshot 2024-09-01 115724.jpg
 

wombat146

ONA - Administrator
CHEERY O
OMG---thank you so much...that is it. I tried it and it worked perfectly. I really appreciate that help. I learned something new today thanks to you and Oscraps.
Thank you Angie for the screen shots for Elements!:thankyouspin: I haven't used that for yonks! :thinking2:
 
  • Like
Reactions: AZK

JeanneMN

GrOwing Old is mandatOry grOwing up is OptiOnal
CHEERY O
@BoatLady Debby-what you can do is just apply any one of those stroke styles and then double-click on the fx icon for that layer. That opens up a window where you can change the width, color, etc.

View attachment 427232
OMG!! Angie, I never realized that I could adjust them from the fx icon!!! I've always gone to edit, stroke, and then if I want to alter it, undo and repeat the progress. I just got up, it's 5 am, but girl, you have MADE my day!!!!! :bouncing: :bouncing: :bouncing: :bowdown3::bowdown3:
 

BoatLady

Well-Known Member
OMG!! Angie, I never realized that I could adjust them from the fx icon!!! I've always gone to edit, stroke, and then if I want to alter it, undo and repeat the progress. I just got up, it's 5 am, but girl, you have MADE my day!!!!! :bouncing: :bouncing: :bouncing: :bowdown3::bowdown3:
Agree That was so wonderful that she shared that with us. It's an awesome new toy to play with.
 

MariJ

Well-Known Member
This is interesting. I use layer strokes all the time.
I never knew about the style strokes so went to check it out. I use PSE2021. In the Image I do not find anything saying stroke. When I open the styles I am not finding a white stroke there are 6 black ones and 6 colored variations. I do not get anything that lets me change color or size like you are showing. Am I missing something?
Hi Debby. I work in PSE 2020 and have nothing under the "Image" menu either.
What I do is highlight the item, then go to "Edit>Stroke". When you click on that a box comes up where you can edit some of what Oona says above.
Now I need to go and find the stroke styles, I've never used them or knew they were there. Well, look at that - there they are!
Thanks for all the learning today...... :heartpumppink:
 

AZK

Queen of the Universe
CHEERY O
@BoatLady @JeanneMN You're entirely welcome! I almost always use strokes for my photos since I rarely use frames from kits, so I learned how to work with them a long time ago. I never got used to doing strokes from the Edit menu, since I always need to fiddle around with them-I'm rarely happy with the first setting I choose! :giggle4:
 

mimes1

Well-Known Member
CHEERY O
Well look at that! I've been using strokes for years, and also use the select >modify> expand> fill - but THIS style method is new to me too!! Its wonderful how many different ways there are to do things in photoshop and I'm definitely going to give this a try!! It looks so easy! Thank you Ona! And Angie!
 

wombat146

ONA - Administrator
CHEERY O
Yep, all programs are so very different and while they might share some common tools they are often found in different spots. We also tend to find one way of doing something and if it works we stick with it! lol! When I used to do face-to-face IT training many many years ago in the worksplace, I would often hear ".... yeah, but you can also do it this way...." from the audience, even though I would preface every training session with "This is just one way of doing this, in all programs you will find different methods so find one way that suits you." :)

I am just happy that you all are getting something out of this challenge and in some cases learning something new. :yesss::heartpumpred:
 

sandra-9663

Well-Known Member
Thanks for the Challenge!!
For the leaves elements, I added an outside stroke (size 5) with a color to match the background.
The lady/bear element is a png file, so I added a fill layer under her, and then I sized the fill layer to fit behind the element. Then, I added an inside stroke (size 15) with a darker color, to the fill layer.
The font I used (Ethnocentric) has good sharp edges and interesting shapes. I added an outside stroke (size 5) with a very light color.
I hope that's all OK for the challenge.
 

margje

The O is awesOme
CHEERY O
Thanks for this challenge!
I use this technique all the time, Also on fonts to make them thicker, and on brushes sometimes. It is handy to know that you can rasterize the layer you put the style with the stroke on, and add some more. Also on your font layer first rasterize and put the stroke on. Here I stroked (extracted) subject's hair, a sticker and the stamp brush.


isDK

Well-Known Member
Thanks Ona. This was hard for me. Frames are easy, but I'm very picky about getting too much of the sticker look. :p
 

BrightEyes

Kay
CHEERY O
I have been using Strokes for many years... but have been learning more and more of what you can do with them.

Strokes that I added in different colors:
Dark Olive to (1) outside of existing white photo edge and to (2) printed paper edge
Pale yellow-green to (3) 'Imagine" and (4) Quote word art


JeanneMN

GrOwing Old is mandatOry grOwing up is OptiOnal
CHEERY O
My babbling (journaling) can be found in my gallery & thanks a MILLION again @AZK , you made this so much easier!
Two of the pictures have strokes.
There are two strokes on the title, a white, and a sparkle one
Shiloh at the very bottom extracted with a very raggedy edge, so I added a very small, maybe 1 pixel stroke to him and tinted it the color of his coat.
My conversation with him at the bottom has a white stroke so it is easier to read.
 
Last edited:

AK_Tracy

Well-Known Member
Oh my. This is going to be so fun! I knew how to make a boarder around photos but the how and where and what is
:wow:
 

scrap-genie

Well-Known Member
Quite an interesting challenge! See details below.


I use PaintShop Pro (PSP) and if it has the same stroke tool I didn't find it. However, font and other vector shapes do have a stroke and fill. I used that for the title. Under Image > Add Borders I added the border to the photo before adding it to the LO. Usually I do this by creating a vector rectangle on top of the photo with no fill and a stroke color and size to suit. For the elements I selected the shapes then modified the selection by expanding it a number of pixels. Then I did a flood fill in the outer part of the selection. I could have done another layer under the element and filled the whole shape. Then I could group or merge the two layers. One way or another it can be done.
 
Top