Communicate/AnnaLift
I love the soft palette of nias inspiration page and recolored ArtPlay Social Network transfers to work with the color scheme.
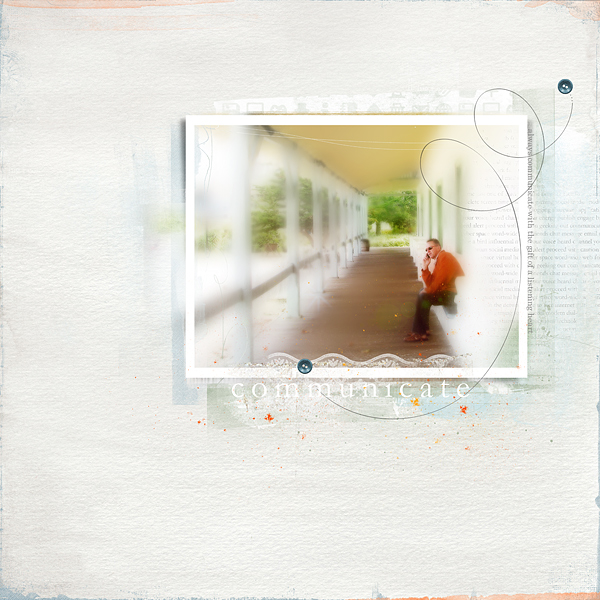
Ive recently found the following words helpful in working through some difficulties with a relative:
Communicate with the gift of a listening heart
Anna Aspnes Designs:
ArtPlay Palette Social Network [url=
http://www.oscraps.com/shop/product.php?productid=32663;cat=383;page=1][/url]
Labeled Words Social Network No.1 [url=
http://www.oscraps.com/shop/product.php?productid=32668;cat=383;page=1][/url]
Artsy Layered Template No. 82 (transfer masks under photo) [url=
http://www.oscraps.com/shop/product.php?productid=32666;cat=383;page=1][/url]
FotoInspired Template Pack Sampler No. 2A (foto mask) [url=
http://www.oscraps.com/shop/product.php?productid=32688;cat=383;page=1][/url]
ArtPlay Palette Authentic (bg paper) [url=
http://www.oscraps.com/shop/product.php?productid=30430;cat=383;page=20][/url]
ArtPlay Palette SaltyLiving (lace) [url=
http://www.oscraps.com/shop/product.php?productid=30847;cat=383;page=15][/url]
ArtPlay Palette Bask (edge overlay, brush) [url=
http://www.oscraps.com/shop/product.php?productid=30884;cat=383;page=14][/url]
CoolGlows No.2 [url=
http://www.oscraps.com/shop/product.php?productid=31026;cat=383;page=13][/url]
WarmGlows No1 [url=
http://www.oscraps.com/shop/product.php?productid=29651;cat=383;page=23][/url]
Layered FotoBlendz No.4 [url=
http://www.oscraps.com/shop/product.php?productid=28096;cat=383;page=50][/url]
LoopDaLoop ArtStrokes No.6 [url=
http://www.oscraps.com/shop/product.php?productid=28689;cat=383;page=33][/url]
Process:
I processed the photo by duplicating it and then blurring the top layer. I then erased portions of the blur to reveal the areas I wanted clean. Warm and Cool Glows are applied for added light and depth. I then clipped another copy of the photo layer to a fotoblendz and placed it below the framed photo layer to extend the image and maintain the soft feel.
The background variation in blues is created by the fotomasks from ArtsyLayered Template No.82 with blue paper from AP SocialNetwork clipped to each mask.
I also added and recolored a transfer from AP Social Network to support the green of the shrubs in the photo.
I completed the page with a loop, buttons, lace transfer and two edge overlays.