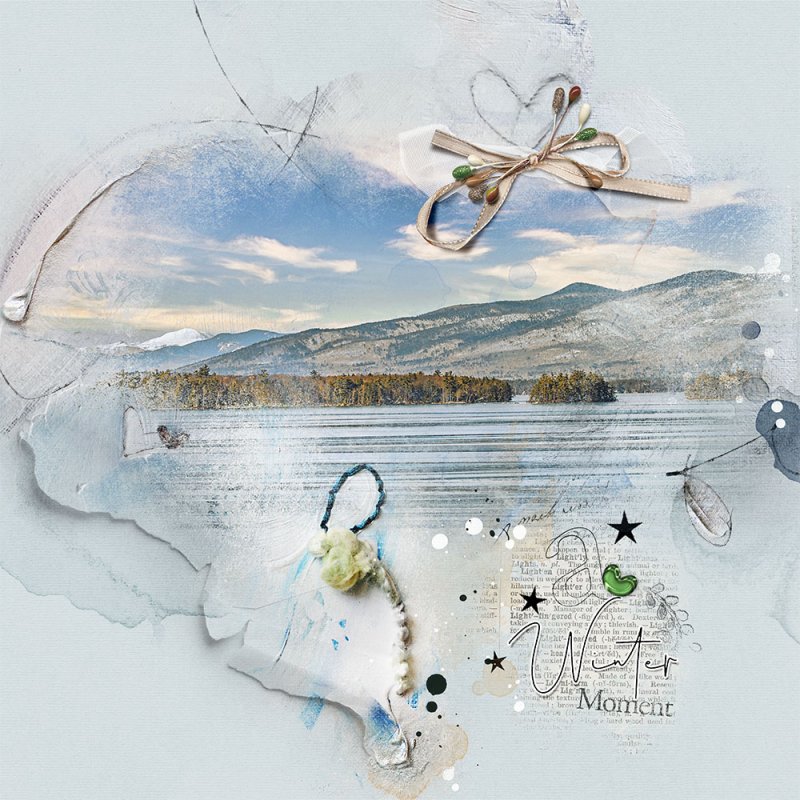
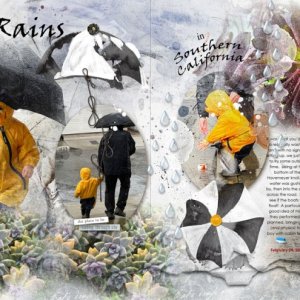
Inspiration - I was editing a picture I took a few weeks ago and though I had to make a page with it.
Mask – First I put Meraki Fotoblendz 1.1 on the page but wasn’t happy with the amount of photo that showed. So, I duplicated the mask layer and grouped them. I deleted the hipster layer and colored some of the other ways using Edit>Fill.
Photo – I attached my photo to the mask group using Layer>Create Clipping Mask. I moved the two masks around until I displayed my photo the way I wished. But part of the mask wasn’t covered and peaked out on the other side of the frames.
Paper – Added Artsy Paper 2 above the background layer.
Transfers – I placed Artsy Transfer 3 under and above the focal photo. I turned off several of the layers. Artsy Transfer 4 was on the right edge and the orange stain was changed to blue using Ctrl>U. Artsy Transfer 2 was placed on the right and over the focal photo and again some of the layers were turned off. All of these help contain my photo.
Elements – Created a simple cluster using the Tulle lace, silk ribbon, and the flower center.
Brush – Charcoal Heart2.1 was added near the cluster.
Title – I decided to use pieces of various word clusters to create my own cluster.