Oscraps
- Credits list
- Winterlands collection by Daydream Designs
https://www.oscraps.com/shop/Winterlands-Collection-by-Daydream-Dsigns.html
Pexel Photo
Process notes:
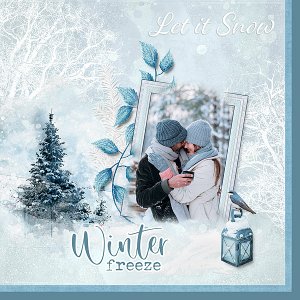
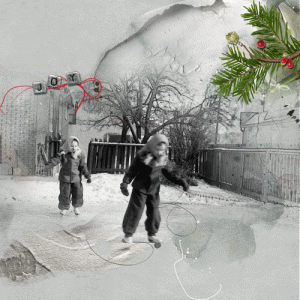
Used soft eraser on edges of photo to create a mask look
Place frame over photo at an angle
Use soft eraser on parts of frame to create the OOB effect
Place background paper and add tree overlay to left side
Put white pine branch and turquoise leaves in place under the left edge of the framed photo
Add lantern and bird to right of photo with white snow element under lantern
Add shadows to elements
Recolor lower word art to med turquoise and add white stroke
Place white word art in upper right
Link all layers together and reduce size
Add the 2 lower background papers
- Designer(s) Used:

