Oscraps
- Credits list
- Credits:
ArtPlay Palette Uplift Collection
ArtPlay Palette Uplift
Uplift WordART Mix No 1
MultiMedia Balloons No 4
ArtsyTransfers Uplift
Artsy Layered Template No 294
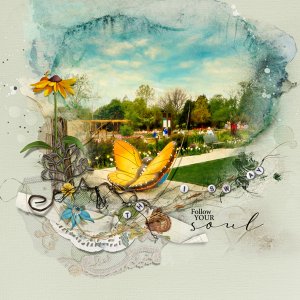
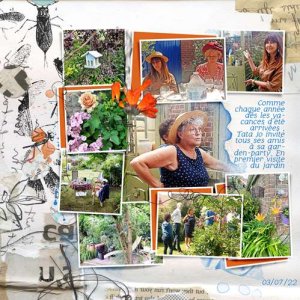
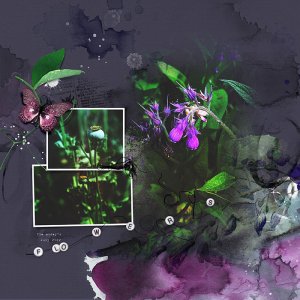
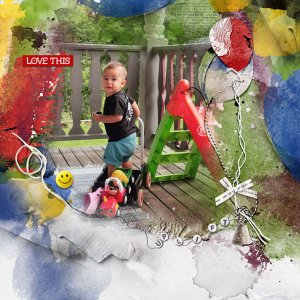
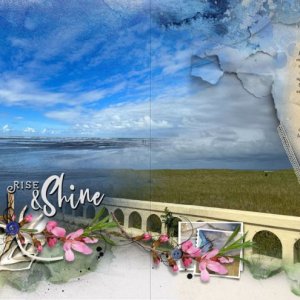
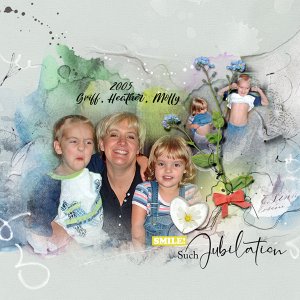
Process: I started with an artsy paper from ArtPlay Palette Uplift. I placed my photo and added a mask to it which I inverted. Then I painted back the photo with the Gradient Tool. I placed a transfer from ArtsyTransfers Uplift to the right side and edited the layers by using masks. There was a white area in the top right corner and I placed another transfer from ArtsyTransfers Uplift here. In the top and along the left side, I used some colored layers from Artsy Layered Template No 294. A wordtransfer from Uplift WordART Mix No 1 was also placed here and a beaded string was placed to follow the edges of the photo and transfer in the bottom. I placed some brushes and a string from ArtPlay Palette Uplift to follow the bottom edge of the photo at the left side. I went back and did some adjustments on the colored layers. I adjusted colors, blending modes and curves. I finisked the layout with the balloons and other elements from MultiMedia Balloons No 4 and also some from ArtPlay Palette Uplift.
- Designer(s) Used:

