Oscraps
- Credits list
- ArtPlay Palette Sol Collection
ArtPlay Palette Sol
ArtsyTransfers Sol
MultiMedia Suns No. 3
Shine WordART Mix No. 1
Artsy Layered Template No. 250
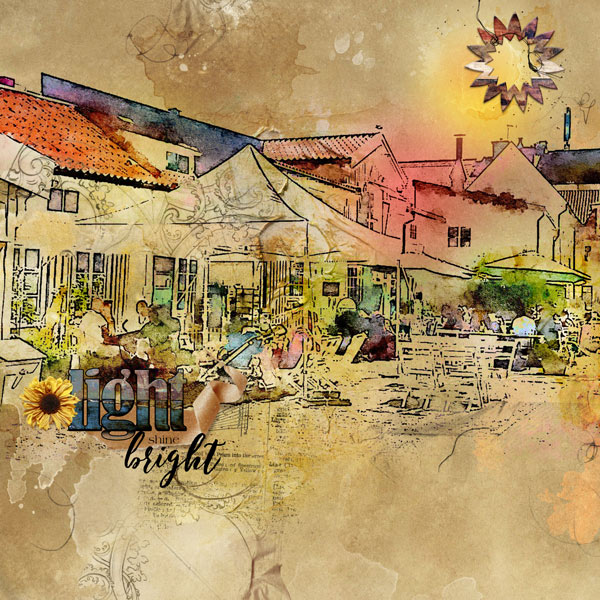
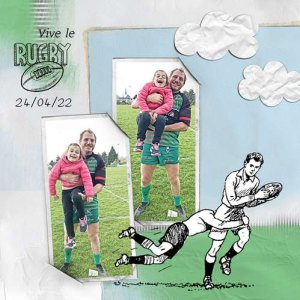
Process: I started with an artsy papaer from ArtPlay Palette Sol. I placed my photo (already processed with an app) and duplicated it. The blending modes were set to Darken and Hue. Then I added a mask to each and did some editing. A transfer from ArtsyTransfers Sol and a tape from ArtPlay Palette Sol were placed to the left side. The transfer layers were moved and got other blending modes. Glows from MultiMedia Suns No. 3 were added to get different colors and a sun was placed. I did a copy of the artsy paper and placed it over the photo, transfer and glows with the blending mode set to Multiply. I added a mask and did some editing. I added brushes and embellishments from ArtPlay Palette Sol and word, wordart and wordtransfer from Shine WordART Mix No. 1. Layers from Artsy Layered Template No. 250 were placed along the right side.
- Designer(s) Used:
