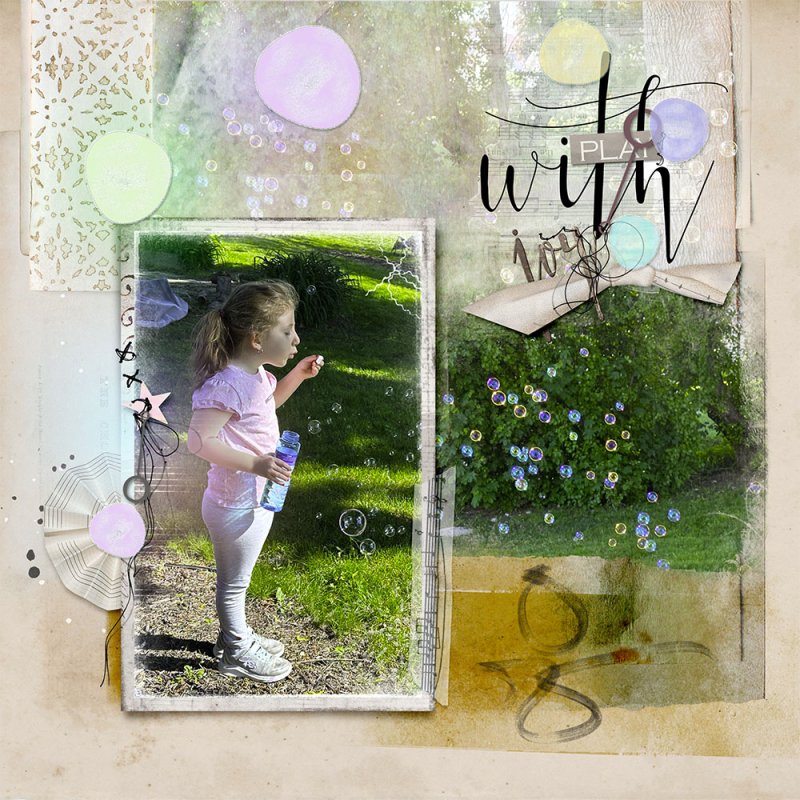
Inspiration – Our theme this month for the camera club is “Bubbles.” I have some wonderful pictures of adults and kids playing with bubbles and the colors of this collection seemed perfect.
How to create a bubble wand – I used the ellipse tool to create a circle in black. I duplicated the circle and changed the color to white. Then I reduced the size of the white circle. I duplicated these layers and made a smaller circle. Then I used the rectangle tool to create the handle part. I put one of the circles on each end and merged the layer. I created this on a separate page, and I turned off the visibility of the background layer. Then did Merge visible layers.
How to create bubbles – Again created on a separate page. Used the ellipse tool to create a circle filled with a pale blue. Then I used the warp tool to misshape the bubble (if you want a round bubble leave this step out.), I experimented with inner glow, outer glow and drop shadow. I also used an eraser tool at a reduced opacity to reduce the opacity in some areas to try to make it look more bubble like.
I didn’t look in my supplies for bubbles or bubble wands as I wanted to play.
Start-File>New 12x12 300.
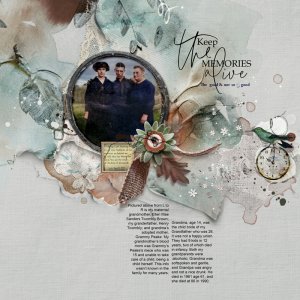
Paper – Placed Bonus Solid Paper above the background Layer used Ctrl U to adjust the color a little.
Frame – Used Multimedia Frame 8.1. I removed the mic charm and replaced it with my bubble wand.
Mask – I choose Linear Fotoblendz 5.4 and turning in sideways aligned with the pattern edge of the paper.
Photos – I put a picture of Sophia in the frame and adjusted so it looked like she was blowing bubbles outside the frame. Then I attached a picture of just bubbles to the mask. Then a took another copy of the bubble picture with an overlay blend mode which makes the bubbles appear slightly and wipes out most of the background.
Transfer – You see that I have three areas on the right side of the photo. So Overlay 1 was placed so it aligned in the bottom area and hugged the bottom of the photo. I used color burn blend mode on this.
Brushes – I used brush2 to over the overlay erasing part of it.
Word Cluster title - I used word cluster 5 for my title with a few changes. First, I removed the guitar charm and shadow which I replaced with the bubble wand. I also removed the wood ward Soul and replaced it with the wood word Joy. Then I added three of my bubbles which I rotated, recolored, and changed sizes of some to make them look different. I placed it in the upper third with the light bubbles.
Elements – I added two of my bubbles on top above the frame and added fotoglows from the Multimedia frame. I made a copy of the pink bubble which I made smaller and placed over the fan in the frame.