Tuesday Tips and Techniques – Embossing
It’s time for another tip. Today I will show you how to emboss text. In case you are wondering a bit more about embossing, I found wiseGEEK to be particularly informative.
This technique can add a very decorative touch to an ordinary title. Once you learn the technique the possibilities are endless. For example you can also emboss shapes, elements, and even photos.
For this tutorial I will create the sample on a solid background layer. Feel free to create right along with me using any background of your choosing.
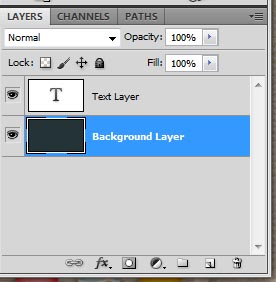
Select the type tool, move the cursor to the work area and click to create a text layer.

Type the title then click on the check in the text toolbar to accept the changes.
![]()
This is what you should have so far…
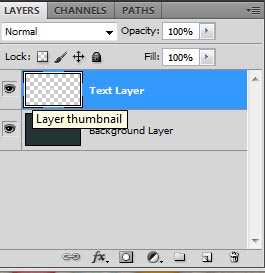
Before going any further you must Rastersize the Text layer in order to perform any of the blending that is to follow. Right click on the Text Layer and select Rastersize Type from the menu.
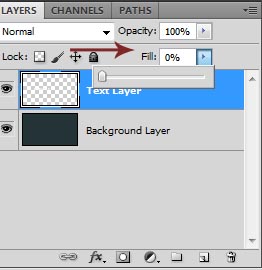
In the Layers Pallete set the Fill to zero (o) on the Text Layer. This will make the text disappear.
Double Click on the Thumbnail of the Text Layer to bring up the Blending Options. Highlight the Bevel Emboss Option. I used the standard settings in Photoshop, but feel free to play around in here to change the look.
The final result.
That’s it! I hope you enjoy embossing on your next project. Feel free to share what you create!!


Ooooh, I’ve embossed stuff before plenty of times, but I’d never thought to reduce the fill down to 0% to get achieve this kind of effect … it’s awesome! Thanks for the GREAT tip!!!
Wonderful result. Never have done this, but now i will!
Have never done this!! Thanks for the great tip!!
Simple , but great tut.Thanks.