Tip: Using a filter to create a drawing
I love to play with different blending modes and filters and I want to show you how you can achieve something like a drawing with these techniques.
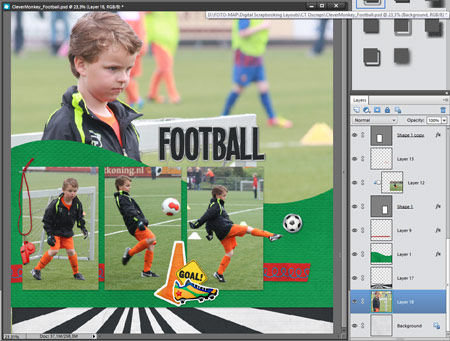
I started with creating a layout with the fun kit Kickn’t It Socker Style by one of our guest designers, Clever Monkey Graphics:
I already loved it this way, but there was something missing. So I decided to play with an extra photo on top of the white background.
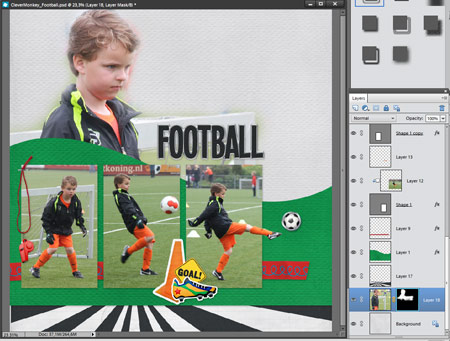
Then I used a layer mask to delete the unwanted parts. You can find the layer mask button just above the layer palette (in version 11 and 12), in older versions you can find it at the bottom of the layer palette.
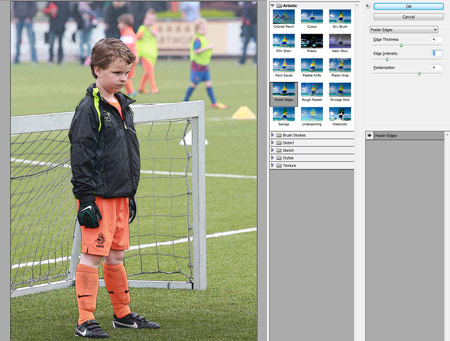
Now before you can do the next step, you must be sure you click on the photo miniature in the layer palette and not on the mask. You go to Filter at the top of the menu and choose Filter gallery. There you choose Poster Edges and you get this screen:
You have to play with the settings a bit, because with every photo you need different settings. Just drag the sliders a little bit and see if the black lines are visible enough. But if you have a lot of black noise, you have to go back to the left a bit. Click OK if you are happy with the result.
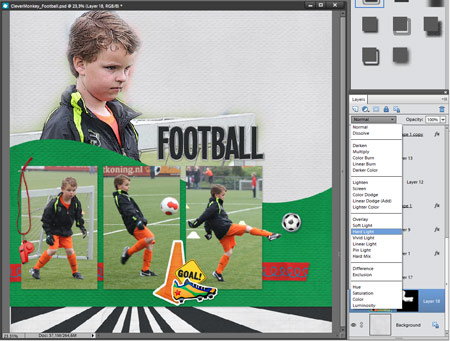
Now we change the blending mode. I have a white background and for the drawing effect I wanted that worked really well. I chose the blending mode Hard Light:
The effect is different on another background color. I love white for drawings, because it looks more realistic.
And here’s my final page:


This is so fabulous! It reminds me we should play with filters more, as they give such wonderful results!
Love it! Thanks so much for posting your technique. Am going to play with this soon as I get some time to myself.