Tip: Coloring wordart with the gradient tool
Irene here with a little tip to color your wordart!
I love to use wordart, but sometimes they are a bit too black on a page. There are different ways to give them another color (and I will come back with at least one other than the one I’m demonstrating now), but for today I chose to show you how you can use the gradient tool to recolor.
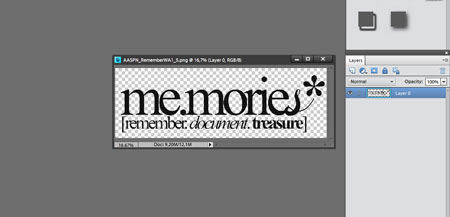
Let’s start with opening a wordart element in Photoshop. I chose one from Anna Aspnes.
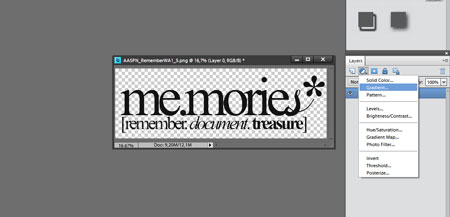
Then click on the little black/white circle that can be found at the top or the bottom of the layer palette and choose Gradient.
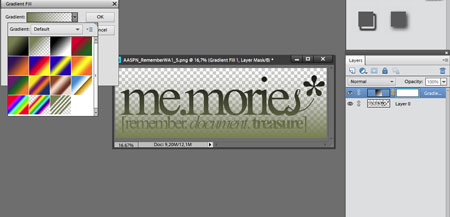
Photoshop is giving it a standard gradient in the foreground color. When you click on the little arrow, you can choose other gradients.
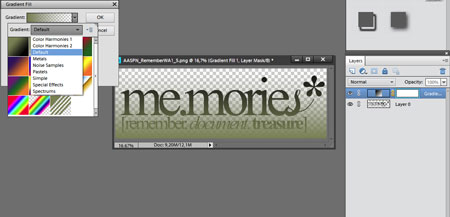
But you can click on the arrow in the Default bar to have access to more gradient effects.
I chose one from Color Harmonies 1 for my wordart and clicked on one of the samples:
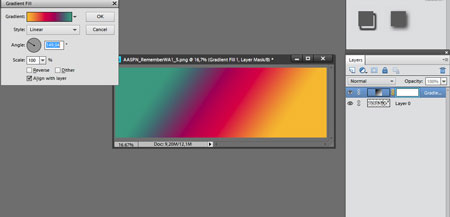
You now see the colors on top of the wordart. You can give it another angle. Just click besides the color samples but still in the box and you see this:
Now you can easily change the angle of the gradient pattern by just moving the line in the circle. When you are happy with the angle, just click on OK.
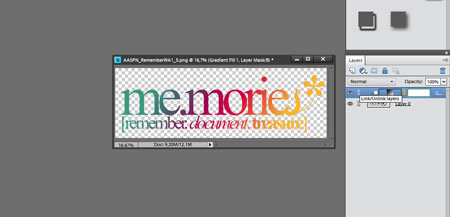
Then you go to the gradient layer in the layer palette and hit Ctrl+G and you your wordart again, but now colored by the gradient effect.
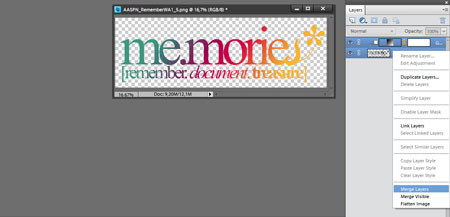
I always merge those layers before I drag the wordart to my layout:
I want to explain why I merge those layers and not drag them as two seperate layers to my layout. On a small file size, like the wordart, the gradient effect is different from a big file size like the size of a layout.
Let me show you with this sample:
I hope you like the result. I love to use this technique, because you can get very nice multi colored results.


Oh this is a great tip, especially the part about applying the gradient outside the layout. Sometimes when I have tried this the effect is not concentrated enough…now I understand why! Great tip!
So cool! I had no idea you could do this. Thanks for the tutorial.