All members that participate, can everyone PLEASE ensure that you read all the rules for this
challenge so that you can claim your challenge points. Thank you!
Hi everyone and welcome to the Creative Techniques challenge for October............ yes, you read that correctly, October!!!!! LOL! How did that happen??!! Anyways, this month I thought it would be a fun idea to actually create our own clipping masks. Our designers have a ton of gorgeous clipping masks in the store and I use them quite often, but sometimes I like to make my own, especially if I want to create a specific look on my layout or to just muck around and have some fun!
")
When creating a clipping mask virtually anything can be used from your stash, like elements, ephemera, stamps, brushes etc. So let's get started and I will take you through the steps that I normally use.
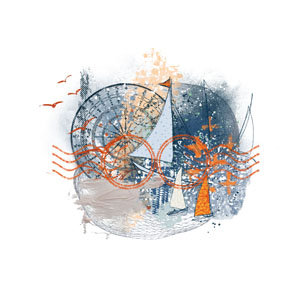
Step 1: Gather the items you want to use. To create my mask I went to my Foxysquirrel stash first as I know that Teddi always has some seriously fun and creative splashes and splatters in her collections. I scrolled through my folders and just moved the items I wanted into Photoshop .......... don't worry about colours!! everything is going to be desaturated at a later date so just have fun finding stuff you like and moving it your program. The picture below shows what I ended up pulling out of my stash to use.
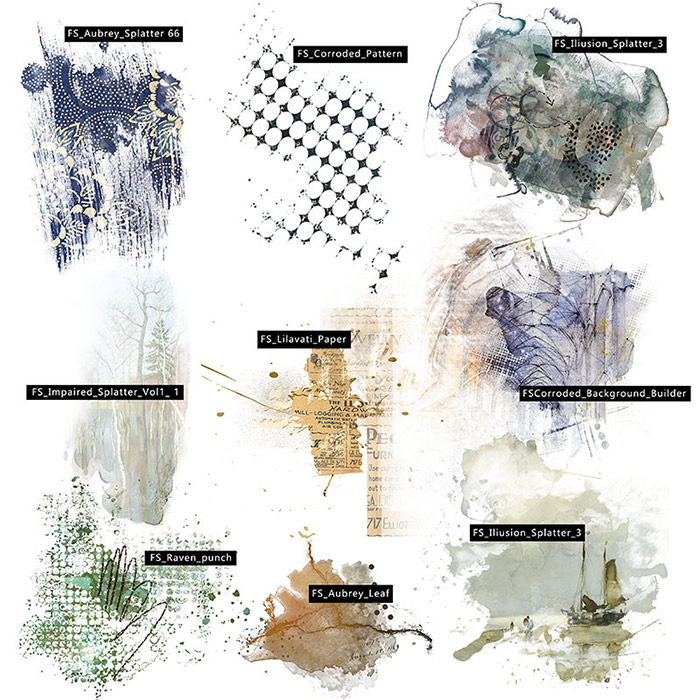
These are the Foxysquirrel products used for the mask: Aubrey | Corroded | Illiusion Splatter | Impaired Splatters Vol 01 Digital Art Pack | Lilavati Add on | Raven
Step 2: Arrange your items. Next, in your program, start moving your items around into something that looks good to you. Pay attention to the outside especially, as this is where you can use your items to their advantage, especially if it is a spray of flowers or a branch etc. as these parts will make your photo really stand out in those areas. So take your time and just play!
The middle parts will all meld in, but of course it depends on what you are trying to achieve. Note that I have moved the more interesting edges to the outside of the mask.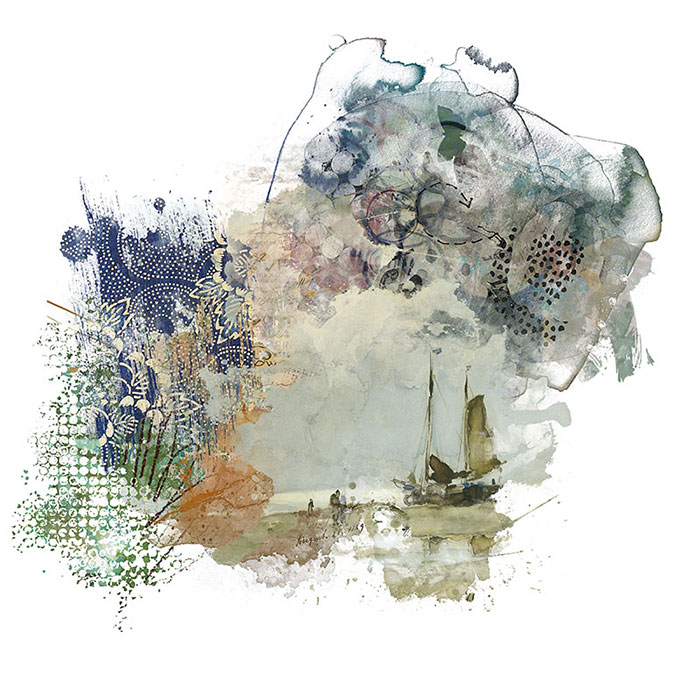
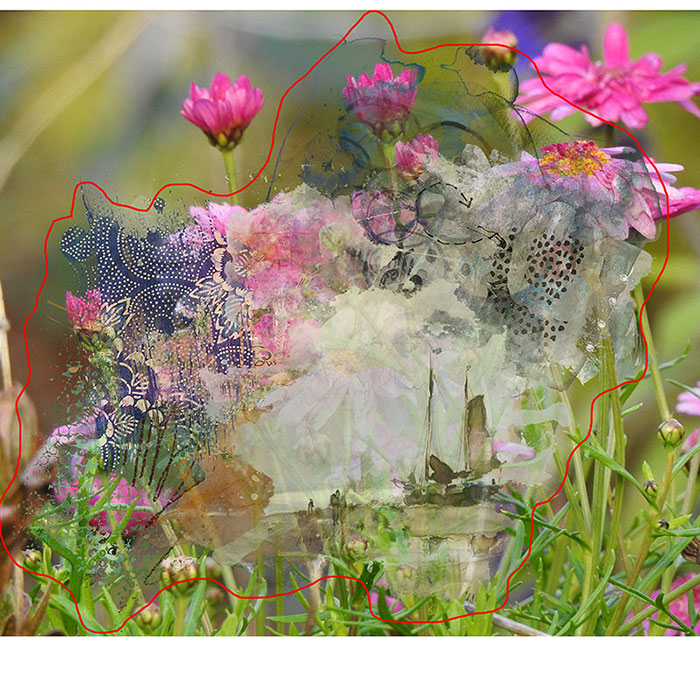
Step 2a: In some instances, you might have a specific photo you want to use and so you want to create the mask with that photo in mind. In this case, bring your photo into your program and position it under the mask, then arrange your mask components so that the more important parts of the photo you want to see are covered. See the red outline below depicting the part of the photo I want to view when it is clipped to the mask.

Step 4: Add contrast/use Levels adjustment. When first merged, your image may look a bit flat and contain more grey rather than black and white. Having darker tones in your mask allows the photo you clip to it to stand out more, in the grey area your photo will look at bit muted while in the brighter white areas your photo could well disappear. Once again it all comes down to what you what to achieve. So again, play around. If you like, you can duplicate your merged mask layers and play with different levels, bringing a photo in to try it out on a couple of your duplicated masks. As you can see, adding some contrast can really change the look of your mask as shown below.

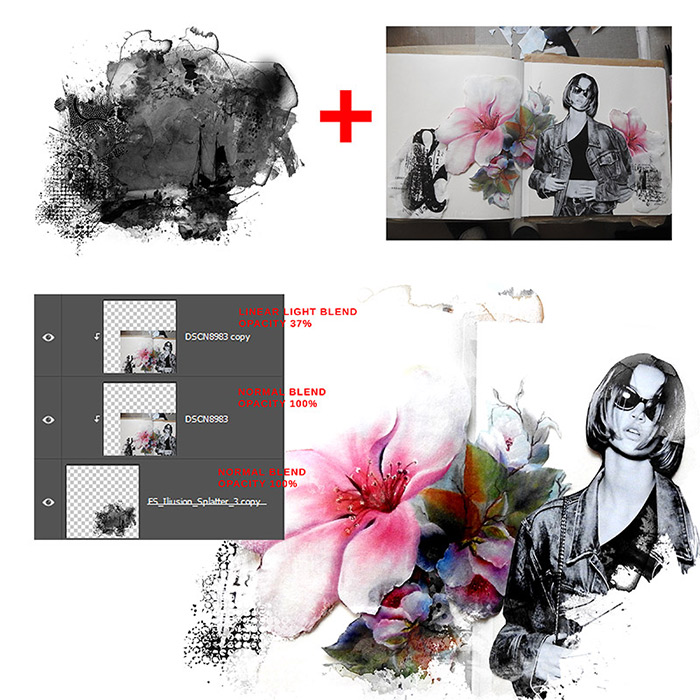
Note: If you are really happy with the way your mask turned out you have two options to save it for use later on. Either save this file as your mask working file, as a PSD, which means you can come back to it whenever you want and just change out the photo. Or you can save the mask as a png file by using CTRL + Click right on the mask image itself in your Layers panel.
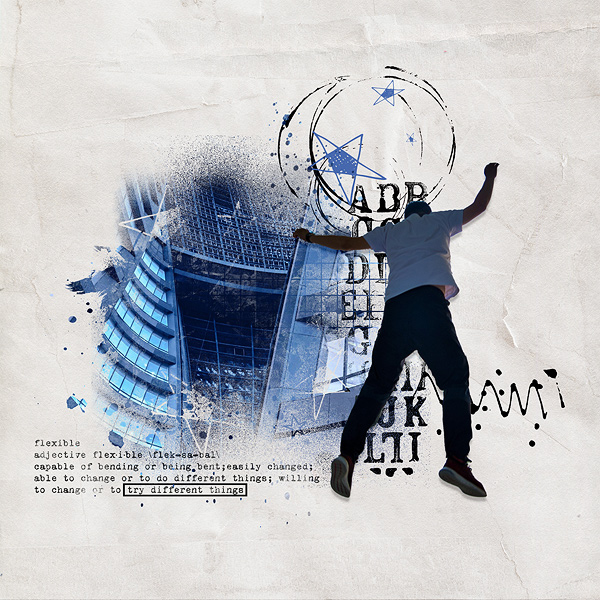
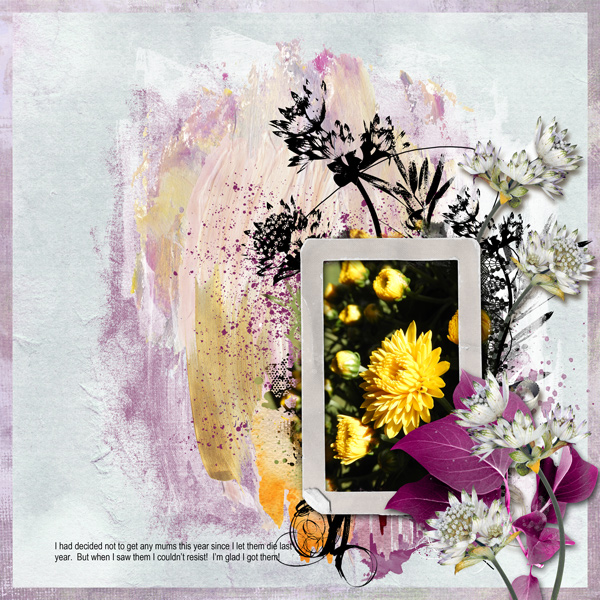
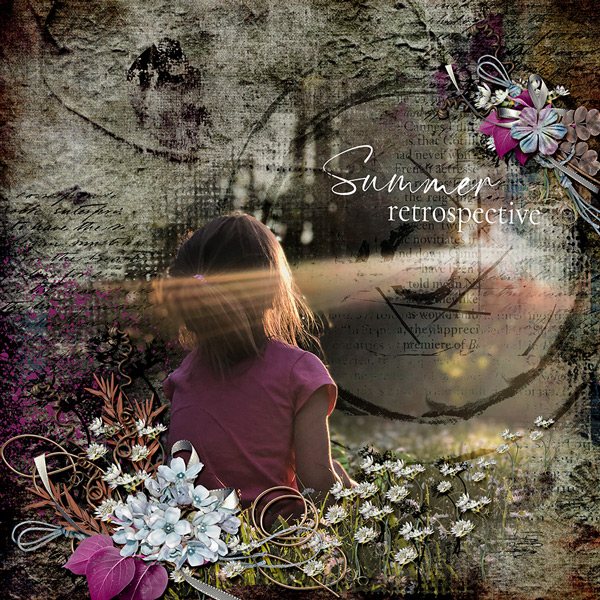
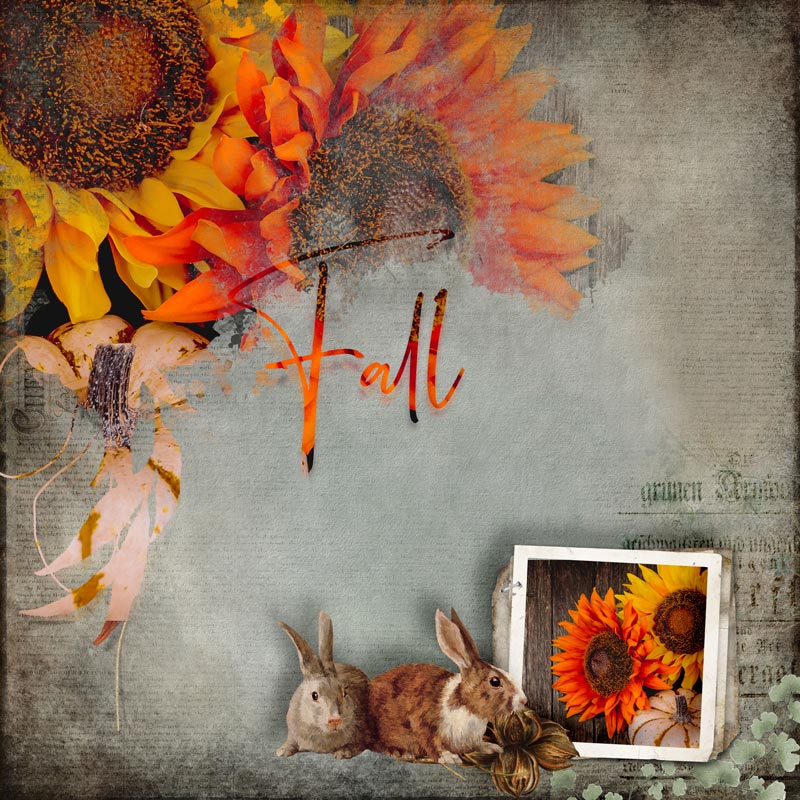
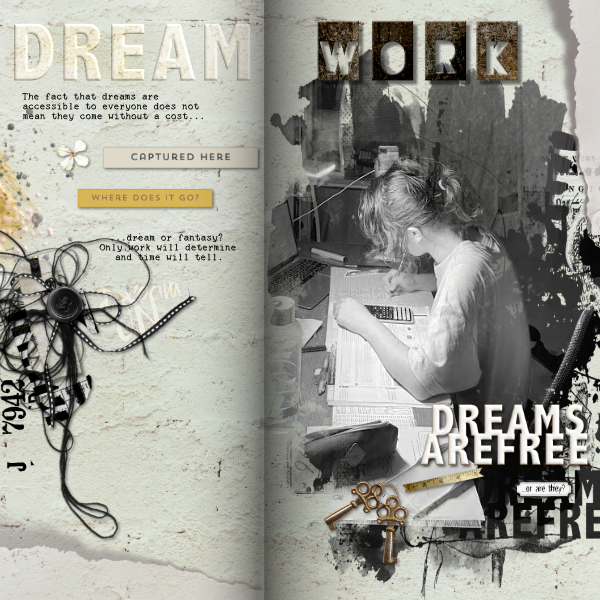
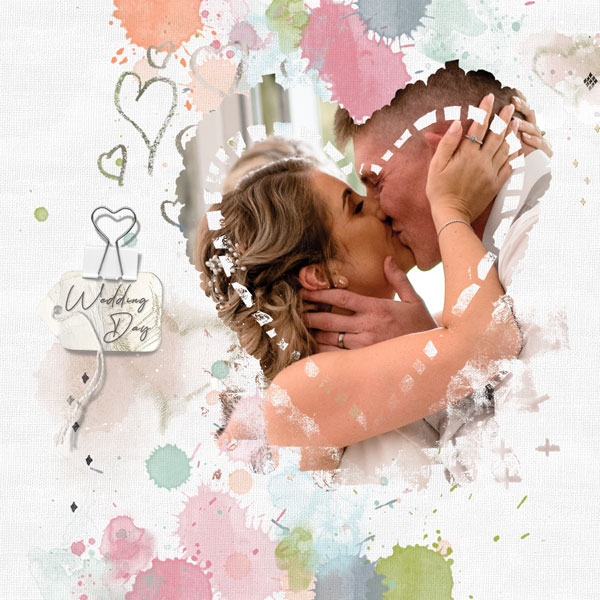
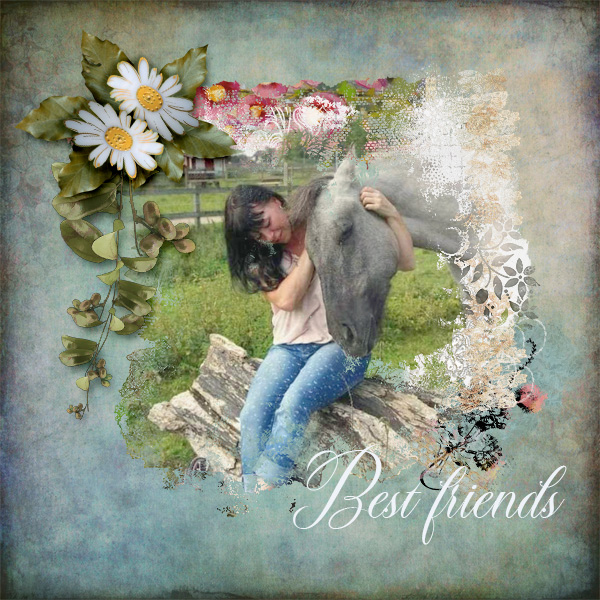
Here is my page, or pages I should say. I did the first one, on the left, yesterday and chucked a lot of things on it.
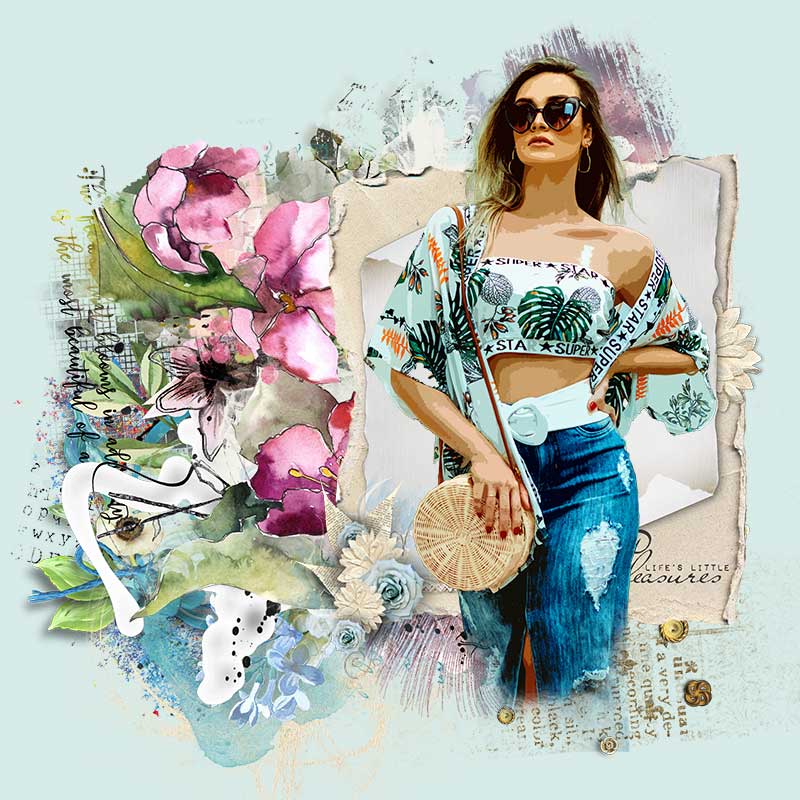
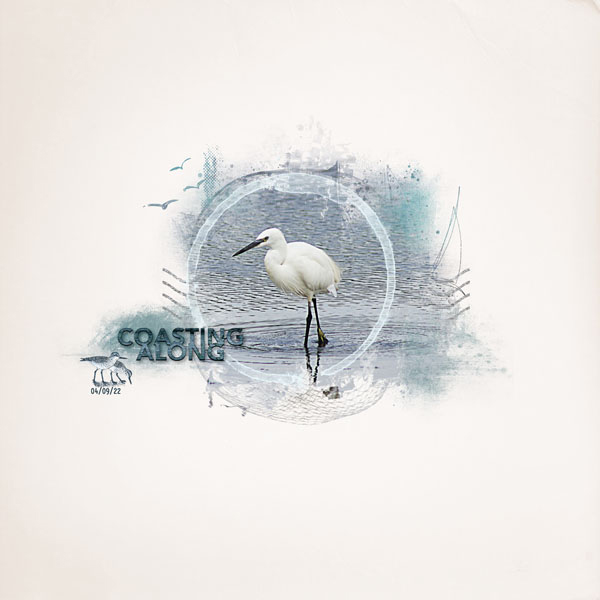
But today, as I was writing this challenge, I really liked the way this photo worked with the mask and realised that it someone got lost in the page I made. So I opened the PSD file again, saved it as Version 2, hid all the layers to start with, and then just clicked the mask and photo layers to make them visible and then just clicked on a few more and move a couple of things around and added a white background paper so the mask would stand out. I like both, but for different reasons so I am keeping both. 

Okay, so now it is your turn, hope you will join me in the challenge this month and I am really looking forward to seeing what you creative ladies will make!!! ♥
RULES:
- Use various items to create your own clipping mask and then use it in a layout.
- Please tell me what items you used for your mask and entirely optional but if you like you can upload a picture of your finished mask only using the Attach Files at the bottom of your post.
- Please use 80% Oscraps products that are currently in the store.
- Non-Oscraps products or retired O designer products can be used whether the designer is selling elsewhere or not.
- You need to credit all the products used on your layout.
- Your layout can not be used for more than one challenge.
- Your page must be posted in the Challenge 4 gallery by midnight PST October 31 2022 and linked back to this thread (see below on how to add your linked layout).
- And do not forget to update the CURRENT MONTH'S TRACKING THREAD to be eligible for your coupon.
Adding a linked layout from the Gallery to a thread:
1. Upload your layout to the gallery first. In your forum post click the Gallery Embed icon (little camera).
2. This will open your gallery, simply click on the layout you require, then scroll down to the bottom of the screen and click the Continue button.
3. Your linked layout is now in your post, the image will appear once you have clicked the Post Reply button.
Last edited: