Oscraps
Search results
-
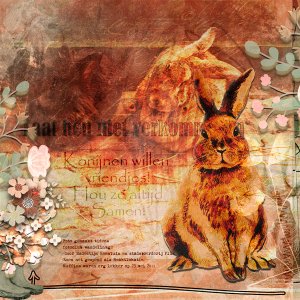
Rabbits want to be together
I love this bunny by Sarapullka. It seemed to have a message..Rabbits want to live together. Too many suffer alone in their cages.- Nickel
- Media item
- #cheeryo bunnies rabbit sarapullka born in spring
- Comments: 5
- Category: Oscraps Cheery O's
-

Sweet Little 3Pet
I used on old Tutorial of Ona (around april 2012). Made sure that the photo was a smart Object Duplicated the photo and applied the High Pass filter on it. then I made a gradient layer above it. That layer was set on the "overlay" blendmode.- Nickel
- Media item
- #cheeryo cats color play connection keeping sweet dreams
- Comments: 2
- Category: Oscraps Cheery O's
-

Color Play March 2023 - Come Share Your Layouts
Stunning colors! Connection Keeping Sweet Dreams Collection ( Mostly Galaxy) Sarapullka scrap Born in Spring Bundle- Nickel
- Post #12
- Forum: ==> What's new at the O
-
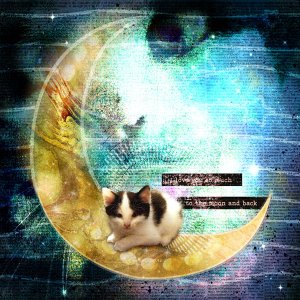
Ollie on the Moon
Made with the new Sweet dreams Galaxy from Connection Keeping. I selcted Ollie with the help of that awesome Object Selection tool en tweeked the mask a bit. I I blended a favorite photo of him into the background papers.- Nickel
- Media item
- #cheeryo color play connection keeping sweet dreams
- Comments: 1
- Category: Oscraps Cheery O's
-

March Challenge #7 - 52 Inspirations
I used 22 and 44 from 2022- Nickel
- Post #28
- Forum: MARCH 2023 CHALLENGES
-
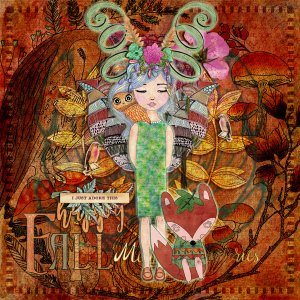
March 52 Inspirations Challenge
Finally I could use that cute fox (from Fall in Love) from Fidlette Designs! I chose the girl from Owl Love you.- Nickel
- Media item
- #cheeryo 52 inspirations 52 inspirations challenge art doll art doll dressup art journal challenge #7 fidlette lynn grieveson
- Comments: 1
- Category: Oscraps Cheery O's
-

March Art Journaling Challenge #3
Thanks f or the challenge- Nickel
- Post #8
- Forum: Art Journaling - Monthly Challenges
-
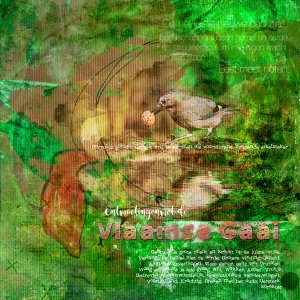
Eurasian Jay
Not my spirit animal but when I meet him it's qute significant. I used the gesso as a layermask for the jay photo. Due to coming renovations in my house I have to clean up. I discovered some painting I had forgotten. with (abstract birds) so i used them- Nickel
- Media item
- #cheeryo anna aspnes art journaing art journal challenge 3 birds
- Comments: 6
- Category: Oscraps Cheery O's
-

Comment by 'Nickel' in media 'Ocean Stirs the Heart - March Art Journal Challenge 1'
great job with the blending!- Nickel
- Gallery comment
-

Comment by 'Nickel' in media 'Easter Bunny'
Stunning! Love your pagedesign! Congrats you are featured e on the OFacebook!- Nickel
- Gallery comment
-

Comment by 'Nickel' in media 'Panda'
Stunning! Yor lovely page is featured on The O Facebook!- Nickel
- Gallery comment
-

Watch Me Scrap!
Great viodeo! loved your use of "rotate canvast"(R0. Hope I rembered it when I start ps CC23 (beta) monday.- Nickel
- Post #7
- Forum: PS & PSE Tutorials
-

Comment by 'Nickel' in media 'camouflage'
Your page are amazing! Like this one!- Nickel
- Gallery comment
-

Comment by 'Nickel' in media 'March_Challenge#5_Occasions and Themes_Birthday,.jpg'
What a wonderful bunch of photos Love the filler and journaling too!- Nickel
- Gallery comment
-
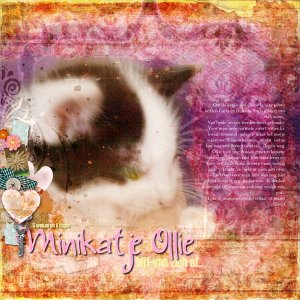
Mini Cat Ollie
I wanted to scrap some old photos which I never used before. I have a lot photos of Ollie but my dark house didn't (and my noisy camera) didn't leave room for awesome photos. With the ghelp of Camera Raw it a dark moderate phot became a cute photo. Ollie didn't want to be photographed and...- Nickel
- Media item
- #cheeryo #joyful heart designs cats joyful heart designs reverie
- Comments: 1
- Category: Oscraps Cheery O's
-
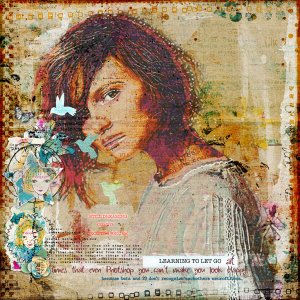
Still Chaning
Made with Vicki Robinson’s amazing new collection "still Changing" I used a YT tutorial from "let's Photoshop" and applied a neural filter on a copie of the photo. I used a few adjustment layers to temper the filter to my liking.- Nickel
- Media item
- #cheeryo vicki robinson still changing
- Comments: 2
- Category: Oscraps Cheery O's
-

March Challenge #4 - Wordart
Thank you for the fun challenge- Nickel
- Post #15
- Forum: MARCH 2023 CHALLENGES
