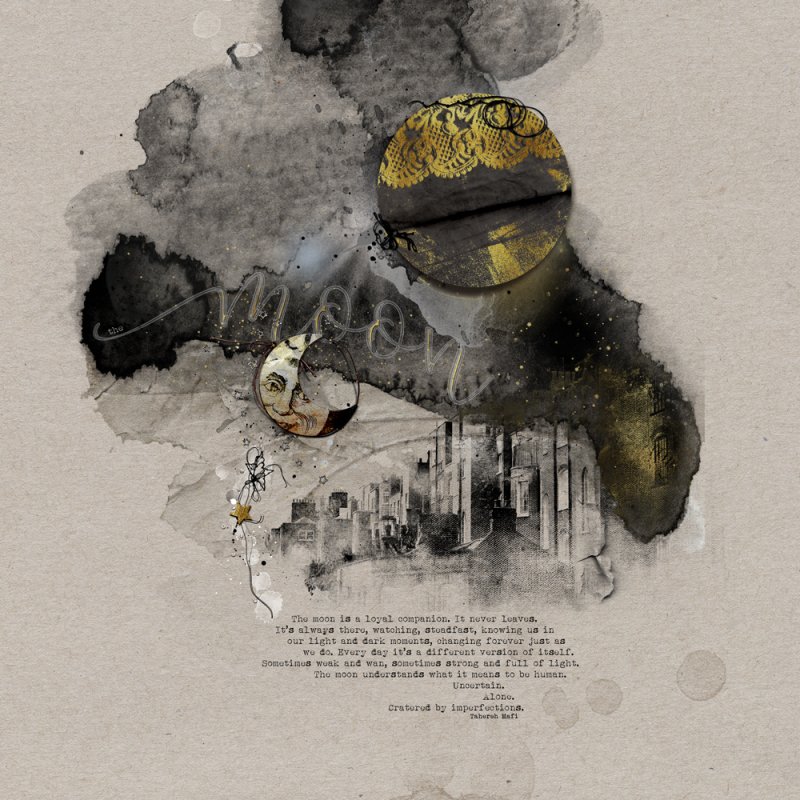
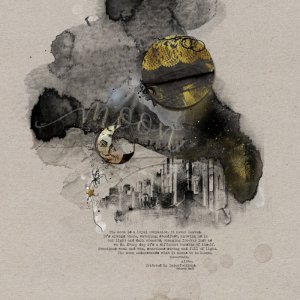
“The moon is a loyal companion. It never leaves. It’s always there, watching, steadfast, knowing us in our light and dark moments, changing forever just as we do. Every day it’s a different version of itself. Sometimes weak and wan, sometimes strong and full of light. The moon understands what it means to be human. Uncertain. Alone. Cratered by imperfections.” – Tahereh Mafi
Creating process:
- I started with a solid paper as the foundation.
- I placed ArtsyTransfers Apothic A layered transfer, the brush layer was duplicated to the darker effect.
- The total moon was placed, and I created 3 copy of it - settings of them from down to up (Blending mode/Fill): Normal/100%, Normal/100% - it made the light splatter under the moon lighter -, Substract/100%, Hard Light/43%
- I selected the lace on the moon with Magic Wand (W) tool, then created a new layer and fill the selection. Then I applied a free gold layer style on this layer, and created a new Exposure adjustment layer clipped to the lace layer to make the lace lighter.
- The wake moon was placed and I created 2 copy of it - settings of them from down to up (Blending mode/Fill): Difference/100%, Hard Light/64%, Color Burn/88%
- An ArchiTextures brush was placed and I created 2 copy of it: the firs copy was made to make the brush effect stronger. On the second copy I applied the free gold layer stye, and I made a layer mask with using the brush layer of the ArtsyTransfer
- To create the title I used Gabilo Script font, Black color, Divide blending mode, 29% Fill. I selected the title with Ctrl + click on the text's thumbnail >> Select/Modify/Contract 5 px >> created a new layer >> right click on the selection >> Stroke... (2px)
- I made the selection process again on the original text layer >> Contract: 15 px >> created a new layer >> right click on the selection >> Fill...
- Then I applied the free gold layer style on this layer and added Drop shadow to it, too.
- A MultiMedia Star was placed, and 2 copy of it were created - settings of them from down to up (Blending mode/Fill): Normal/100%, Normal/100% (to make the light brushes more lighter), Linear Burn/100%
- I selected the star with using Poligonal Lasso Tool >> created a new layer >> filled the selection, then I applied the free gold layer style and finally I rasterized the layer style. I added drop shadow style to it, too and its blending mode was set Hard Light.
- Some MiniDots layers were added to the page, with gold layer style.
- Finally I selected an odd-shaped are with the Lasso Tool and created a Work Path from it to add the qote - font: Albertsthal Typewriter
Thanks for looking!
Eszter