The Process
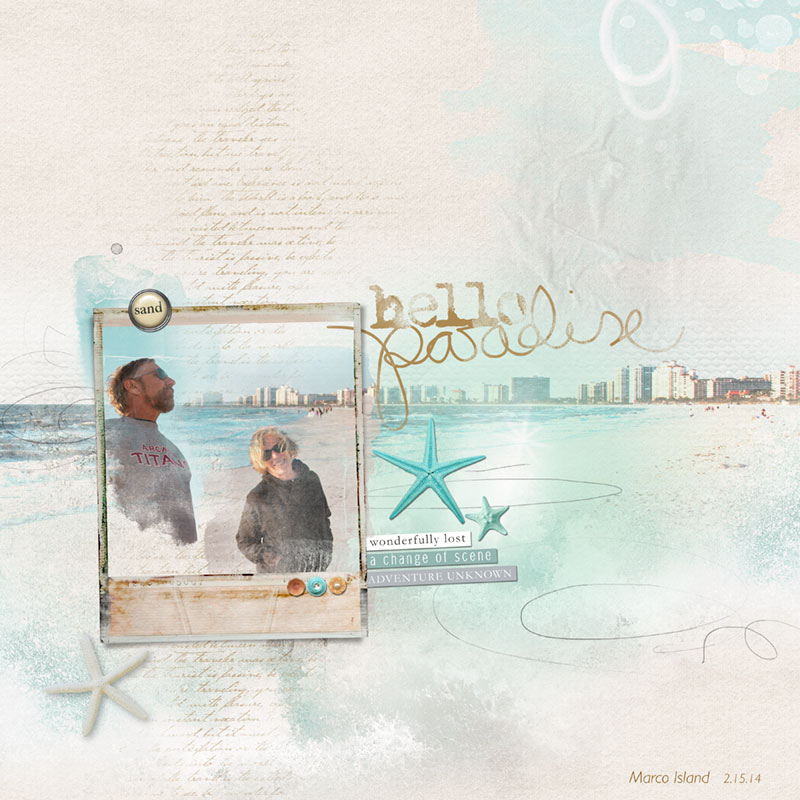
This page uses 3 photos. I clipped 2 of the photos to brushes 3 and 8 from the AP Get AwayKit. Using a soft brush and reduced opacity, I erased the edges of the masks so that the two photos blended. I placed the large background photo behind my two people photos and changed the blending mode to hard light and reduced the opacity. I added a layer mask to this layer and used the gradient tool to blend in the photo (hiding the sky and some of the water). Next I layered the CanvasTexture 1 over the background photo and changed the blending mode to hard light, giving the background photo some depth. To complet the page I added transfers from AP Get Away and AP Ocean Cove, ScriptTease Travel 2, a frame, some elements and word art from Get Away Word Art.
TFL
This site uses cookies to help personalise content, tailor your experience and to keep you logged in if you register.
By continuing to use this site, you are consenting to our use of cookies.