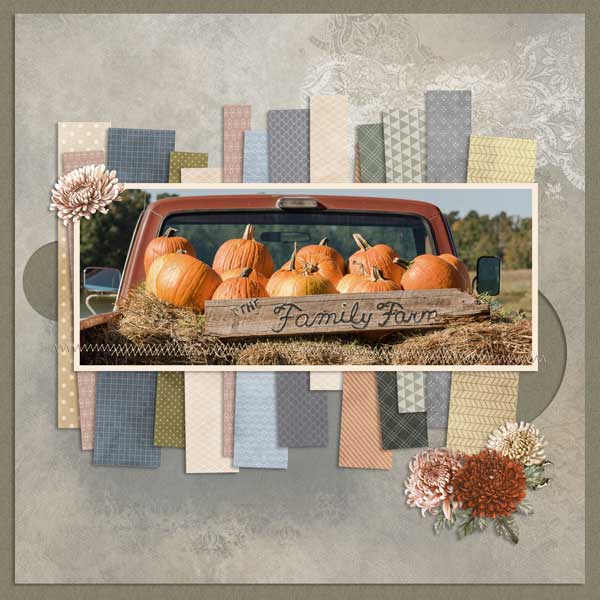
When I saw all the lovely patterns in ADB Designs' torn paper collection, I just new I had to play with them. Then I found a fun template by Angelle Designs and I was off to the races! Some templates, like this one, are designed to show off all the pretty papers!
I started by finding an autumn themed photo that I thought would look cute in this design. I opened the template and focused on the paper strips first. I pulled in one of the patterned papers, made it about 65% of original size so the patterns would still show up in the tiny strips. Then I set it at 50% opacity, and lined it up over the tilted paper strips until I liked them. Then I set the layer back to 100% opacity and made a clipping mask from the patterned paper to the paper strip in the template.
Next I tried a few background paper choices until I found one that I liked. Angelle Designs' template had stamping under the paper strips in the upper right and lower left corners. ADB Designs' paper had some lacy overlays in the upper right corner and I like them! In the lower left corner, I used one of ADB Designs' masks to mask in a solid blue gray paper from ADB Designs. The background paper is delicate, so I set the opacity of the paper in this mask to 45% to blend it in better. I picked a middle olive green solid as the background to anchor it.
Then I turned my attention to the photo. The original photo is super saturated and the truck is bright red, but I wanted the emphasis on the pumpkins. So I used the marquee tool to select all the pieces of the red truck and used a Hue Saturation Luminance (HSL) layer to shift the color and desaturate it a bit. I used another HSL layer to dial the saturation down overall on the photo, so the pumpkins don't look so neon orange. Finally, I added some of the mums from the kit as embellishments.