Oscraps
- Credits list
- ArtPlay Palette Aubade
ArtsyTransfers Aubade
SkyTransfers No 2
SandScratched No 2
San Francisco No 3
MultiMedia Grad No 1
Time WordART Mix No 1
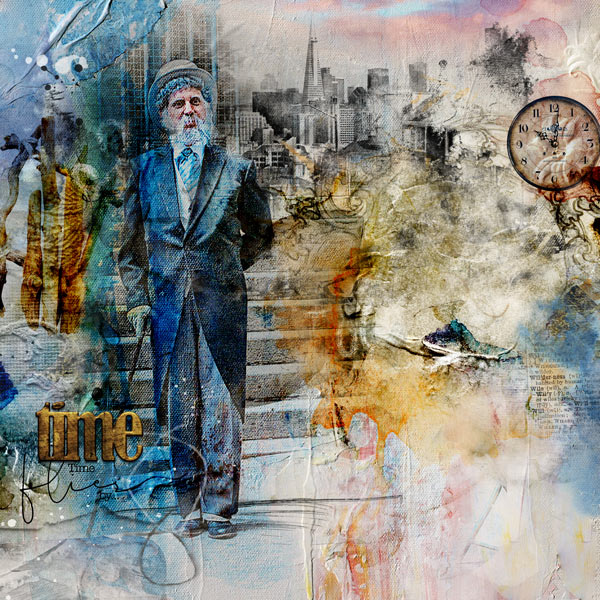
Process: I started with an artsy paper from ArtPlay Palette Aubade. I changed the color a bit and then duplicated it and set the copy to blending mode Multiply. I added a mask and erased parts of the copy. Then I placed my photo and used some brushes on a mask to erase everything except for the man and little of the surroundings. Then I placed another artsy paper from ArtPlay Palette Aubade on top of these layers and the blending mode was changed to Color Burn. I added transfers from ArtsyTransfers Aubade and elements from ArtPlay Palette Aubade. The scratch below his feet comes from SandScratched No 2and the houses in the background from San Francisco No 3. I used layers from SkyTransfers No 2 for the sky and a paper and a clock from MultiMedia Grad No 1 were blended into the background. The title and wordart come from Time WordART Mix No 1.
- Designer(s) Used:
