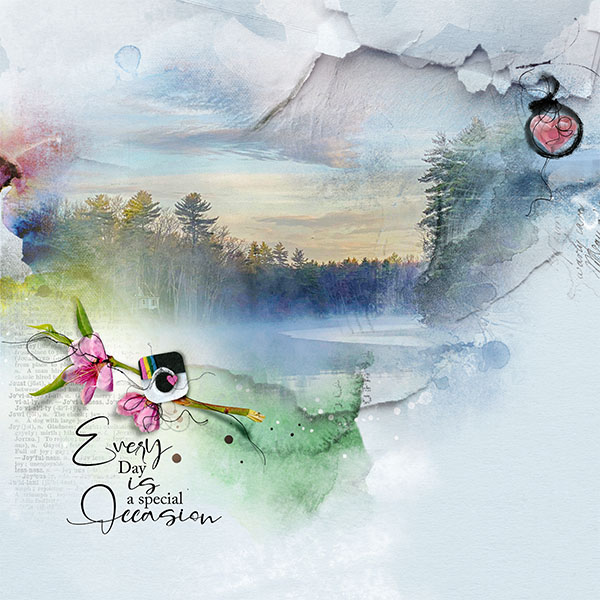
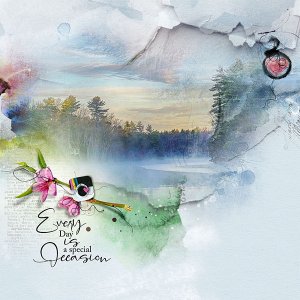
Inspiration – The Palette was my inspiration. I looked at the papers and then looked at recent photos to see if I was inspired by a match. I found the photo from a recently foggy morning at Estes lake with nice colors in the sky.
Start – New Document though later I flooded it with blue.
Paper - Placed Artsy Paper 2 over the background. I selected the large red/pink area and made it more pink using Ctrl U.
Mask – Fotoblendz 2 looked like it would fit my photo and the area inside the paper textures of the Artsy paper.
Photo – I clipped the photo to the mask using Layer>Create Clipping Mask. I turned off a couple of the supporting layers because I didn't like how they affected the picture. I duplicated the photo setting the Blend Mode to Soft Light and opacity to 80% so it lightened the trees and water, but blew out the sky colors. So I added a mask by clicking on the mask icon at the bottom of the panel. With the color set to Black painted on the mask over the sky. I then erased some of the black areas on the paper because it showed through the photo.
Brushes - Brush 1 I applied in blue to the right side of the picture to give a feeling that the water continued there. Brush 3 I placed over the paper texture to look like it was hanging there.
Elements – The Heart I adjust to a pink that matched the paper then placed it inside the circle of Brush 3, I added MultimediaFlower 10.5 to the page. But I removed the rainbow and shadow and replaced them with the Felt Camera. I selected red on this camera and adjusted it to pink. I also adjusted the color of the pinkish Glow. WordTransfer Jubilant was placed on the left edge of the paper and under part of the cluster enlarging the mat. I stole a thread from one of the multimedia flowers to adhere the camera to the cluster. Another one I added over the heart, Lastly, I added to title near the cluster.
