Inspiration – got inspiration from the online class/meeting on Friday. I love to pick up new tips to try to make it worth setting aside an hour and a half.
Start – Created a new file File>New 12X12 300
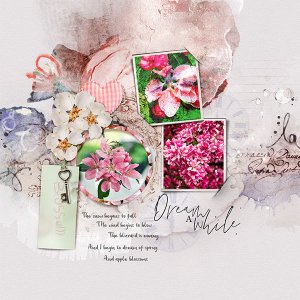
Paper – Loved the bonus paper as it had a nice circle in which I could place my photo.
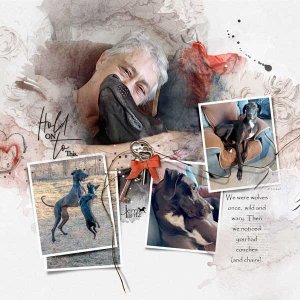
Mask – I went looking in my masks for a circle one and found the round-framed masks 1.2 and adjusted the size so it could fit inside the circle on the paper. I attached my photo using Layer>Create Clipping Layer. I also took inspiration from the tips Anna offered about adding transfers, etc to frames. So I took a picture that was too small to use in my frame but placed it on top using Layer>Create Clipping Mask. I repeated this until the whole frame was covered.
Frames – used CornerSlitFrame3.2
Photos – attached to photos to the mask layers of the frames using Layer>Create Clipping Mask. I applied Vivid light to the mask layer which gave a different look to the photo.
Elements – Added the blossom to the page and copied twice change the size and rotated to look different. Added the heart and adjusted the color using a Color Lookup Layer. Played with that and Ctrl U to get the shade of pink I wanted. Added a drop shadow to the heart. Placed the tag under the flowers and used Ctrl U ticking off Colorize to turn the tag green which matched my photos. Took a heart key from bonus MultiMedia and placed it over the tag. Placed the wordart Blossom from Oscraps Barefoot and filled with pink.
Transfers – Placed Overlays 2 and 3 on the tag resizing. Then used a Gaussian filter so they looked like the tag had stains.
Brushes – made a brush from the watch in APP Remembrance
Words – Journaled about the Blizzard happening outside and used the wordart Dream a While for my title.
Everything was placed around the main photo in the circle.

